

PCB manufacturing PCB manufacturing
Home > Blog

PCB return path

Differential Via Antipads: Shared Oval or Separate?
Friday, November 6th, 2026

A shared oval antipad can reduce local capacitance in a differential via transition, but it also removes plane copper. Compare it with two separate openings in the actual stackup. Keep the signal pair, return vias and fabrication clearances in the model rather than enlarging the cutout by itself.

What an Antipad Does

An antipad is a clearance in copper around a feature that must not connect to that copper. At a signal via, it also changes the electrical coupling between the via and the reference plane. Texas Instruments’ differential via article discusses those effects and a shared oval example.
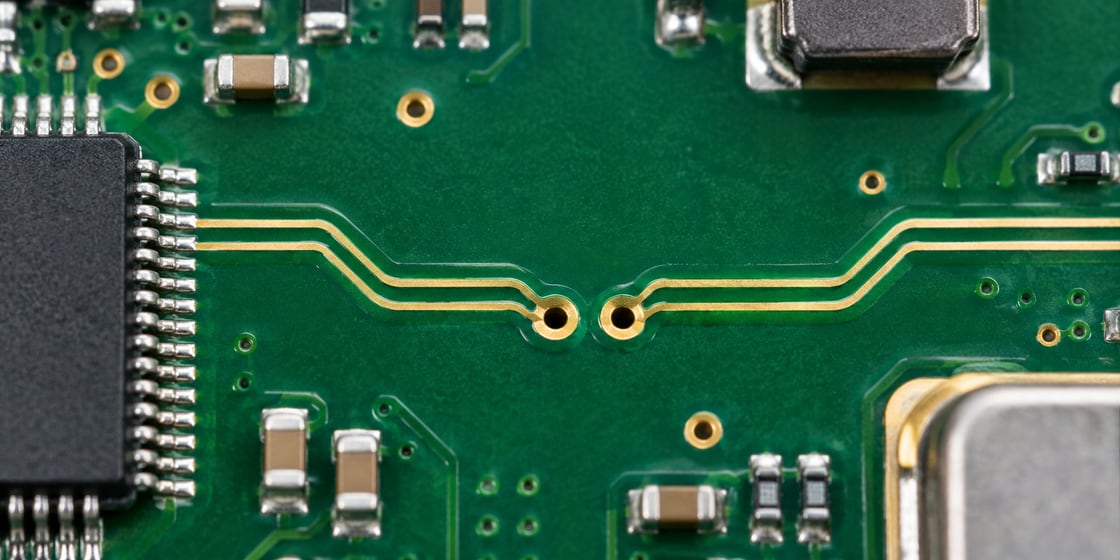
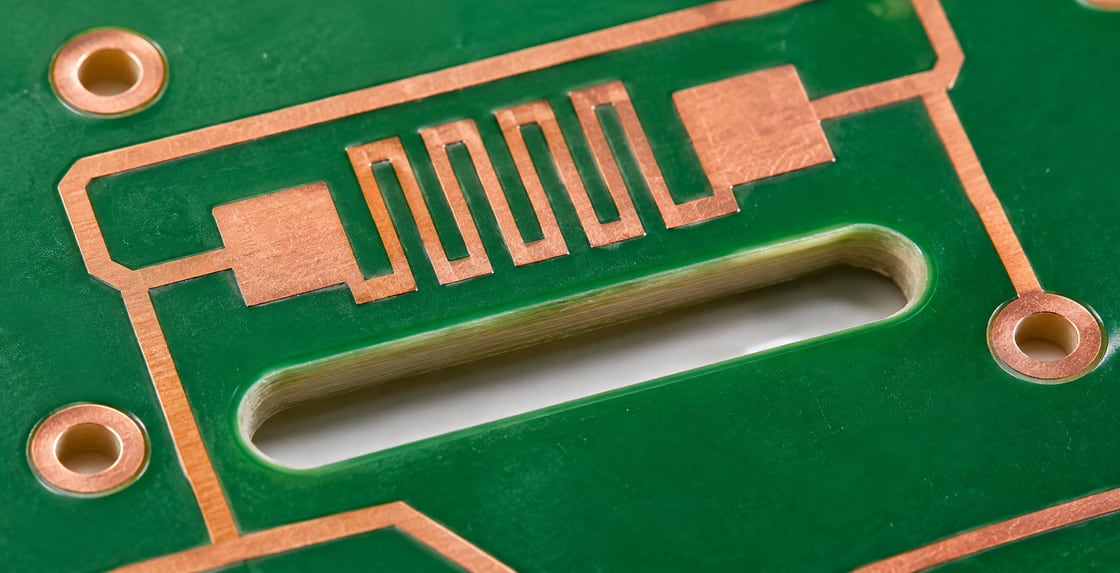
High-speed PCB with closely spaced via features
AI-generated illustration, not a view of a hidden antipad.

Why Two Openings Are Not the Same as One

Two separate clearances can leave a copper bridge between them. A shared opening removes that bridge and changes the field around both vias. Neither arrangement is universally better; compare the transition and surrounding reference structure.

Detailed Model Inputs

Input Unit or record Purpose
Via pitch mm Sets pair spacing
Pad and barrel Finished geometry Defines the conductor
Opening by layer Shape and dimensions Describes plane clearance
Return vias Position and reference net Represents the return path
Stub and layer pair Length and layer IDs Describes the transition

Shared Oval vs Separate Antipads

Feature Separate openings Shared opening
Plane between the vias May retain copper Removed in the shared region
Electrical review Coupling with retained bridge Coupling with common opening
Fabrication review Width and stability of copper web Clearance to nearby features

Worked Example: Check Whether a Web Remains

For two aligned circular openings of 0.45 mm diameter with centres 0.55 mm apart, their nominal edge separation is 0.10 mm. That is only the artwork value for this hypothetical case. Verify the intended finished web and tolerance or compare a shared opening instead.

Keep Both Sides of the Pair Comparable

Review symmetry around each via, the nearby reference connections and any asymmetry introduced by other routing. An electrically asymmetric environment can affect the differential transition. Do not judge the pair only by whether its two hole sizes match.

Do Not Remove Return Copper Without Checking the Path

A larger opening can clear copper around the signal vias but also reshape the nearby reference region. Review where return current can transfer between planes. If a neighbouring path becomes narrow or interrupted, assess that change as part of the same comparison.

Model the Stub and Pads With the Opening

The pad, barrel, stub and antipad contribute to one transition. A short local impedance change is not automatically attributable to the opening. Keep the geometry consistent between alternatives and use an appropriate model when the bandwidth or loss budget makes the distinction important.

Review Layer-Specific Clearance

The same opening is not necessarily appropriate on every layer. Check plane assignments, copper features and any controlled-depth operation. For the broader treatment of unused barrel, see the BestPCBs via stub guide.

Compare an Actual Test Structure

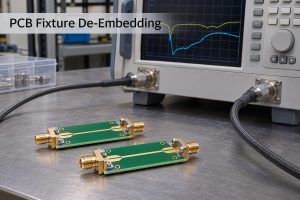
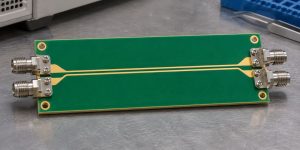
For a sensitive link, use a structure that reproduces the layer change, openings, nearby grounds and routing. A straight impedance coupon alone cannot demonstrate the transition. Agree on the test objective and how fixture effects will be interpreted.
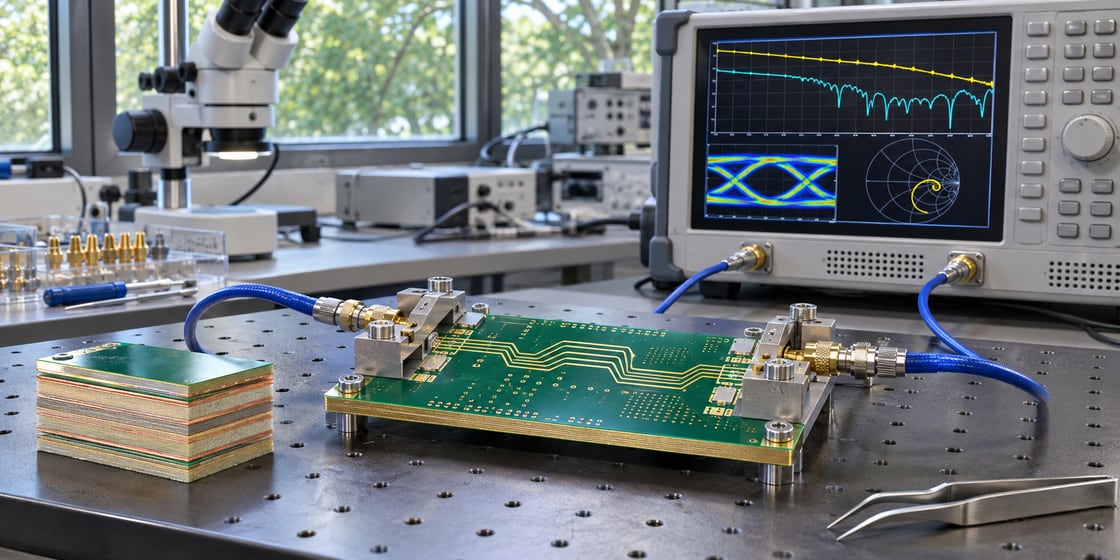
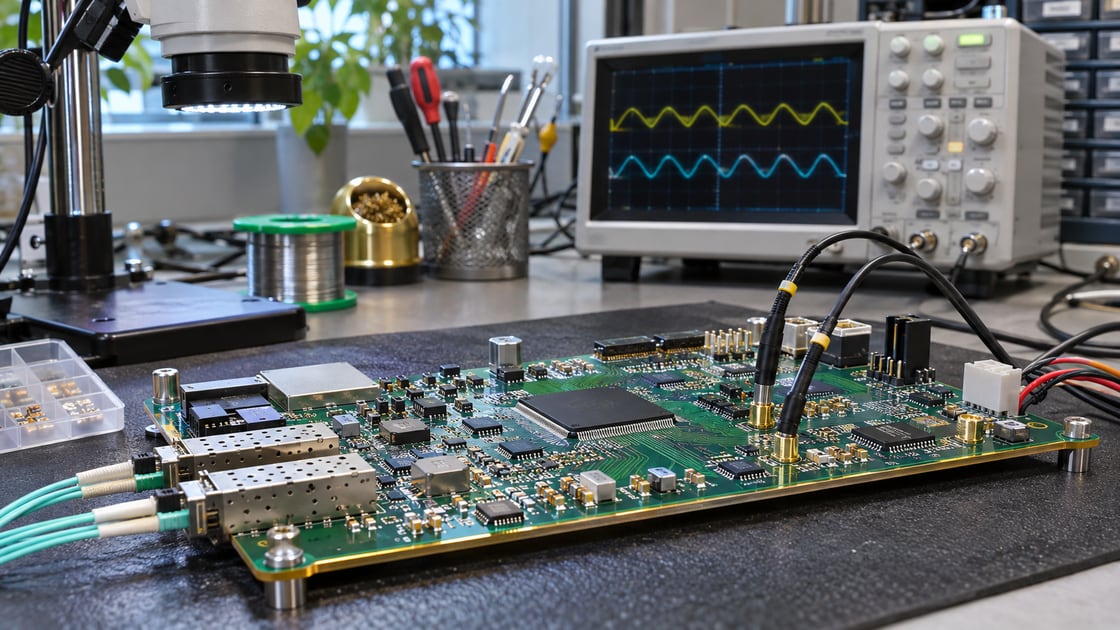
PCB coupons near coaxial fixtures on a lab bench
AI-generated illustration of test context, not measured evidence.

Keep the Fabricator’s Clearance Rules Separate

The model answers an electrical question; the fabricator confirms which openings and copper features can be built. Check the artwork, layer-by-layer clearances and applicable tolerances. If the final geometry changes, rerun the relevant comparison before accepting the build.

Record the Selected Geometry and Evidence

Keep the via dimensions, opening shape, layer map, return arrangement and verification result together. Record why the selected option met the actual requirements. If the stackup changes, revisit the transition instead of assuming an old clearance is still appropriate.

Discuss a High-Speed Stackup

Share the layer pair and via geometry with Best Technology.

FAQ

Is a shared oval antipad always better?

No. A shared opening changes capacitance and also removes plane copper between the vias. The right choice depends on the stackup, return paths, dimensions and electrical target. Compare both options and verify the fabrication constraints instead of adopting the oval solely because a reference design used it.

What if two separate openings overlap?

Then they no longer preserve a complete web between them in the overlapping area. Review the actual resulting shape rather than treating the artwork as two independent circles. Confirm the intended clearance with the fabricator and use the correct merged geometry in any electrical model.

Is the antipad the same as the via pad?

No. The via pad is a conductor intended to connect at an applicable layer. The antipad is an opening in surrounding copper where a connection is not intended. Identify both on the relevant layer so their sizes and purposes are not accidentally swapped.

Can I enlarge the antipad to fix any impedance dip?

Not reliably. A dip can involve multiple parts of the transition, and changing the opening may affect return geometry or nearby features. Compare the suspected mechanism with a suitable model or measurement before changing the layout, and check the impact on the rest of the path.

Do return vias still matter for a differential pair?

Yes, evaluate them as part of the actual reference transition. Differential signals interact with nearby copper, and asymmetry or a reference change can matter. Confirm where the references connect and model the geometry that will be built rather than assuming the pair needs no return review.

Will a standard impedance coupon show the effect?

Only if the coupon includes a representative transition and the method can resolve it. A straight uniform trace checks a different structure. If the antipad decision is important, specify the relevant layer change and geometry and agree how the result will be interpreted.

Can different layers use different antipad shapes?

They can be designed differently when the electrical and manufacturing requirements support it. Check the relevant plane, clearance and nearby geometry on each layer. Document the actual shapes for the model and fabrication release rather than relying on a single label for the entire via.

What should I send for a transition review?

Send the stackup, via pitch, pad and barrel dimensions, layer-specific openings, return-via positions and stub details. Include the interface requirements and intended measurement or simulation scope. Those inputs let the reviewer assess the transition without guessing what the clearance drawing means.
You may also like

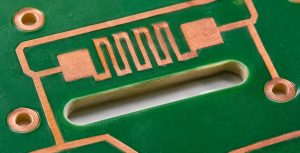
PCB Return Path Guide: When a Trace Crosses a Slot
Friday, November 6th, 2026

A trace can look continuous in CAD while the copper that carries its return current is interrupted. If a fast signal crosses a gap in its reference plane, first look for a route over continuous copper. A return bridge is not a default fix, especially if the gap provides safety isolation.

What Current Is Returning?

A driver and receiver are part of a current loop. At high frequencies, nearby reference copper helps provide a low-inductance return path. Trace length alone describes only the outward part of the loop. The Texas Instruments high-speed layout guide discusses how reference-plane gaps interrupt that path.

Bare PCB with a routed slot and visible copper pattern
AI-generated illustration of a physical slot; not evidence of an internal reference plane.

A Physical Slot Is Not the Only Interruption

A milled opening removes board material. A copper void removes reference metal without necessarily cutting the substrate. A row of overlapping antipads can also interrupt copper. Inspect the actual reference layer rather than assuming that only visible board cutouts matter.

Detailed Layout Parameters to Record

Input Unit or record Why it matters
— — —
Signal and reference layers Layer IDs Identifies the intended return
Void location and width X/Y and mm Locates the interruption
Trace-to-reference spacing mm Helps evaluate field coupling
Edge rate Time and definition Informs relevant frequency content
Reference connection Net, via and location Defines the intended return transfer

Reroute vs Change Layers vs Bridge

Option Use when Verify
— — —
Reroute on the same layer Continuous reference exists nearby Entire new path and timing
Change signal layers New reference is viable Return transfer and via geometry
Approved AC bridge Circuit permits the two regions to couple Component parasitics and actual response

Trace the Reference From Source to Receiver

Overlay the signal and its reference copper. Follow each segment, bend and transition. Name the reference after each layer change; the same net name on two layers does not identify the physical path between them. Use the BestPCBs ground-plane guide for the wider layout review.

Worked Example: A Clock Crossing a Connector Void

Suppose a clock trace on L1 references L2 but crosses a copper keepout under a connector. One revision adds 8 mm of trace to route around the void over continuous L2. Compare its timing and signal integrity with the short crossing. The added length is an example, not a rule that longer routing always wins.

Check a Differential Pair as a Real Pair

A differential pair still interacts with reference copper. Geometry changes or imbalance can disturb the pair and contribute to mode conversion. Review both traces and the corresponding plane region. Do not assume that a pair is exempt just because its signals are complementary.

A Stitching Via Cannot Bridge Every Gap

A nearby return via can help connect same-net reference planes at a layer transition. It cannot connect two regions unless there is a legitimate conductive path between them. Confirm the net and layer connections before adding a via that looks useful only in plan view.

Keep Intentional Isolation Intact

Do not bridge a safety or functional isolation gap as a layout cleanup. An inter-domain signal may require an isolator or another approved architecture. Treat any proposed change across the barrier as a separate engineering decision with its applicable clearances and requirements.

Look for a Discontinuity in the Right Test

An impedance plot can help locate a reflection, while eye or emissions testing addresses different system outcomes. Where possible, compare two otherwise similar layouts to see what the routing change does. A standard coupon that lacks the gap will not validate that local crossing.

High-speed PCB and oscilloscope on an electronics test bench
AI-generated illustration of a test environment, not a measured result.

Recheck the Manufacturing Output

A plane shape can change after copper repour, keepout edits or layer export. Review the released copper artwork with the routed signal, especially at connector pin fields and plane boundaries. Record the layer pair, affected net and evidence for any accepted exception.

Decide What to Change First

Start by restoring a continuous reference without touching isolation or power architecture. If that is not possible, compare an alternate layer and an approved reference transfer. Use the interface’s performance targets to decide whether further simulation or hardware validation is warranted.

Request a Stackup Review

Share the affected layer pair, connector layout and net requirements with Best Technology.

FAQ

Is a trace over a small gap always a problem?

The impact depends on the gap geometry, trace-to-plane spacing, edge rate and the return paths available nearby. Do not assume the effect is negligible because the gap looks small at board scale. Compare the actual stackup and verify the relevant channel or emissions requirement if necessary.

Is clock frequency the same as edge rate?

No. Frequency describes how often the clock repeats, while edge rate describes how quickly it changes level. A low repetition-rate signal can still have fast edges. Review the driver’s transition behaviour and interconnect geometry when deciding whether the crossing needs high-frequency attention.

Can a capacitor fix every plane split?

No. A capacitor may provide an AC path in a design that permits it, but connection inductance, placement, frequency and safety constraints matter. Do not use it to bypass an isolation requirement. Prefer a route over continuous reference copper when it meets the design goals.

Do I need a ground via every time the signal changes layers?

Review whether the signal’s reference changes and where the corresponding return current can transfer. A nearby same-net connection can be useful when two reference planes are involved. A via is not a substitute for identifying the reference layers, and unrelated reference nets must not be shorted.

Can I route around the slot if the trace gets longer?

Often that is a useful option to compare, but validate both delay and routing constraints. Estimate the additional path length, check pair matching or timing where relevant, and review the entire return path. Do not judge either option on trace length alone.

Does a ground pour on the trace layer fix the issue?

Only if the resulting geometry and connections provide a suitable reference for that specific route. Isolated or weakly connected copper is not automatically a good return path. Check the copper spacing, grounding and stackup, and use an appropriate model when the behaviour is important.

Will an impedance coupon show a slot crossing?

Only if it intentionally represents the relevant structure. A straight coupon on uninterrupted reference copper can characterize the ordinary trace but not a local return interruption under a connector. Check what the coupon represents and use a targeted structure or board measurement if the crossing must be validated.

Should I merge two separate grounds to avoid the gap?

Do not merge domains simply to make a routing overlay look cleaner. First establish why they are separated and what signal must cross. Follow the system’s safety and circuit requirements, and consider rerouting or an approved interface architecture before modifying the intended isolation boundary.

You may also like