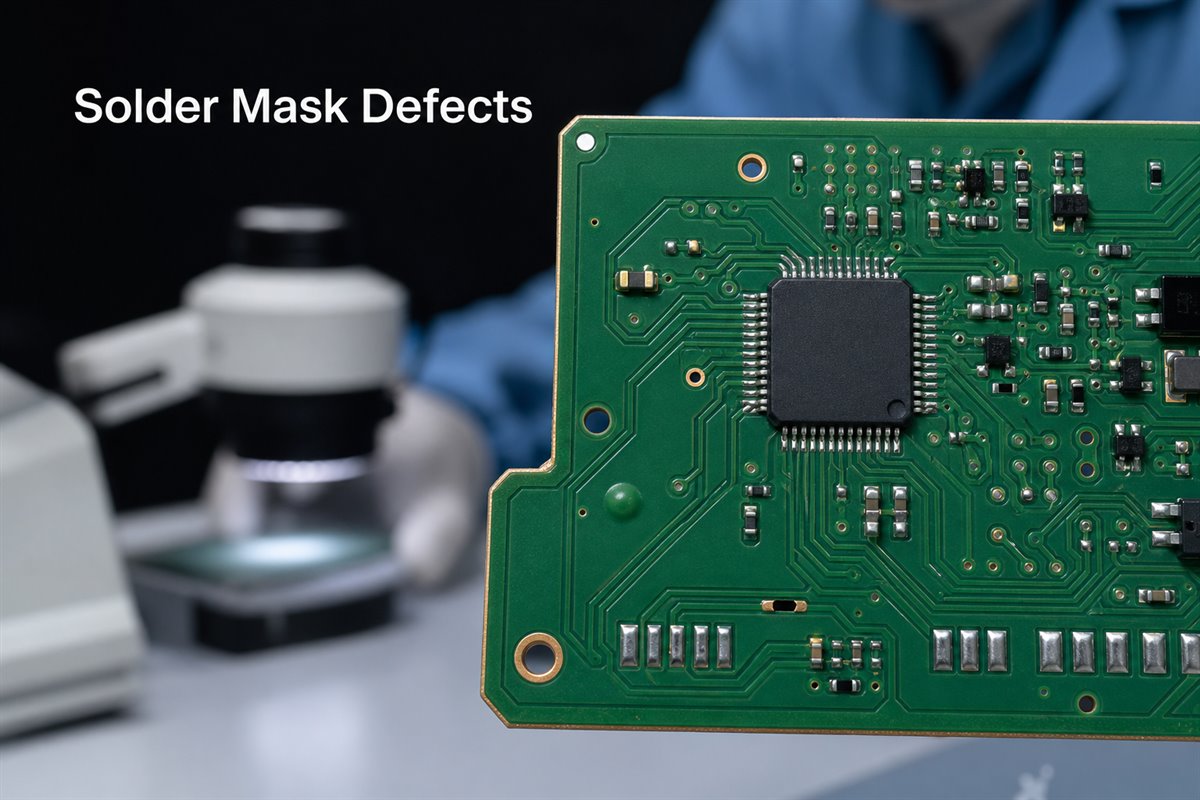
Stop solder mask defects before they become assembly rework. A blocked pad can weaken a joint, a broken mask dam can contribute to bridging, and exposed copper can create a reliability risk.
The fastest path to a decision is to identify what the defect affects, compare it with the released requirement, and request evidence that supports acceptance, repair, or rejection.
Inspect solder mask conditions before they become assembly rework.
What Are Solder Mask Defects?
Solder mask defects are unintended problems with PCB mask coverage, openings, alignment, adhesion, curing, or cleanliness. Common signs include exposed copper, mask on pads, pinholes, bubbles, peeling, cracks, contamination, and broken mask dams.
Do not approve a board from appearance alone. Confirm:
Whether the defect appeared before or after assembly
This gives you a faster, evidence-based disposition instead of a subjective appearance debate.
Common PCB Solder Mask Defects
Match the visible problem with the loss you need to prevent:
What you find
What you can prevent
Mask on pads or shifted openings
Weak joints and assembly delays
Exposed copper or pinholes
Corrosion and reliability escapes
Blisters, peeling, or cracks
Heat-triggered failures during PCBA
Broken mask dams
Bridging between fine-pitch pads
Via-tenting defects
Solder wicking and uneven surfaces
Debris or contamination
Adhesion and cleanliness disputes
Location matters more than appearance alone. A small mark on unused laminate is not equal to the same defect on a BGA pad, test point, fine-pitch footprint, or closely spaced conductor.
Ask for a marked defect map and quantity count. You can then see whether the issue is isolated, feature-specific, panel-related, or present across the lot.
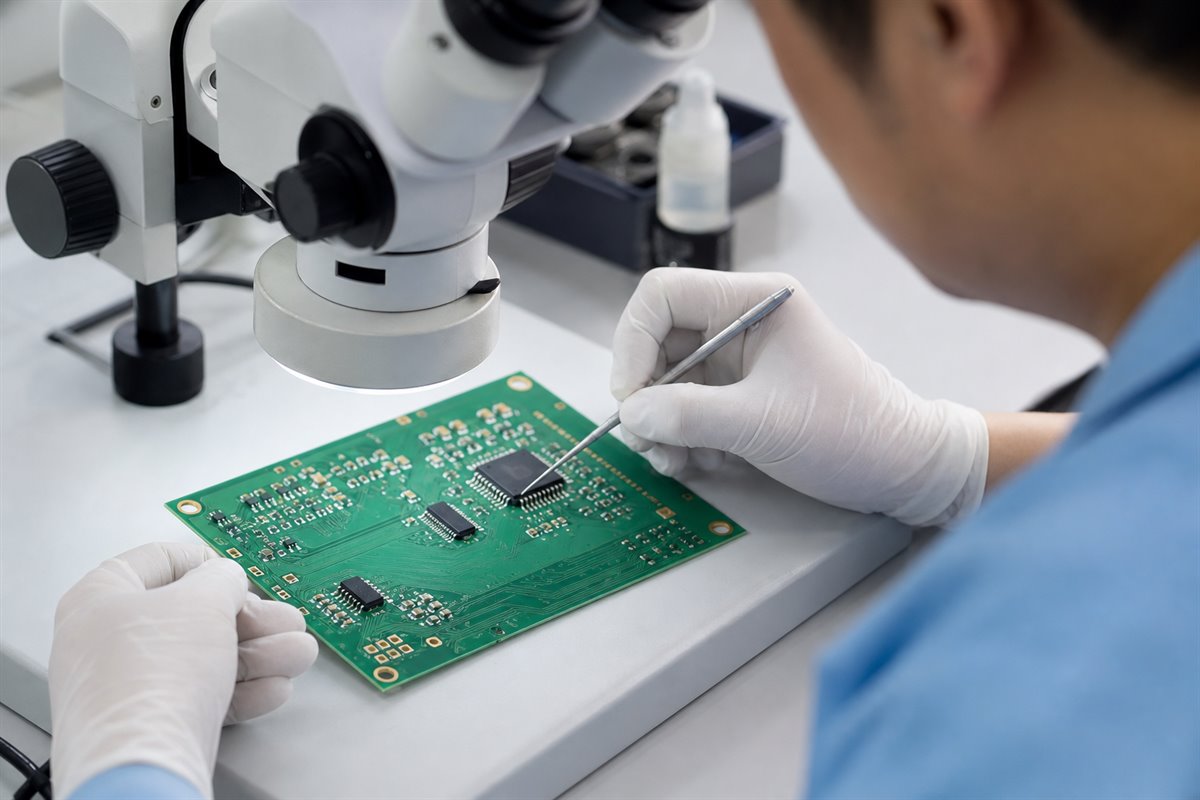
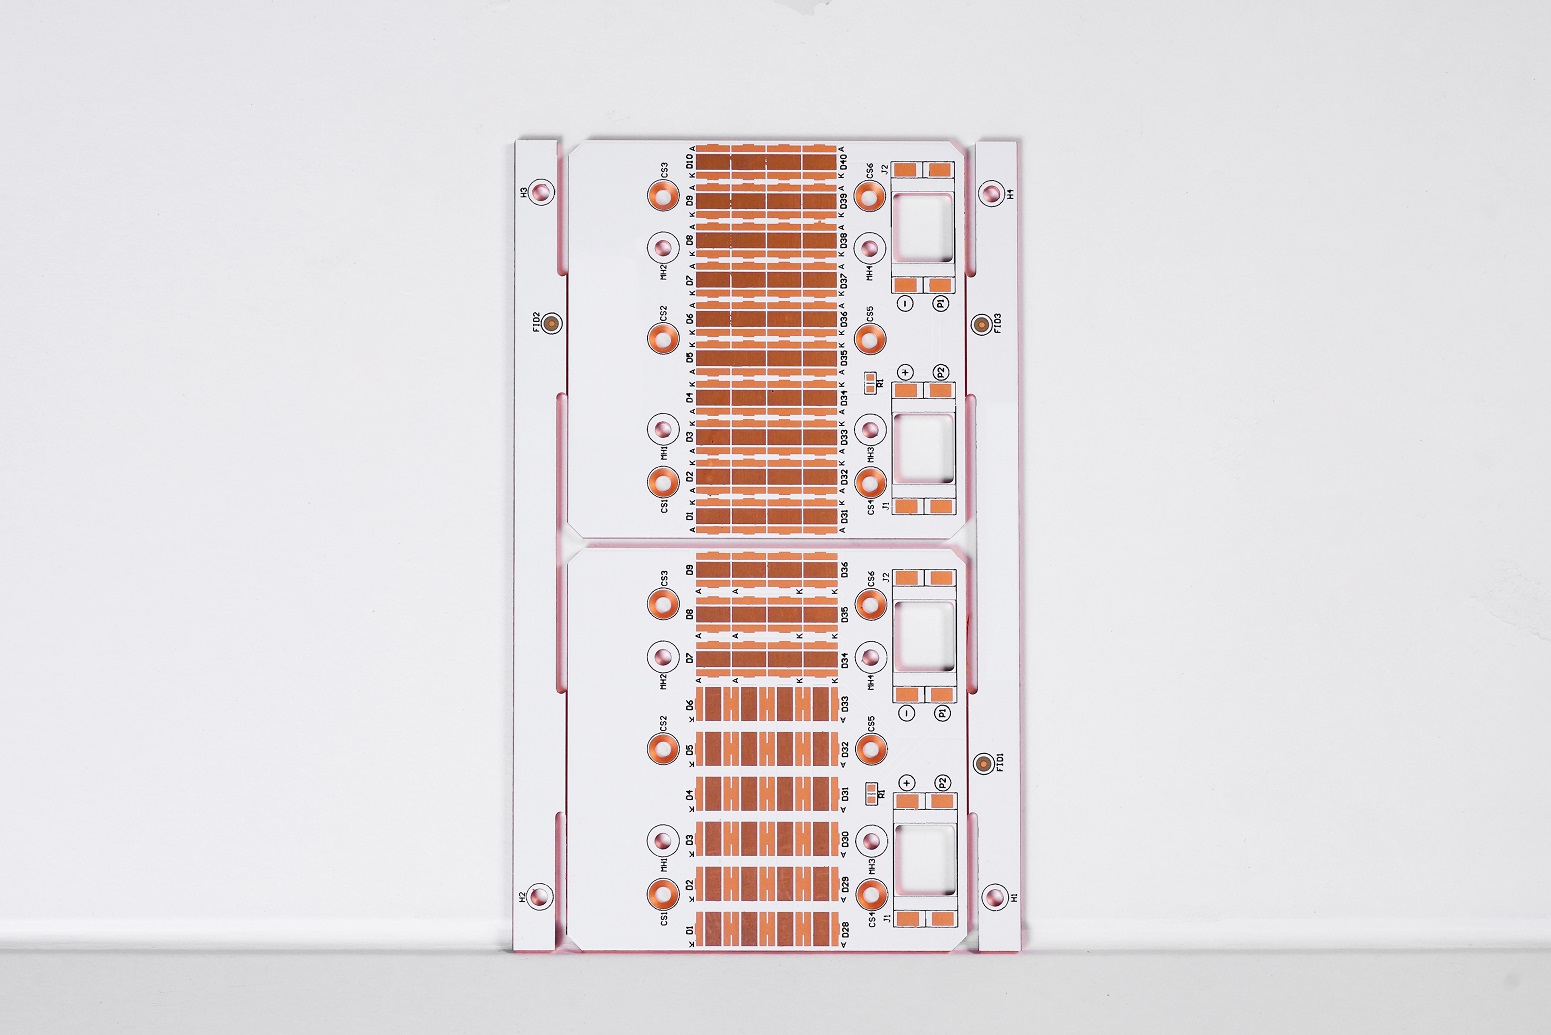
Magnified inspection helps locate mask damage before component placement.
How Solder Mask Problems Affect Assembly and Reliability
Catch solder mask problems before component placement to avoid sorting populated boards later.
Mask on pads can reduce solderable area. Missing dams can increase bridging risk. Weak or undercured mask may blister, crack, or peel during baking, reflow, wave soldering, cleaning, or repair.
Exposed conductors may also lose protection against moisture and contamination. The actual field risk depends on location, spacing, voltage, cleanliness, and the product environment, so appearance alone cannot predict service life.
Early containment helps you avoid:
Line stoppage and emergency sorting
Weak joints or solder bridges
Damage from late-stage rework
Shipment delays and repeated lot disputes
Causes of Solder Mask Failure in Design and Fabrication
Separate design, fabrication, and assembly causes before asking for corrective action.
Design data: Incorrect openings, insufficient expansion, unclear via treatment, or mask dams below manufacturing capability can create repeatable defects. Confirm the minimum solder mask sliver the fabricator can hold before releasing fine-pitch data.
Fabrication: Contamination, weak surface preparation, registration error, incorrect processing, or incomplete curing can reduce coverage or adhesion.
Assembly: Excessive heat, incompatible chemistry, fixtures, handling, or repeated rework can damage an otherwise acceptable coating.
Use four checks to reach a decision faster:
Check
Decision it supports
Released files and drawing
Design issue or fabrication issue?
Defect map and quantity
Sort, release, or remake?
Before/after assembly records
When did the damage occur?
Material, cure, and process records
What must change next lot?
A corrective action should change a file, note, process control, or inspection point. “Pay more attention” does not prevent recurrence.
Simple Tests for Solder Mask Damage
Use agreed tests to obtain release evidence without damaging acceptable boards.
Start with visual inspection under suitable lighting and magnification. Compare the affected area with the same feature on an unaffected board. Record exposed copper, lifted edges, cracked dams, contamination, or color transfer.
Adhesion, hardness, solvent-resistance, or controlled thermal checks may help separate weak adhesion from incomplete curing. When a customer specification calls for IPC-TM-650 testing methods for solder mask, record the exact method number and acceptance limit.
For each test, record:
Board revision, lot, sample size, and location
Before-and-after photographs
Method, conditions, and acceptance limit
Results from affected and control samples
Electrical test is not a substitute for mask inspection. A board may pass continuity while still creating soldering or protection risks.
What Inspection Evidence Should a Buyer Request?
Replace “the boards are usable” with evidence that supports your decision.
Request:
Close-up photographs with scale and marked locations
Lot, panel position, inspected quantity, and defect count
Confirmation of the released file and drawing revision
The applicable acceptance requirement
Test method and actual result
Containment status and proposed disposition
Root cause and corrective action for repeat defects
For repairs, also approve the material, area, cure method, final thickness, and post-repair inspection. A repair is useful only when it restores protection without reducing pad area or creating a new assembly problem.
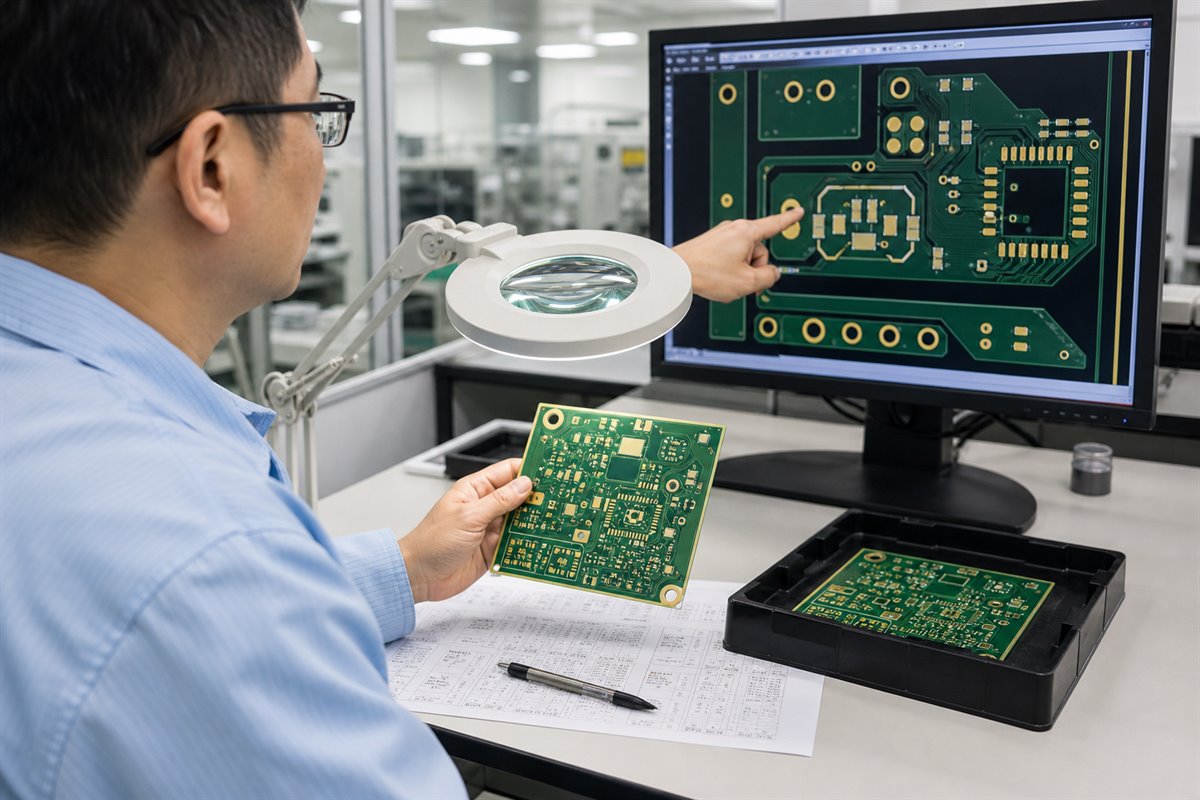
Compare the physical board, released data, and inspection record before disposition.
A Project Example: Reject, Repair, or Release?
Fine-pitch pads show mask encroachment one day before assembly. Releasing the lot risks poor wetting; rejecting every board may create unnecessary delay.
The buyer quarantines the lot and requests a defect map, measurements, file-revision confirmation, and panel-position data. The results show correct Gerber data but a repeatable registration shift in one panel position.
The evidence supports a controlled decision:
Release verified unaffected boards
Reject or remake boards outside the limit
Repair only with customer approval
Add a targeted registration check for the next lot
This illustrative example shows the customer benefit: contain first, identify the affected population, and avoid both unsafe release and unnecessary total-lot rejection.
How to Prevent Solder Mask Issues From Repeating
Confirm mask requirements before production so defects do not reach assembly.
Provide synchronized copper, solder mask, drill, and drawing data. State the mask color, finish, via treatment, acceptance standard, and any special thickness or appearance limits.
For dense BGA, fine-pitch, via-in-pad, test-point, and edge-contact areas, request a focused DFM review before releasing the order.
With EBest Circuit (Best Technology), you can confirm solder mask openings, dams, via treatment, and other manufacturability risks before they become assembly rework. You can also coordinate PCB fabrication, PCBA, and agreed inspection evidence with one manufacturing team.
Send previous defect photographs and corrective-action requirements with your RFQ. This directs the review toward the loss you want to prevent. The customer remains responsible for approved design requirements, product-level reliability targets, regulations, and final acceptance.
FAQs About Solder Mask Defects
Can a PCB with solder mask defects still be used? Possibly. Release it only after checking the affected location, quantity, drawing requirement, and assembly risk.
What causes solder mask to peel? Common causes include contamination, poor surface preparation, incomplete curing, heat, incompatible chemistry, or mechanical damage.
Can solder mask over a pad be repaired? Only when the customer approves the method and the repair restores the required solderable area without creating new damage.
Which files help prevent solder mask defects? Provide synchronized Gerbers, drill files, a fabrication drawing, revision notes, via instructions, and acceptance requirements.
What should I send for a solder mask review? Send the approved PCB files, fabrication notes, defect photographs, lot information, and inspection requirements to sales@bestpcbs.com.
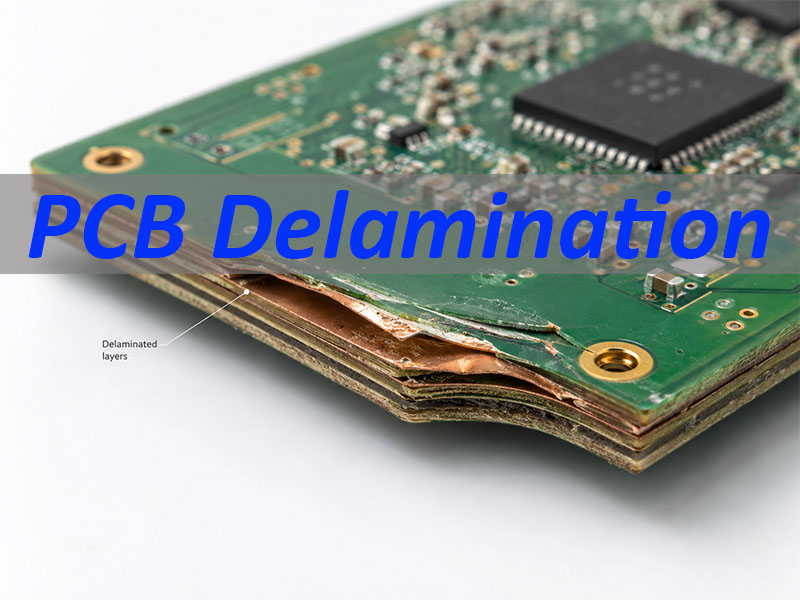
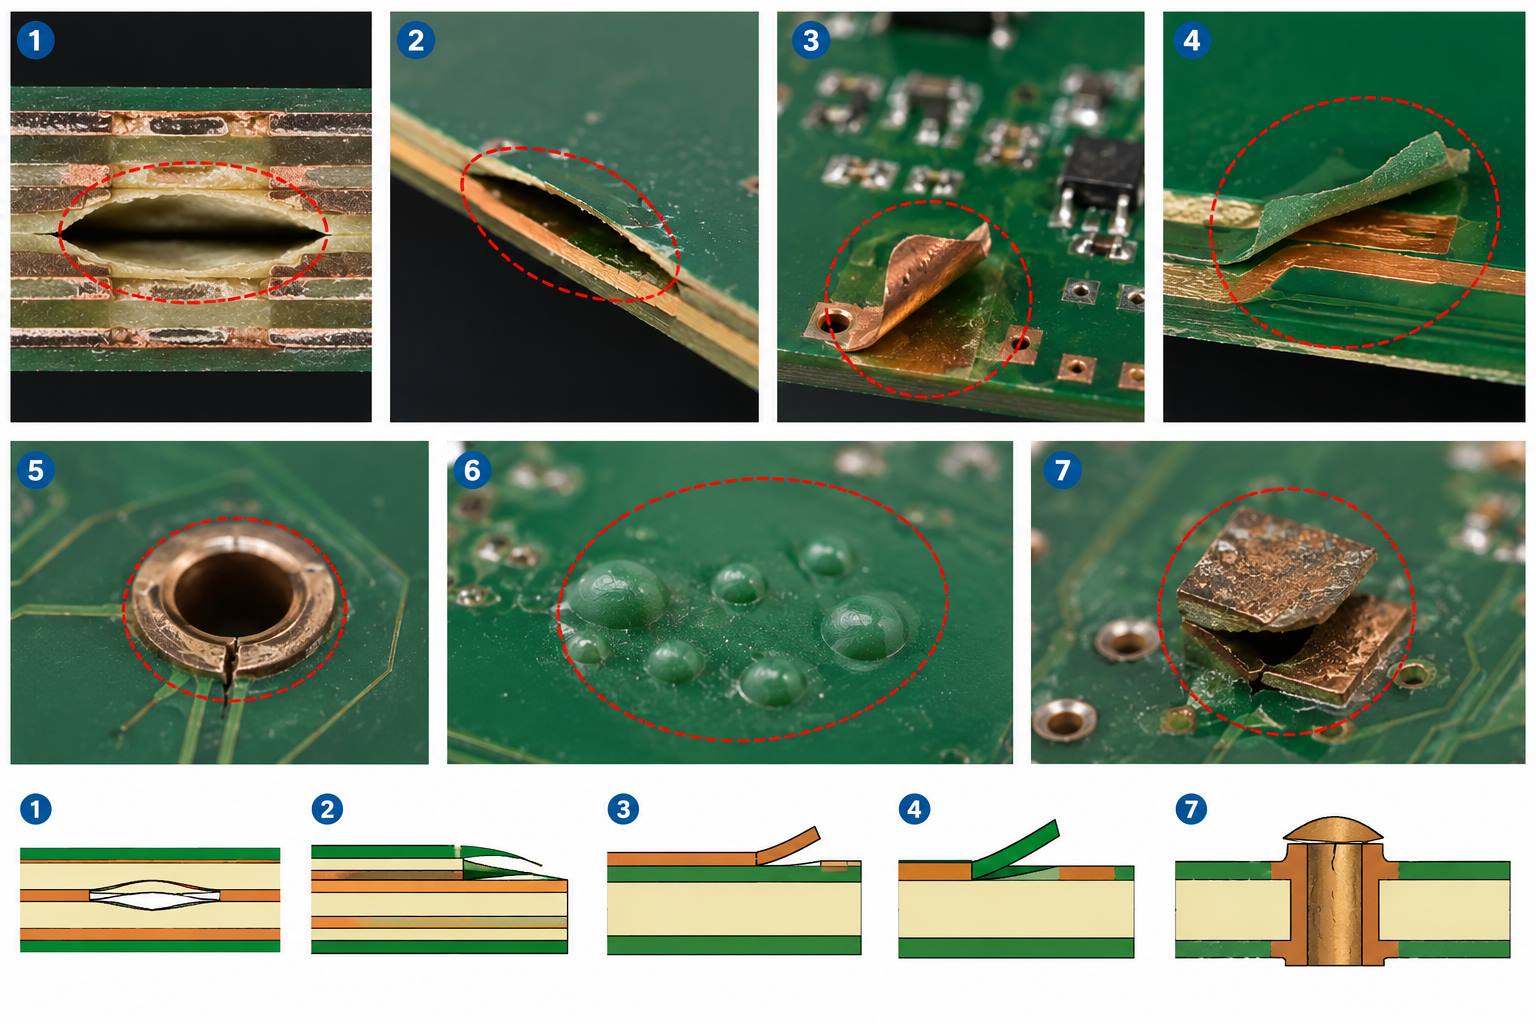
PCB delamination is a serious printed circuit board defect where bonded layers begin to separate. It may appear as bubbles, blisters, white spots, lifted copper, edge separation, or hidden internal layer failure. Even if the board passes a basic electrical test, delamination can still cause open circuits, weak insulation, unstable vias, poor soldering reliability, or field failure under heat, humidity, vibration, or long-term operation.
Best Technology is a custom PCB and PCBA manufacturer with experience in multi-layer PCB, high Tg PCB, heavy copper PCB, rigid-flex PCB, metal core PCB, ceramic PCB, and full turnkey PCB assembly. With practical manufacturing knowledge in material selection, lamination, drilling, plating, solder mask, baking, inspection, and reflow-related quality control, we understand what makes a PCB reliable before it reaches your final product. For custom PCB manufacturing in China or technical support with PCB delamination, blistering, or copper lifting issues, please send your Gerber files, stack-up, defect photos, and project requirements to sales@bestpcbs.com.
What Is PCB Delamination?
PCB delamination means that the bonded layers of a printed circuit board have started to separate. These layers may include copper foil, core material, prepreg, solder mask, or internal dielectric layers in a multilayer PCB.
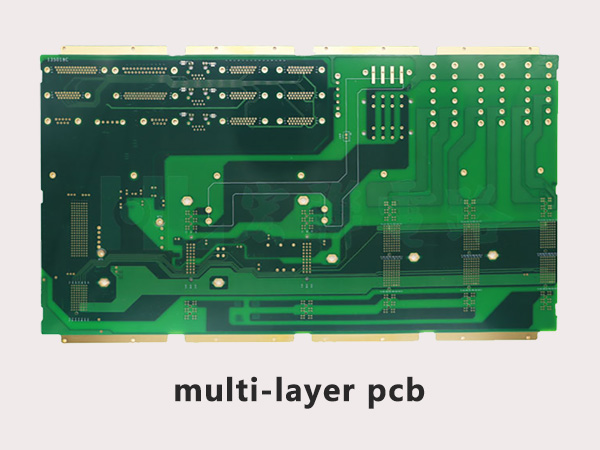
A PCB is not just one flat piece of material. It is built from different materials pressed together under heat and pressure. In a multilayer PCB, copper layers, prepreg, and core sheets are laminated into one solid structure. If the adhesion between these materials becomes weak, separation can occur.
Simple definition: PCB delamination is the loss of bonding between PCB layers, copper, laminate, or coating materials.
Common forms include:
Copper lifting from the laminate
Solder mask peeling from the surface
Internal layer separation in multilayer boards
Edge delamination after routing or cutting
Blisters caused by moisture or trapped gas
Via-area separation caused by thermal stress
This defect matters because PCB reliability depends on stable bonding. A board may look fine from the outside, but internal delamination can still affect electrical performance, insulation resistance, impedance stability, and long-term durability.
Buyer Takeaway: If a PCB shows swelling, blistering, or lifted copper after soldering, do not treat it as a minor appearance issue. It may indicate moisture absorption, poor lamination, unsuitable material, or excessive assembly heat.
Why Does PCB Delamination Happen?
PCB delamination usually happens when the bond between PCB materials becomes weaker than the stress applied to the board. That stress may come from heat, moisture, mechanical force, weak lamination, or material mismatch.
The most common causes are:
1. Moisture Absorption
Moisture trapped inside the PCB expands during reflow soldering. This can create internal pressure and cause blistering or layer separation.
2. Excessive Reflow Temperature
High peak temperature or repeated soldering cycles can stress weak laminate interfaces and damage copper bonding.
3. Poor Lamination Process
Incorrect pressure, temperature, curing time, or resin flow can reduce bonding strength between PCB layers.
4. Contaminated Inner Layers
Oil, dust, oxidation, chemical residue, or poor copper treatment can weaken adhesion before lamination.
5. Unsuitable PCB Material
Low Tg or poor thermal stability may not survive lead-free reflow, high operating temperature, or harsh application conditions.
6. Mechanical Stress
Bending, routing stress, press-fit insertion, heavy connectors, or rough handling can trigger separation.
7. Improper Rework
Excessive soldering iron temperature, hot air heating, or pad pulling can lift copper and damage the laminate.
Quick Engineering Note: When delamination appears after reflow, the root cause is not always the reflow oven. The issue may come from PCB storage, baking, laminate selection, lamination quality, or moisture control before assembly.
What Does PCB Delamination Look Like?
PCB delamination can be visible or hidden. Visible defects are easier to identify, but internal delamination may require cross-section analysis or other inspection methods.
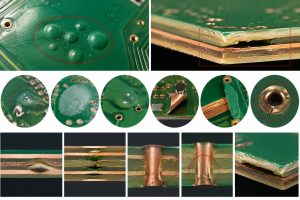
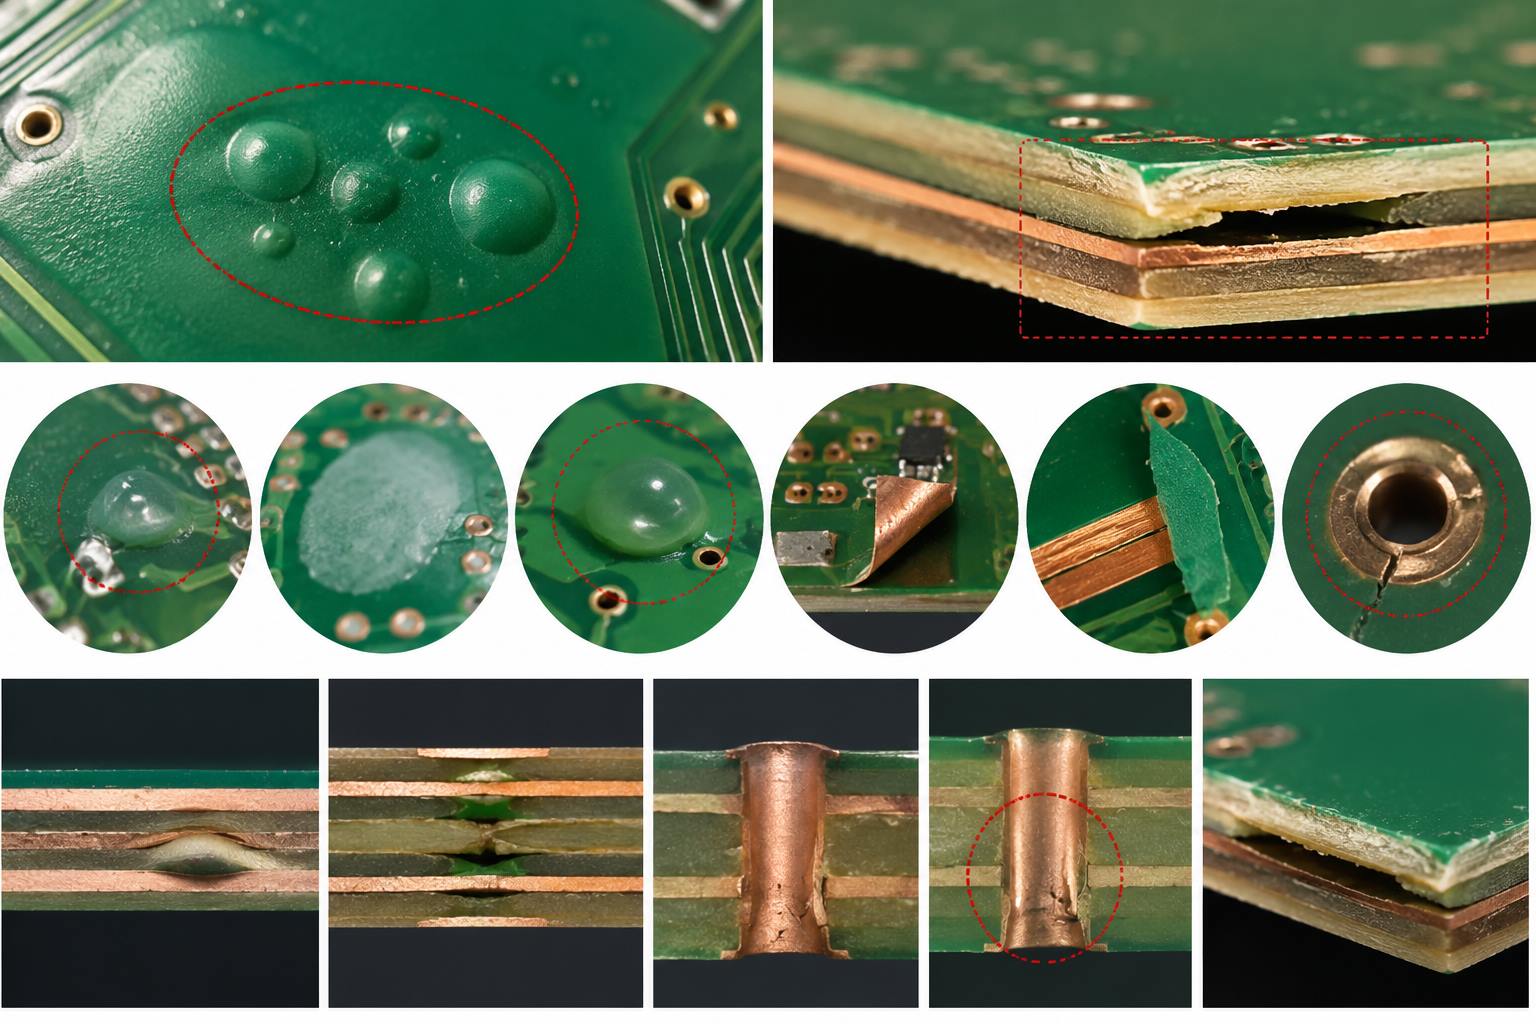
When users search for “PCB delamination images,” they usually want to compare their board defect with typical delamination signs.
Common Visual Signs
Raised bubbles on the PCB surface
White or cloudy spots inside the laminate
Blisters after reflow soldering
Lifted copper pads or traces
Solder mask peeling
Edge separation between PCB layers
Cracks around plated through holes
Local swelling near vias
Bulging near large copper areas
Pad lifting during repair or soldering
Delamination vs. Blister vs. Solder Mask Peeling
Defect Type
Appearance
Main Risk
PCB delamination
Layer separation or swelling
Reliability failure
Blister
Raised bubble
Moisture or weak bonding
Solder mask peeling
Mask lifts from surface
Exposed copper
Copper lifting
Pad or trace lifts
Open circuit
Edge delamination
Layers open at edge
Moisture entry
When Should You Worry?
You should treat the defect seriously if:
The board is multilayer
The defect appears after reflow
The defect is near vias or plated holes
Copper pads or traces are lifting
The product is used in automotive, medical, industrial, power, or communication equipment
The board will face heat, humidity, vibration, or long service life
Buyer Takeaway: If delamination is only cosmetic, it may be reviewed by engineering. If it affects copper, vias, internal layers, or board edges, it should be treated as a reliability risk.
What Are the Main PCB Delamination Causes?
PCB delamination causes can come from design, material, fabrication, storage, assembly, or rework. In many real cases, several factors work together.
Main Causes Table
Cause
What Happens
Result
Moisture
Vapor expands during heat
Blisters
Poor lamination
Weak layer bonding
Separation
High reflow heat
Laminate overstressed
Cracks or bubbles
Low Tg material
Poor heat resistance
Layer damage
CTE mismatch
Uneven expansion
Via stress
Contamination
Poor adhesion
Peeling
Mechanical stress
Board bends or cracks
Edge damage
Poor drilling
Hole wall damage
Via failure
Improper rework
Local overheating
Pad lifting
Long storage
Moisture or oxidation
Weak bonding
1. Moisture Absorption
PCB materials can absorb moisture from air, storage, or poor packaging. When the board is heated during soldering, trapped moisture expands and creates pressure inside the board.
This is one of the most common causes of blister delamination after reflow.
2. Weak Lamination Bonding
During PCB fabrication, layers must be pressed together with controlled heat, pressure, vacuum, and curing time. If the lamination process is unstable, the board may contain weak bonding areas.
These weak areas may not fail immediately. They often appear after soldering, thermal cycling, or reliability testing.
3. Excessive Thermal Stress
Lead-free soldering usually requires higher temperatures than traditional tin-lead soldering. If the PCB material is not suitable for the soldering profile, the board may delaminate during assembly.
4. Poor Surface Cleanliness
Contamination on copper or laminate surfaces can reduce adhesion. This may include oxidation, dust, oil, chemical residue, or insufficient cleaning before solder mask or lamination.
5. Material Mismatch
Different materials expand differently during heating and cooling. If the PCB stack-up includes materials with poor CTE compatibility, internal stress can build up.
This is especially important for:
Multilayer PCB
Heavy copper PCB
High Tg PCB
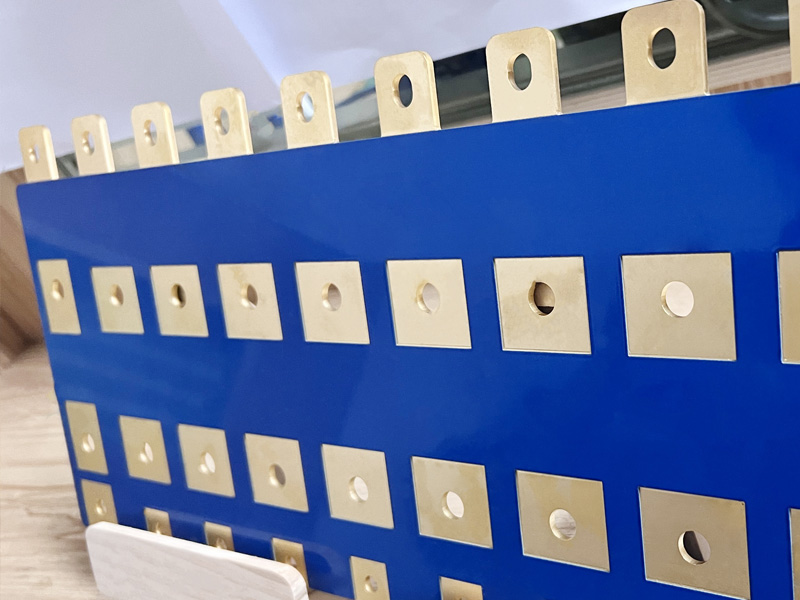
Metal core PCB
Rigid-flex PCB
High-power PCB
High-temperature PCB applications
Manufacturing Note: A reliable PCB manufacturer should not only check the finished board. Delamination prevention starts from material storage, inner-layer preparation, lamination, drilling, plating, solder mask, baking, packaging, and assembly review.
What Are the Root Causes in PCB Manufacturing?
The visible defect is only the result. To solve PCB delamination, the real root cause must be found.
For example, a board may show blisters after reflow. The first reaction may be to blame the SMT line. But the root cause may actually come from laminate moisture, poor prepreg storage, low Tg material, weak inner-layer bonding, or insufficient baking.
Manufacturing Root Causes
1. Poor Laminate or Prepreg Storage
Prepreg and laminate materials must be stored under controlled conditions. If they absorb moisture or age before production, resin flow and curing may become unstable.
Possible results include:
Poor bonding
Resin voids
Internal weakness
Delamination during heating
2. Incorrect Lamination Parameters
Lamination requires controlled temperature, pressure, vacuum, and time. If these parameters are not stable, layers may not bond properly.
Common risks include:
Insufficient resin flow
Trapped air
Weak layer bonding
Resin starvation
Local voids
3. Poor Inner-Layer Copper Treatment
Before multilayer lamination, inner-layer copper needs proper surface treatment to improve bonding. If copper treatment is too weak, too strong, contaminated, or uneven, adhesion may suffer.
This can lead to internal layer delamination after thermal stress.
4. Drilling and Desmear Problems
Poor drilling can create heat damage, smear, rough hole walls, or micro-cracks. If desmear and plating are not well controlled, via reliability may decrease.
This can cause:
Hole wall separation
Via cracking
Barrel defects
Intermittent electrical failure
5. Heavy Copper Lamination Difficulty
Heavy copper boards require more careful resin filling. Thick copper creates height differences between copper and dielectric areas. If resin does not fully fill the gaps, voids or weak bonding zones may remain.
This risk is more common in:
Power supply PCB
Motor control PCB
EV charger PCB
Industrial control PCB
High-current PCB
Heavy copper PCB
6. Incompatible Surface Finish or Solder Mask Process
Solder mask adhesion can fail when surface cleaning, curing, exposure, or surface finish compatibility is not controlled.
This may cause solder mask delamination, exposed copper, poor insulation, or cosmetic rejection.
Root Cause Review Checklist
When a customer reports PCB delamination, these details help engineering analysis:
Gerber files
PCB stack-up
Board thickness
Copper thickness
Laminate material
Tg requirement
Surface finish
Reflow profile
Defect photos
Defect location
Storage condition
Assembly process
Whether the defect appeared before or after soldering
Buyer Takeaway: If your current supplier only says “it is an assembly problem” without checking material, stack-up, lamination, storage, and process records, the root cause may not be fully solved.
How Do Moisture and Reflow Temperature Cause PCB Delamination?
Moisture and reflow temperature are two of the most important factors in PCB delamination. They often work together.
A board may absorb moisture during storage. Then, during reflow soldering, that moisture turns into vapor. The vapor expands quickly. If it cannot escape, internal pressure builds up and pushes the PCB layers apart.
How Moisture Causes Delamination
The process is simple:
The PCB absorbs moisture from air or poor storage.
Moisture stays inside laminate, edges, gaps, or weak interfaces.
The PCB enters reflow soldering or high-temperature processing.
Moisture turns into vapor.
Vapor pressure increases inside the board.
Weak bonding areas begin to separate.
Blisters or internal delamination appear.
Why Reflow Makes the Problem Worse
Reflow soldering exposes the PCB to rapid heating and high peak temperature. If the board is not dry enough, or if the material is not suitable for the profile, delamination risk increases.
Important reflow-related factors include:
Preheat ramp rate
Soak time
Peak temperature
Time above liquidus
Cooling rate
Number of reflow cycles
Board thickness
Copper distribution
Moisture level before assembly
Tg and Thermal Stability
Tg means glass transition temperature. When a PCB laminate goes above its Tg, its mechanical behavior changes. The material expands more and becomes more sensitive to stress.
For products that face lead-free reflow, high operating temperature, or repeated thermal cycling, high Tg material may be needed.
CTE and Layer Stress
CTE means coefficient of thermal expansion. Copper, resin, glass fiber, and other materials expand at different rates. During heating and cooling, this mismatch creates stress inside the board.
This is especially important around:
Plated through holes
Vias
Large copper planes
Thick copper areas
Multilayer stack-ups
High-power regions
Moisture and Reflow Control Methods
Method
Purpose
Vacuum packaging
Reduce moisture
Desiccant
Keep boards dry
Humidity card
Check package status
Controlled storage
Avoid moisture absorption
Baking
Remove moisture
High Tg material
Improve heat resistance
Reflow control
Reduce thermal shock
Proper rework
Prevent pad lifting
Mid-Article CTA: If your PCB delamination happens after reflow, you can send Best Technology your defect photos, Gerber files, stack-up, surface finish, copper thickness, and reflow profile. Our engineering team can help check whether the risk comes from material, moisture, lamination, or assembly conditions.
What Types of PCB Delamination Can Occur?
PCB delamination can appear in different forms. The location of the defect helps engineers judge the root cause, repair possibility, and reliability risk.
1. Internal Layer Delamination
Internal layer delamination happens between layers inside a multilayer PCB. It may occur between copper and dielectric layers, between core and prepreg, or inside weak resin-rich areas.
This type is serious because it can affect hidden conductors, vias, impedance control, and long-term reliability.
Typical risk: open circuits, via failure, impedance drift, or field failure after thermal cycling.
2. Edge Delamination
Edge delamination appears at the board outline. The PCB layers may look slightly open, cracked, or separated near the routed edge.
Common causes include routing stress, weak lamination, moisture expansion, or mechanical damage during handling.
Typical risk: moisture can enter from the board edge and make the separation worse over time.
3. Copper Delamination
Copper delamination means copper foil, pads, or traces lift from the base material. It often happens during soldering, rework, mechanical pulling, or long-term aging.
For old PCBs, copper pads may lift more easily because heat, humidity, and oxidation have already weakened the copper bond.
Typical risk: broken traces, poor solder joints, unstable current paths, or difficult repair.
4. Solder Mask Delamination
Solder mask delamination refers to solder mask peeling from the copper or laminate surface. It is often related to poor cleaning, surface contamination, improper curing, or incompatible surface finish.
It may not always damage the internal PCB structure, but it can still affect insulation, corrosion resistance, and soldering quality.
Via delamination occurs around plated through holes or vias. It may come from drilling heat, desmear problems, plating stress, or repeated thermal expansion.
This defect is especially important in multilayer PCBs because vias connect inner layers.
Typical risk: intermittent connection, barrel cracking, or hidden electrical failure.
6. Blister Delamination
Blister delamination appears as raised bubbles on the PCB surface. It is commonly linked to trapped moisture, contamination, or weak adhesion.
If blisters appear after reflow soldering, the board may have absorbed moisture or the laminate bond may not be strong enough.
Typical risk: surface swelling, internal separation, and poor reliability after assembly.
7. Old PCB Copper Delamination
Old PCB copper delamination may happen during repair or refurbishing. Aged boards may have weaker copper adhesion due to long-term heat, humidity, oxidation, or previous soldering cycles.
When pads lift from an old board, repair becomes more difficult.
Not every delamination defect has the same risk. Surface solder mask peeling may be repairable, while internal layer delamination usually requires serious engineering review.
If delamination appears after reflow, do not only check the assembly process. The root cause may come from PCB material, lamination quality, storage, baking, or moisture control.
How to Detect, Inspect, and Test PCB Delamination?
PCB delamination inspection should be based on defect type, application risk, and product reliability requirement. A simple visual check is useful, but it may not be enough for multilayer or high-reliability boards.
Common PCB Delamination Inspection Methods
Method
Checks
Visual inspection
Bubbles, peeling, swelling
Microscope
Small cracks and lifted pads
Cross-section
Internal separation
Thermal stress test
Heat resistance
X-ray
Hidden structure issues
Acoustic inspection
Hidden voids
Electrical test
Open or short circuits
Visual Inspection
Visual inspection should check:
Surface bubbles
White spots
Blisters
Solder mask peeling
Edge separation
Lifted copper
Cracks near holes
Discoloration after soldering
This is the first inspection step, but it cannot confirm all internal defects.
Microscope Inspection
Microscope inspection helps identify small defects that may not be visible by eye. It is useful for checking:
Fine traces
Small pads
Via areas
Solder mask edges
Copper lifting
Micro-cracks
Cross-Section Analysis
Cross-section analysis is one of the most reliable ways to confirm internal delamination. The board is cut, polished, and inspected under magnification.
It can show:
Layer separation
Resin voids
Barrel cracks
Plating thickness
Hole wall condition
Inner-layer bonding quality
Thermal Stress Testing
Thermal stress testing helps check whether the board can survive soldering or temperature cycling. If delamination appears after thermal exposure, the board may have material, moisture, or lamination weakness.
Engineering Review
For serious cases, inspection should not stop at “pass” or “fail.” A useful report should explain:
Where the defect is located
Whether it is surface or internal
Whether copper or vias are affected
Whether the board can still be used
Possible root cause
Corrective action for the next batch
Buyer Takeaway: For simple boards, visual inspection may be enough. For automotive, medical, industrial, power, or multilayer PCB projects, cross-section analysis and thermal review are much more valuable.
Can PCB Delamination Be Repaired or Prevented?
PCB delamination repair depends on the location, severity, and application. Some surface defects may be repairable. Internal layer delamination is usually much harder to repair and may require board replacement.
Repair Possibility by Defect Type
Defect Type
Repair Chance
Action
Solder mask peeling
Possible
Recoat after review
Lifted pad
Limited
Controlled repair
Trace lifting
Limited
Repair or jumper
Edge delamination
Low
Seal if minor
Internal delamination
Very low
Replace board
Via delamination
High risk
Engineering review
Blister after reflow
Depends
Find root cause
When Repair May Be Acceptable
Repair may be considered when:
The defect is local
The internal circuit is not affected
The product is non-critical
The customer accepts repair
The repair method follows controlled procedure
Final inspection confirms acceptable quality
When Replacement Is Safer
Board replacement is usually safer when:
Delamination is internal
Vias or plated holes are affected
The product is high-reliability
The defect appears after reflow
The board will face temperature cycling
Copper paths are damaged
The same defect appears in many boards
How to Prevent PCB Delamination
Prevention is more reliable than repair. A good PCB supplier should control the risk before production.
Key prevention methods include:
Choose the right material Select suitable Tg, CTE, thickness, and thermal stability based on application and soldering process.
Control laminate and prepreg storage Prevent moisture absorption before production.
Use stable lamination parameters Control temperature, pressure, vacuum, resin flow, and curing time.
Improve inner-layer bonding Use proper copper treatment and cleaning before multilayer lamination.
Control drilling and desmear Reduce hole wall damage and via reliability risks.
Use suitable baking and packaging Reduce moisture risk before shipment and assembly.
Review the assembly process Check reflow profile, number of reflow cycles, and rework conditions.
How Best Technology Helps Prevent PCB Delamination
Best Technology supports PCB projects where material stability, process control, and long-term reliability matter. For PCB delamination prevention, we focus on both manufacturing control and engineering review.
Our support includes:
PCB stack-up review before production
Material selection based on soldering and operating temperature
High Tg material support when needed
Multilayer lamination process control
Prepreg and laminate storage management
Inner-layer surface treatment control
Drilling, desmear, and plating quality inspection
Solder mask adhesion process control
Cross-section inspection support when required
Moisture control, baking, and vacuum packaging
PCB assembly review for reflow-related risk
Failure analysis support for repeated delamination problems
What Buyers Should Provide for Delamination Risk Review
If you want a manufacturer to check delamination risk before production, prepare these files and details:
Gerber files
PCB stack-up
Board thickness
Layer count
Copper thickness
Surface finish
Material requirement
Tg requirement
Soldering process
Reflow profile if available
Product application
Working temperature
Photos of previous defects
Expected order quantity
Reliability requirement
Buyer Takeaway: The best time to solve PCB delamination is before mass production. If the board has high copper thickness, multilayer structure, lead-free reflow, high operating temperature, or strict reliability needs, ask your PCB manufacturer to review the material and stack-up first.
FAQs about PCB Delamination
Q1: Is PCB delamination a serious defect? A1: Yes. If delamination affects internal layers, copper traces, vias, or plated holes, it may cause long-term reliability problems. Minor surface defects may be reviewed, but internal separation should not be ignored.
Q2: What is the most common cause of PCB delamination? A2: Moisture absorption and thermal stress are common causes. Poor lamination, weak copper adhesion, contamination, unsuitable material, and improper rework can also lead to delamination.
Q3: Why does PCB delamination happen after reflow soldering? A3: During reflow, moisture inside the PCB can turn into vapor and expand. If the laminate bond is weak or the reflow temperature is too high, the pressure can create blisters or layer separation.
Q4: Can PCB delamination be repaired? A4: Some surface defects can be repaired, such as small solder mask peeling or minor lifted pads. Internal layer delamination is difficult to repair and is usually not recommended for high-reliability products.
Q5: What does PCB delamination look like? A5: It may look like bubbles, blisters, white patches, swelling, lifted copper, edge separation, solder mask peeling, or cracks near holes. Some internal defects are hidden and need cross-section analysis.
Q6: Is solder mask peeling the same as PCB delamination? A6: No. Solder mask peeling affects the coating layer, while PCB delamination usually refers to separation between laminate, copper, prepreg, or internal board layers.
Q7: How can I prevent PCB delamination before assembly? A7: Use suitable PCB material, control storage humidity, bake boards when necessary, avoid excessive reflow temperature, and choose a manufacturer with stable lamination and moisture control processes.
Q8: Can old PCBs delaminate more easily? A8: Yes. Old PCBs may have absorbed moisture or experienced long-term heat, oxidation, and mechanical stress. Copper pads and traces may lift more easily during repair.
Q9: How do manufacturers inspect PCB delamination? A9: Manufacturers may use visual inspection, microscope inspection, cross-section analysis, thermal stress testing, X-ray inspection, or other reliability tests depending on the board type and application.
Q10: What should I send to a PCB manufacturer for delamination analysis? A10: Send Gerber files, stack-up, board thickness, copper thickness, surface finish, material requirement, defect photos, reflow profile, and application details. This helps the engineering team identify possible root causes.
In summary, PCB delamination can come from moisture, heat, weak lamination, poor material selection, contamination, mechanical stress, or improper rework. Some surface defects may be repairable, but internal layer separation can create serious reliability risks, especially in multilayer, high-power, automotive, medical, communication, and industrial PCB applications.
For PCB buyers, the better question is not only “Can this defect be repaired?” The more important question is: How can we prevent delamination before mass production? Reliable prevention starts with the right laminate, proper Tg selection, stable lamination, moisture control, stack-up review, controlled reflow conditions, and clear inspection standards.
Best Technology provides custom PCB manufacturing and PCB assembly support for projects that require stable quality and long-term reliability. If your project has PCB delamination problems, blistering after reflow, copper lifting, high-temperature requirements, thick copper design, multilayer reliability concerns, or copper base PCB delamination issues, please feel free to send your Gerber files, stack-up, defect photos, and project requirements to sales@bestpcbs.com. Our engineering team will review your case and provide suitable PCB manufacturing support and quotation.
This website uses cookies to enhance your experience, remember your preferences, and help us understand how visitors use our site. You can accept all cookies, reject non-essential cookies, or manage your settings.
This website uses cookies to improve your experience while you navigate through the website. Out of these cookies, the cookies that are categorized as necessary are stored on your browser as they are essential for the working of basic functionalities of the website. We also use third-party cookies that help us analyze and understand how you use this website. These cookies will be stored in your browser only with your consent. You also have the option to opt-out of these cookies. But opting out of some of these cookies may have an effect on your browsing experience.
Necessary cookies are absolutely essential for the website to function properly. These cookies ensure basic functionalities and security features of the website, anonymously.
Cookie
Duration
Description
cookielawinfo-checkbox-analytics
11 months
This cookie is set by GDPR Cookie Consent plugin. The cookie is used to store the user consent for the cookies in the category "Analytics".
cookielawinfo-checkbox-functional
11 months
The cookie is set by GDPR cookie consent to record the user consent for the cookies in the category "Functional".
cookielawinfo-checkbox-necessary
11 months
This cookie is set by GDPR Cookie Consent plugin. The cookies is used to store the user consent for the cookies in the category "Necessary".
cookielawinfo-checkbox-others
11 months
This cookie is set by GDPR Cookie Consent plugin. The cookie is used to store the user consent for the cookies in the category "Other.
cookielawinfo-checkbox-performance
11 months
This cookie is set by GDPR Cookie Consent plugin. The cookie is used to store the user consent for the cookies in the category "Performance".
viewed_cookie_policy
11 months
The cookie is set by the GDPR Cookie Consent plugin and is used to store whether or not user has consented to the use of cookies. It does not store any personal data.
Functional cookies help to perform certain functionalities like sharing the content of the website on social media platforms, collect feedbacks, and other third-party features.
Performance cookies are used to understand and analyze the key performance indexes of the website which helps in delivering a better user experience for the visitors.
Analytical cookies are used to understand how visitors interact with the website. These cookies help provide information on metrics the number of visitors, bounce rate, traffic source, etc.
Advertisement cookies are used to provide visitors with relevant ads and marketing campaigns. These cookies track visitors across websites and collect information to provide customized ads.