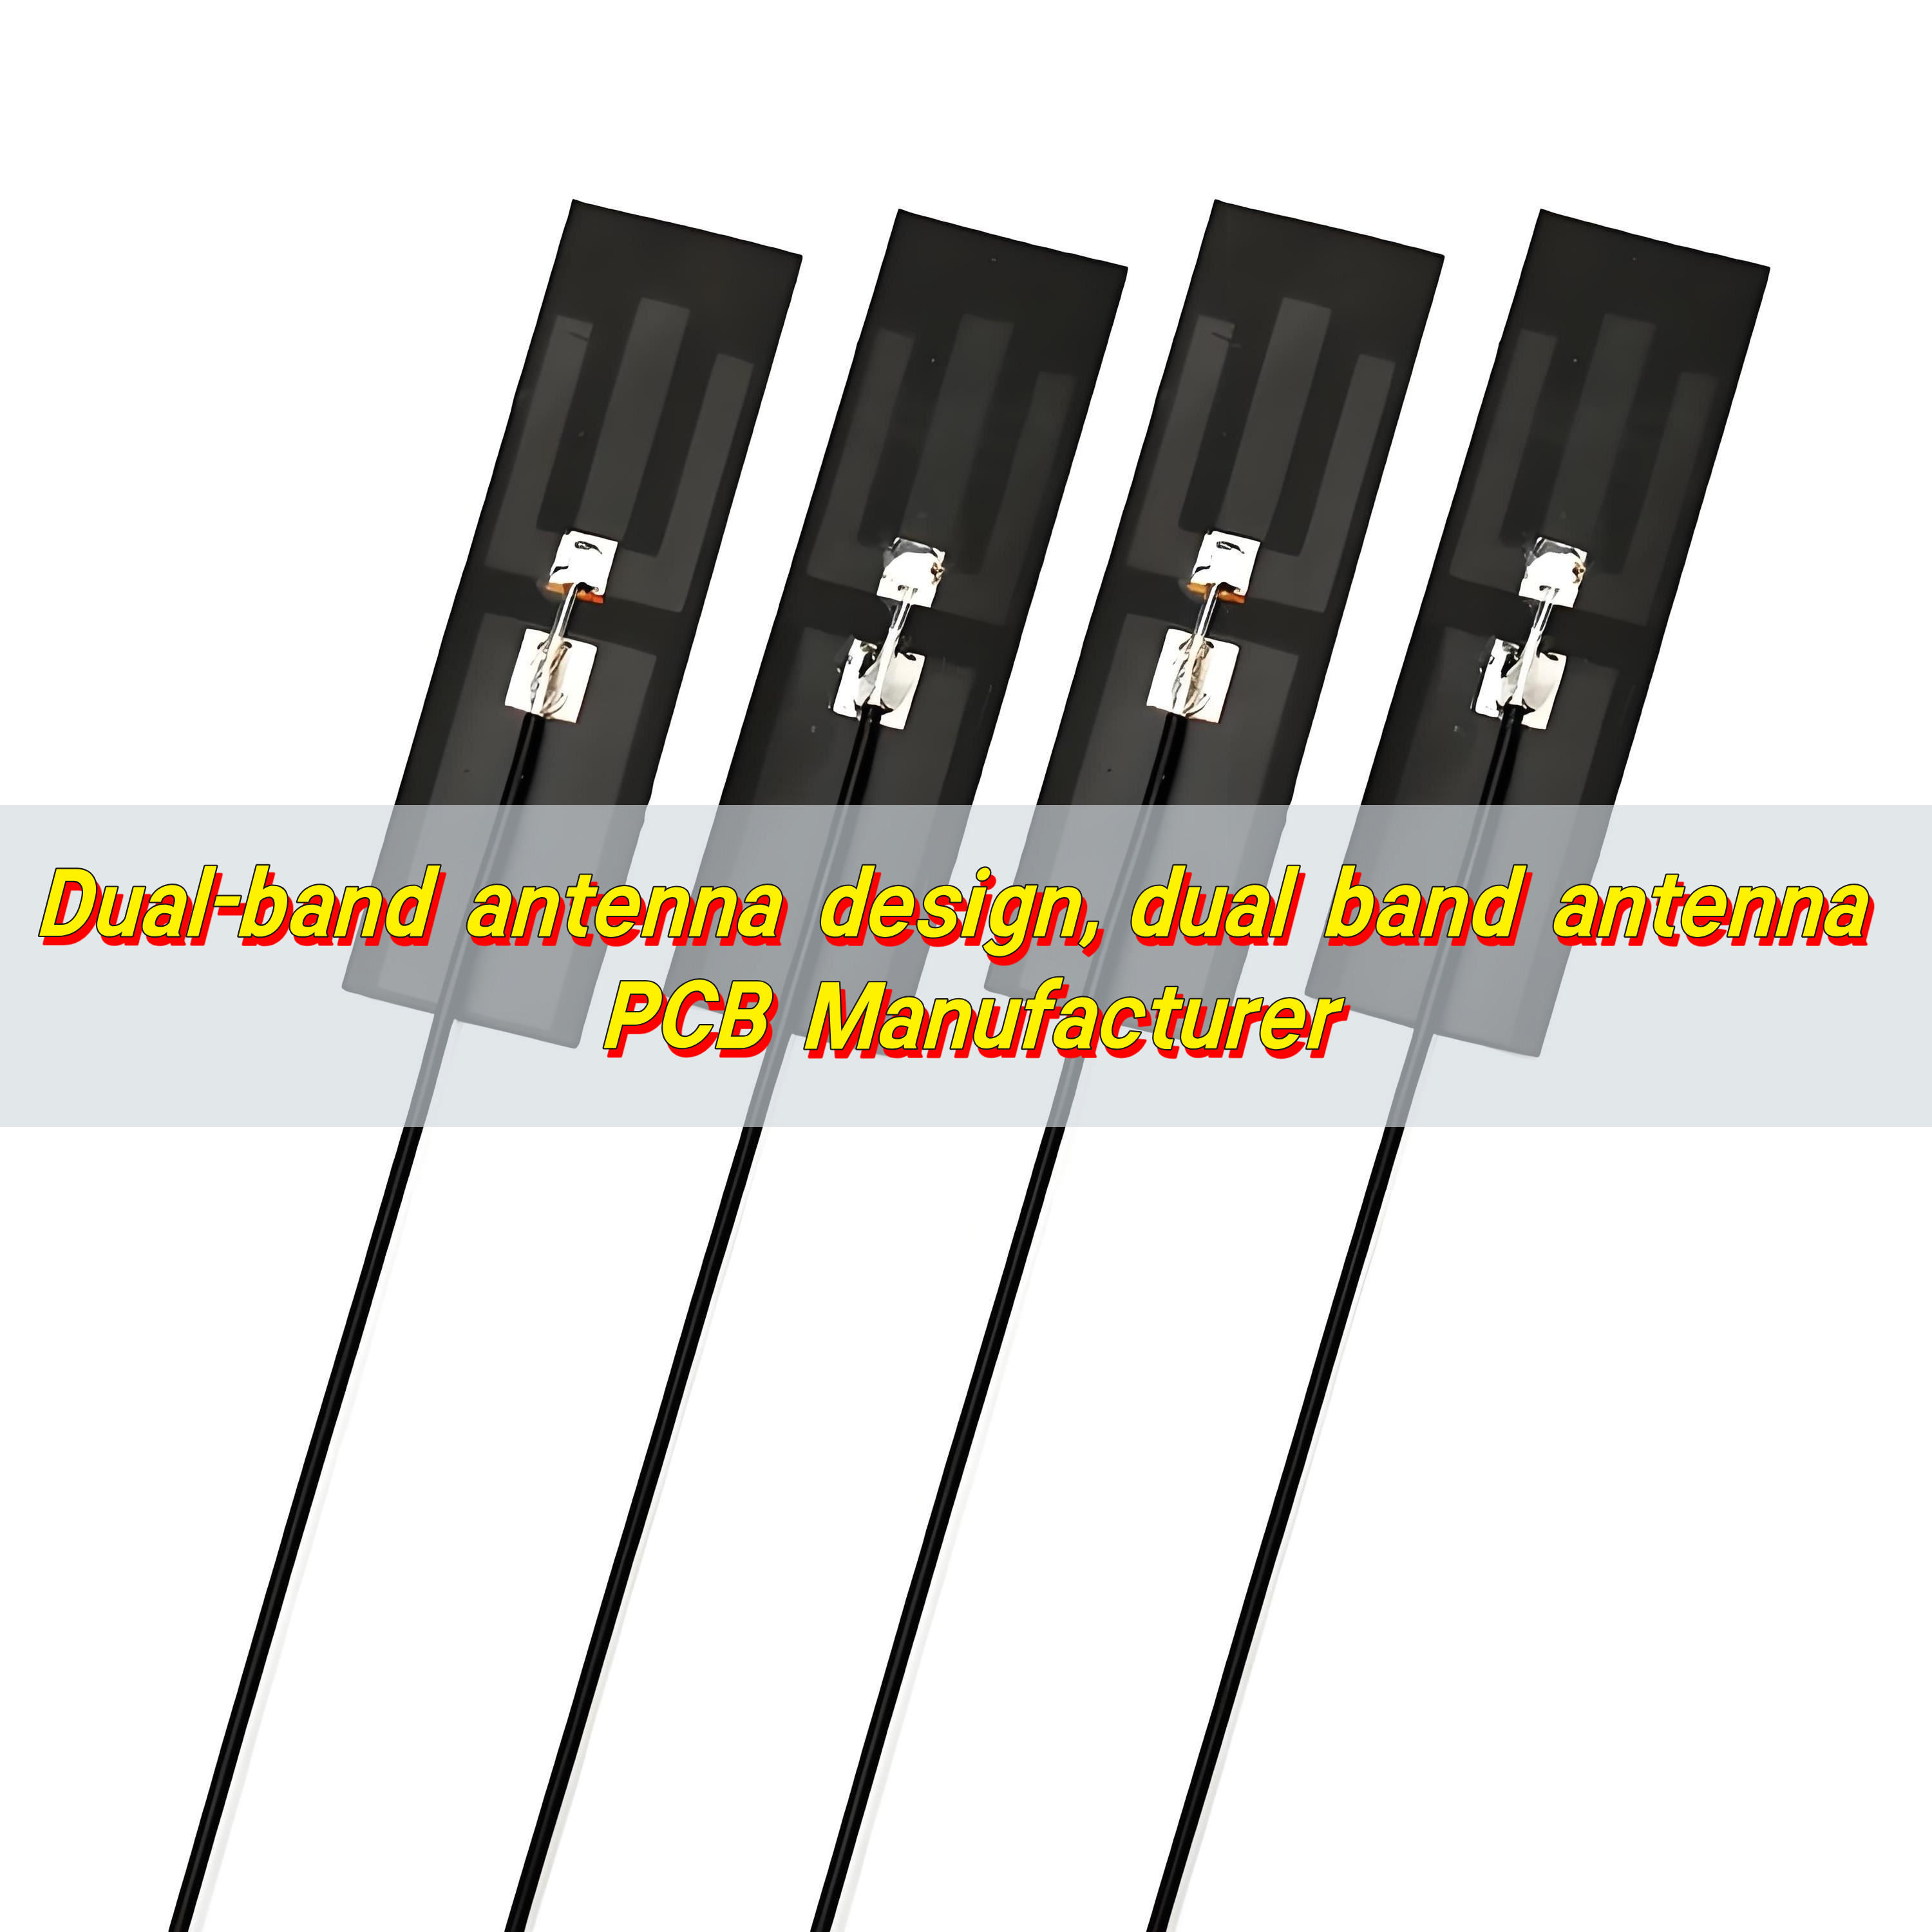
As one of the most widely used antenna designs, a dipole PCB antenna plays a critical role in radio transmission, IoT devices, and RF applications. Whether it is used in Wi-Fi routers, mobile networks, or radar systems, the dipole antenna PCB ensures stable and reliable signal transmission.
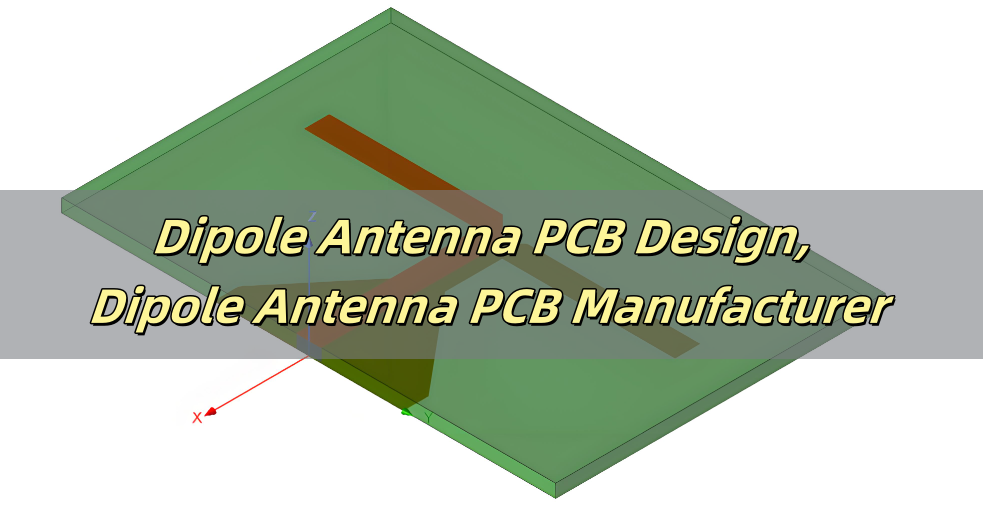
What is a Dipole Antenna PCB?
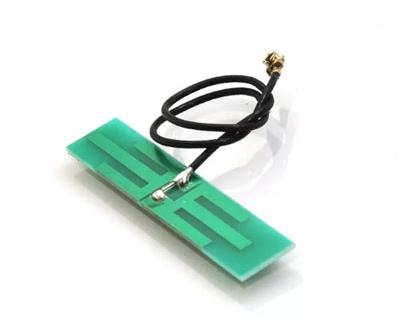
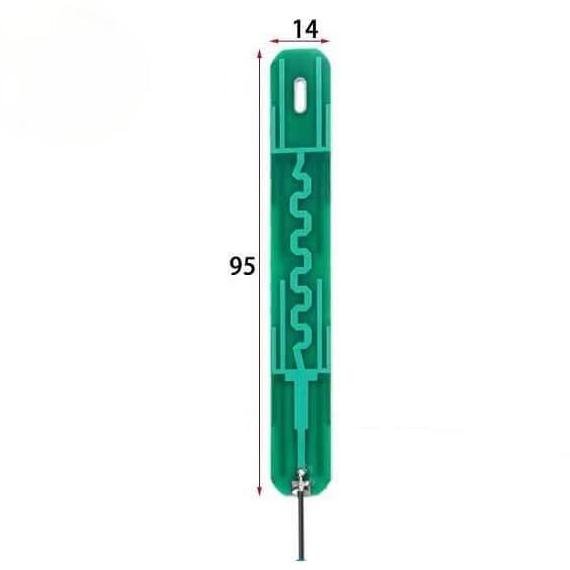
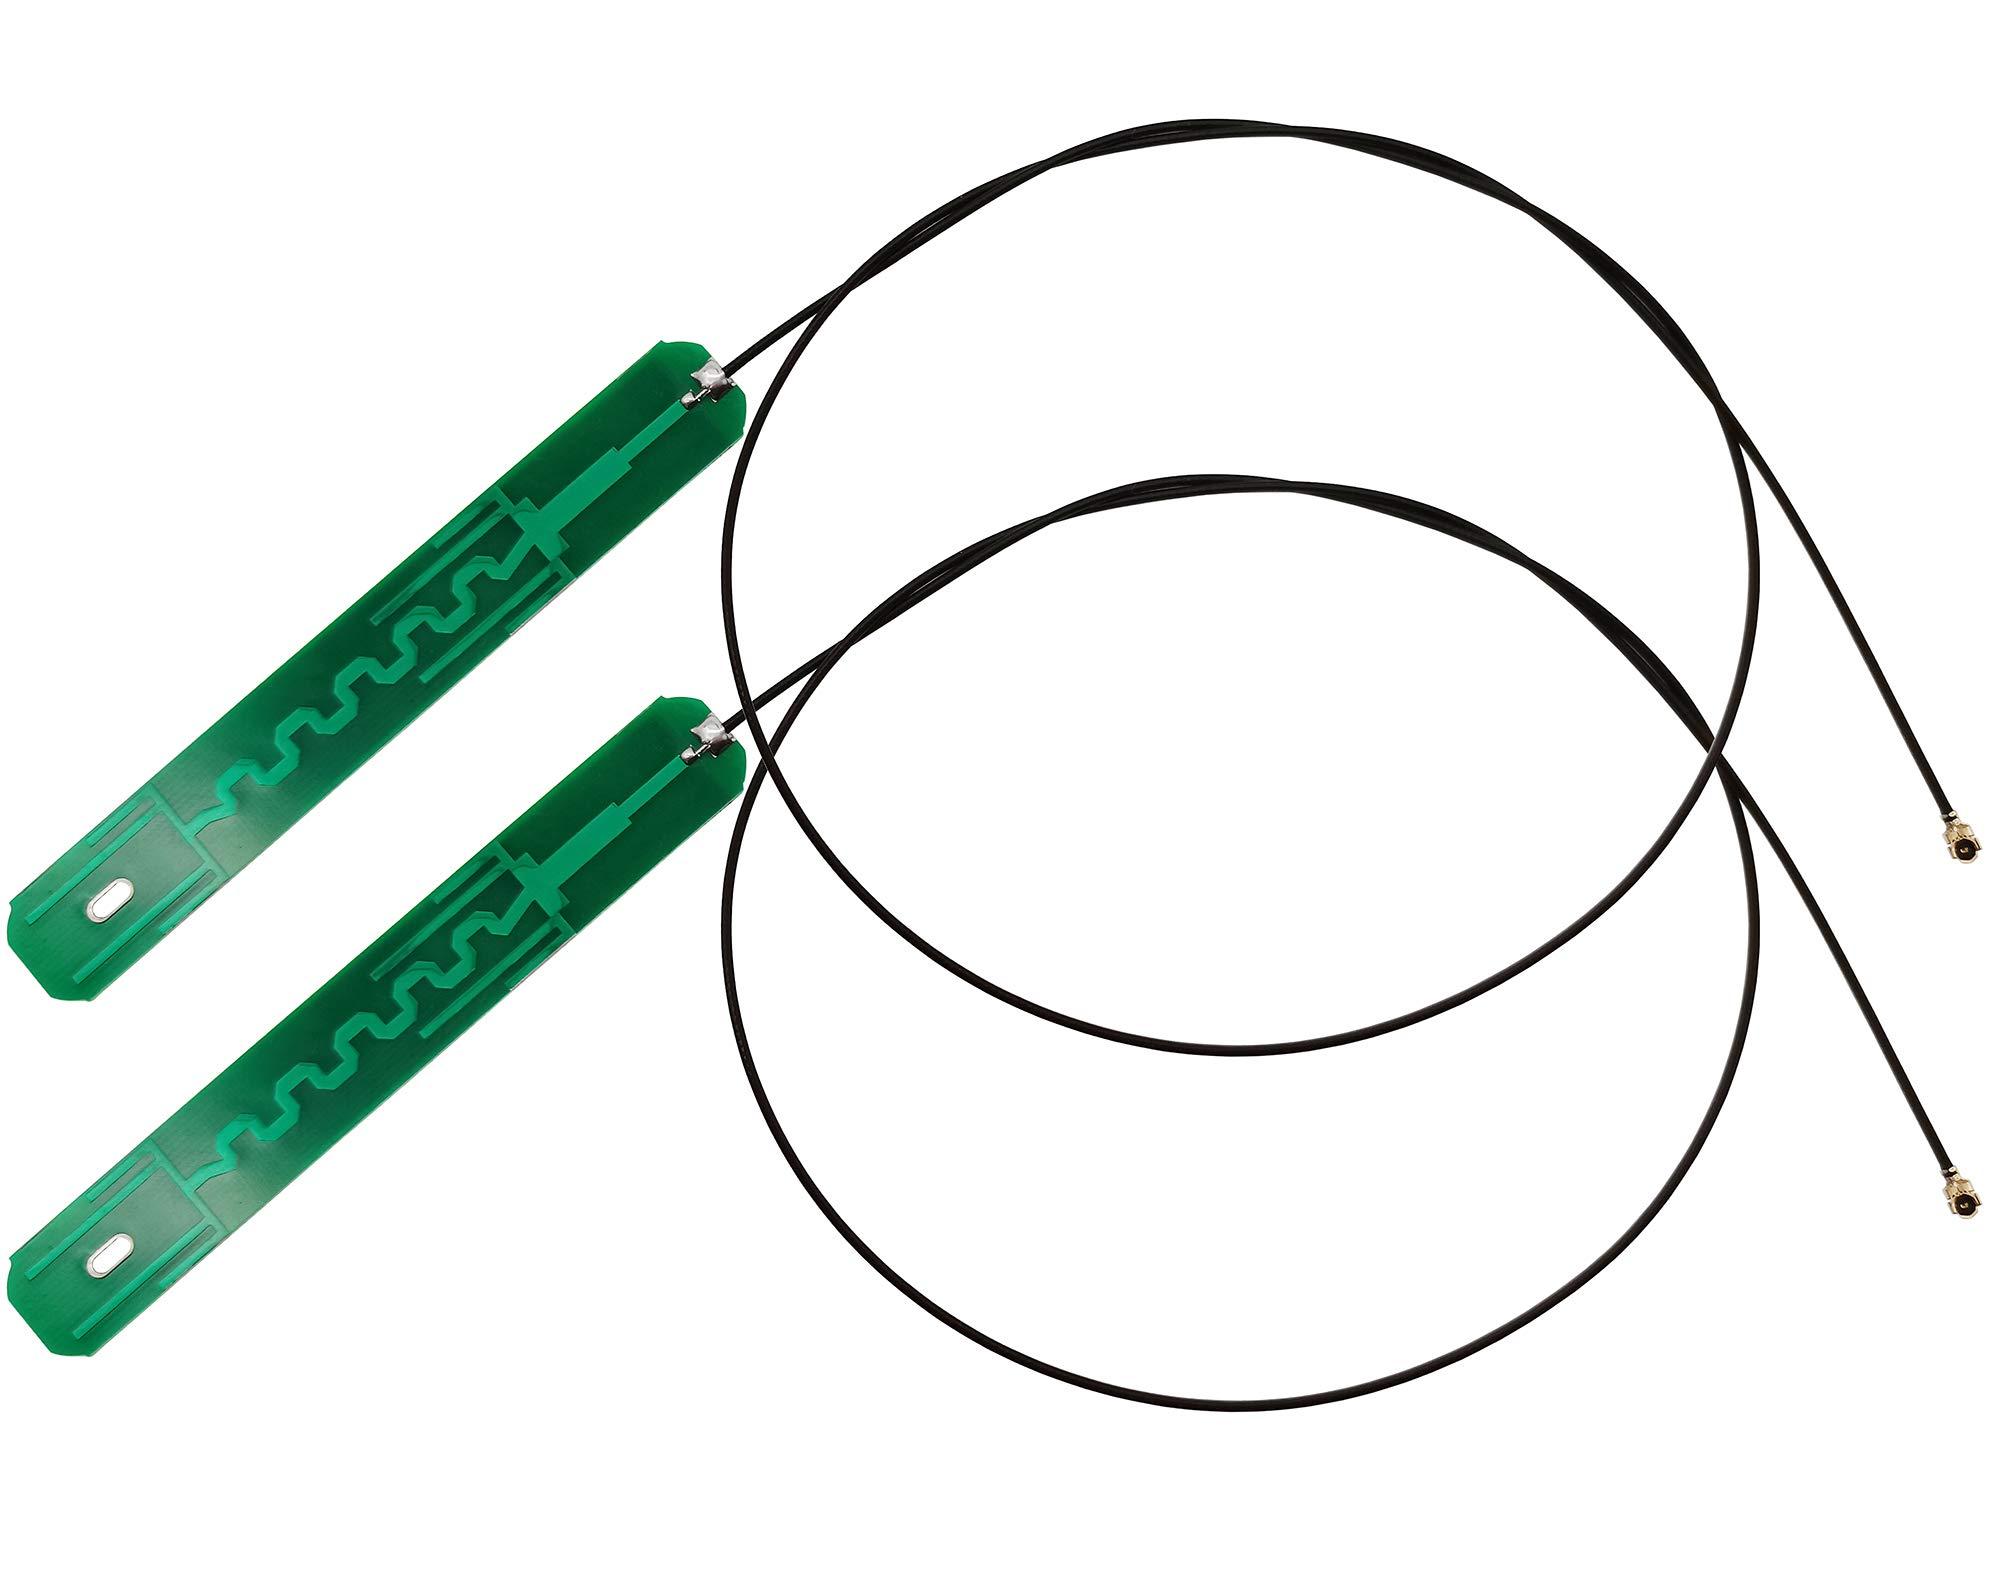
A dipole antenna PCB is a printed circuit board-based antenna designed with two conductive elements that serve as radiating arms. The word “dipole” means “two poles,” which describes the two symmetrical elements that make up the antenna. The length of these elements is typically half the wavelength of the frequency it operates on, which is why it is often called a half-wave dipole antenna.
This type of antenna is widely used in RF applications due to its simple construction, ease of manufacturing, and effective radiation properties. A dipole antenna PCB is commonly found in wireless communication systems, radio transmitters, satellite communication, and IoT devices. The radiation pattern of a dipole antenna is omnidirectional, making it ideal for applications that require uniform signal coverage.
Dipole PCB Antenna Design
Same as others antenna PCBs, designing a dipole PCB antenna requires careful consideration of factors such as frequency, impedance, substrate material, and radiation efficiency. The key aspects of designing a dipole PCB antenna include:
1. Determining the Antenna Length
The total length of a half-wave dipole antenna is calculated using the formula:

Where:
- L = Length of the dipole antenna
- λ = Wavelength of the signal
- c = Speed of light (3 × 10^8 m/s)
- f = Operating frequency
For example, for a 2.4 GHz Wi-Fi application, the length of a half-wave dipole antenna would be approximately 62.5 mm.
2. Choosing the Substrate Material
The choice of PCB substrate material affects the antenna’s efficiency and performance. The most common substrates used in dipole antenna PCB design include:
- FR-4: Low-cost but has higher dielectric loss, suitable for general applications.
- Rogers RO4000 Series: Low-loss, high-performance material for RF applications.
- PTFE (Teflon): Ideal for high-frequency applications due to its low dielectric constant.
3. Impedance Matching
A standard dipole antenna has an impedance of 73 ohms in free space. To maximize power transfer, the impedance of the antenna must be matched with the feedline and transmitter, typically using a 50-ohm transmission line. This can be achieved through matching networks or baluns (balanced-to-unbalanced transformers).
4. Feed Mechanism
- A dipole PCB antenna can be fed using:
- Coaxial Feed: A direct connection to a 50-ohm coaxial cable.
- Microstrip Feed: Uses a microstrip transmission line on the PCB for integration with circuits.
- Balun Feed: Improves performance by converting an unbalanced signal into a balanced one.
Working Principle of Dipole Antenna PCB
A dipole antenna PCB operates based on the principle of electromagnetic radiation. It typically consists of two symmetrical conductive elements, arranged in a straight or semicircular configuration, which function as the transmitting and receiving elements. These two conductor arms are fed at the center, forming a half-wavelength antenna. The current distribution on the dipole antenna resembles that of an open transmission line, with current nodes appearing at both ends.
When an alternating current (AC) signal is applied at the feed point, the current oscillates along the dipole arms, generating an electric field. This interaction with the surrounding environment results in the propagation of electromagnetic waves. The efficiency of radiation depends on the length and shape of the conductors. Typically, a dipole antenna is designed with a length of 1/2 or 1/4 of the wavelength of the intended signal to maximize radiation performance. The working process shows as below:
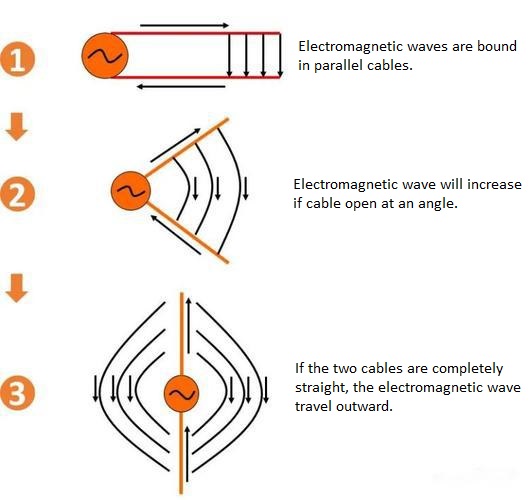
In PCB design, placing a ground layer beneath the antenna can create a mirror effect, enhancing its performance. Additionally, careful PCB layout adjustments and ground layer configurations can optimize the antenna’s radiation efficiency and directivity, improving overall signal strength and stability.
Dipole Antenna PCB Advantages
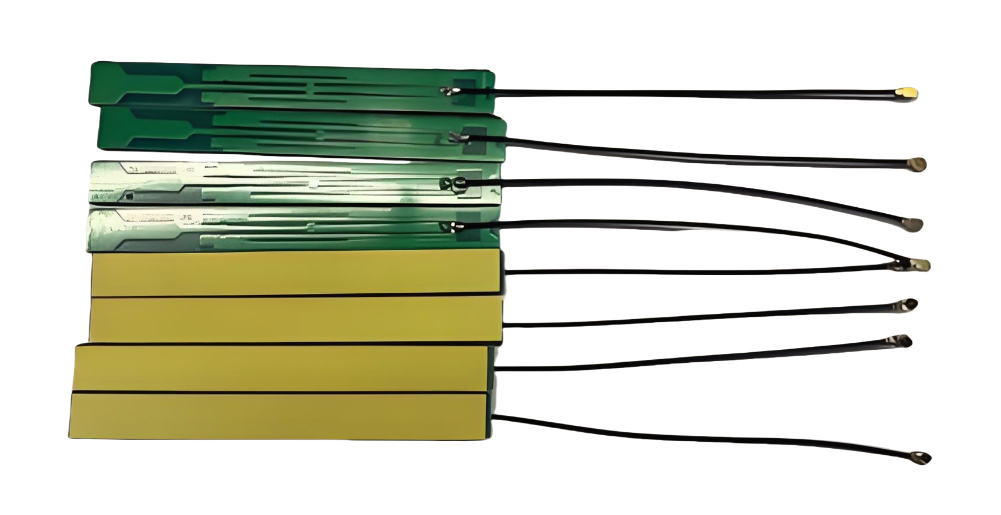
- Simple structure and easy to manufacture: The dipole antenna consists of two conductors of equal length, with a simple structure, easy to manufacture and maintain, and low cost.
- Omnidirectional radiation: Dipole antenna can form a strong radiation field in two opposite directions, with omnidirectional radiation characteristics, suitable for applications that require uniform coverage of the surrounding environment, such as Wi-Fi hotspots or mobile base stations.
- Standard impedance matching: It can easily achieve standard impedance matching of 50Ω or 75Ω, simplifying the connection with other RF components.
- Good radiation pattern: The radiation pattern of the dipole antenna is relatively uniform in the horizontal direction and symmetrical in the vertical direction, which is suitable for some communication systems that require balanced feeding.
- Higher gain: The gain of the dipole antenna is generally higher than that of the monopole antenna, especially in the vertical direction, which is more symmetrical and can provide a more uniform radiation field.
- Wide Frequency Range: Can be optimized for different frequency bands.
- Scalability: Can be designed for small devices like IoT sensors or large-scale communication systems.
Dipole Antenna Radiation Pattern
The radiation pattern of a dipole antenna is typically omnidirectional in the H-plane (horizontal plane), meaning it radiates energy uniformly in all directions. However, in the E-plane (vertical plane), it exhibits a figure-eight pattern, with maximum radiation perpendicular to the dipole elements. It always shows as below:
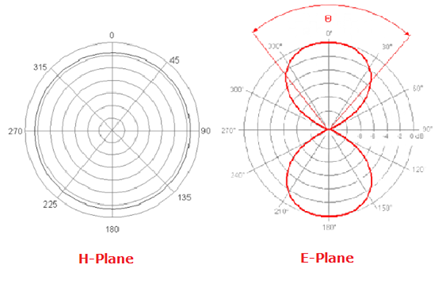
This characteristic makes dipole antennas ideal for applications requiring uniform signal distribution around the antenna’s axis.
Types of Dipole Antennas
1. Half-Wave Dipole Antenna: The most common type, where the total length is half the wavelength.
2. Folded Dipole Antenna: Features an additional conductor for higher bandwidth and impedance matching.
3. Short Dipole Antenna: Uses a shorter length but requires additional tuning for better efficiency.
4. Multi-Band Dipole Antenna: Designed for multiple frequency bands, useful in telecommunications and radar applications.
Applications of Dipole PCB Antenna
- Wireless Communication: Wi-Fi, Bluetooth, and RFID systems.
- IoT Devices: Smart home automation, industrial sensors, and medical wearables.
- Broadcasting: AM/FM radio and television transmission.
- Aerospace and Defense: Satellite communication, radar systems, and UAVs.
- Automotive: Vehicle-to-vehicle (V2V) and vehicle-to-infrastructure (V2I) communication.
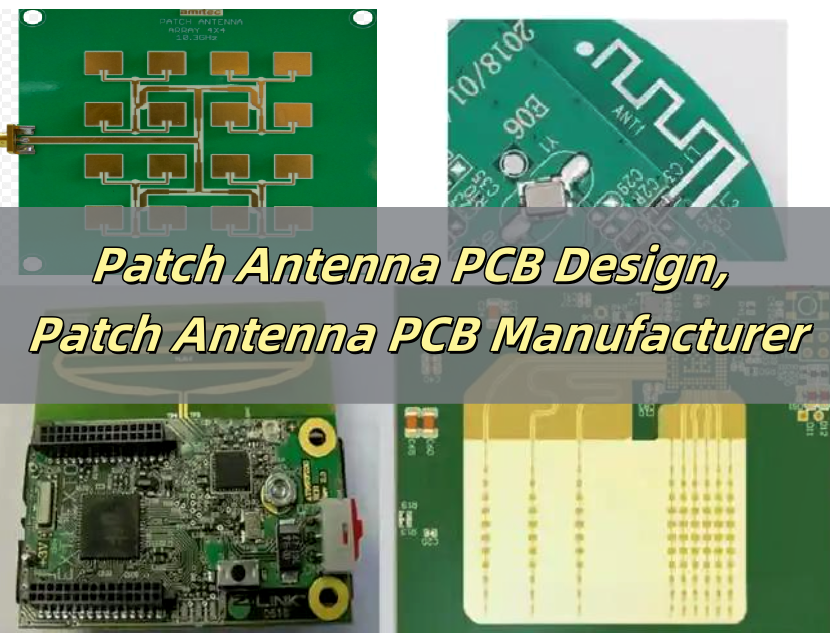
Best Dipole Antenna PCB Manufacturer
Choosing the right dipole antenna PCB manufacturer is crucial for achieving optimal performance. EBest Circuit (Best Technology) has over 18 years of experience in manufacturing high-frequency RF PCB and microwave PCBs, specializing in custom dipole PCB antennas for wireless communication and IoT applications. We can provide:
- High-Precision Manufacturing: Advanced fabrication techniques ensure accurate antenna designs.
- Premium RF Materials: Uses high-performance PCB materials like Rogers and PTFE.
- Customization Options: Designs tailored to your specific frequency and impedance requirements.
- Reliable Performance: Ensures consistent signal transmission with high efficiency.
- Global Shipping: Trusted by clients worldwide for RF PCB solutions.
For custom dipole PCB antenna solutions, contact EBest Circuit (Best Technology) today to get a free consultation!