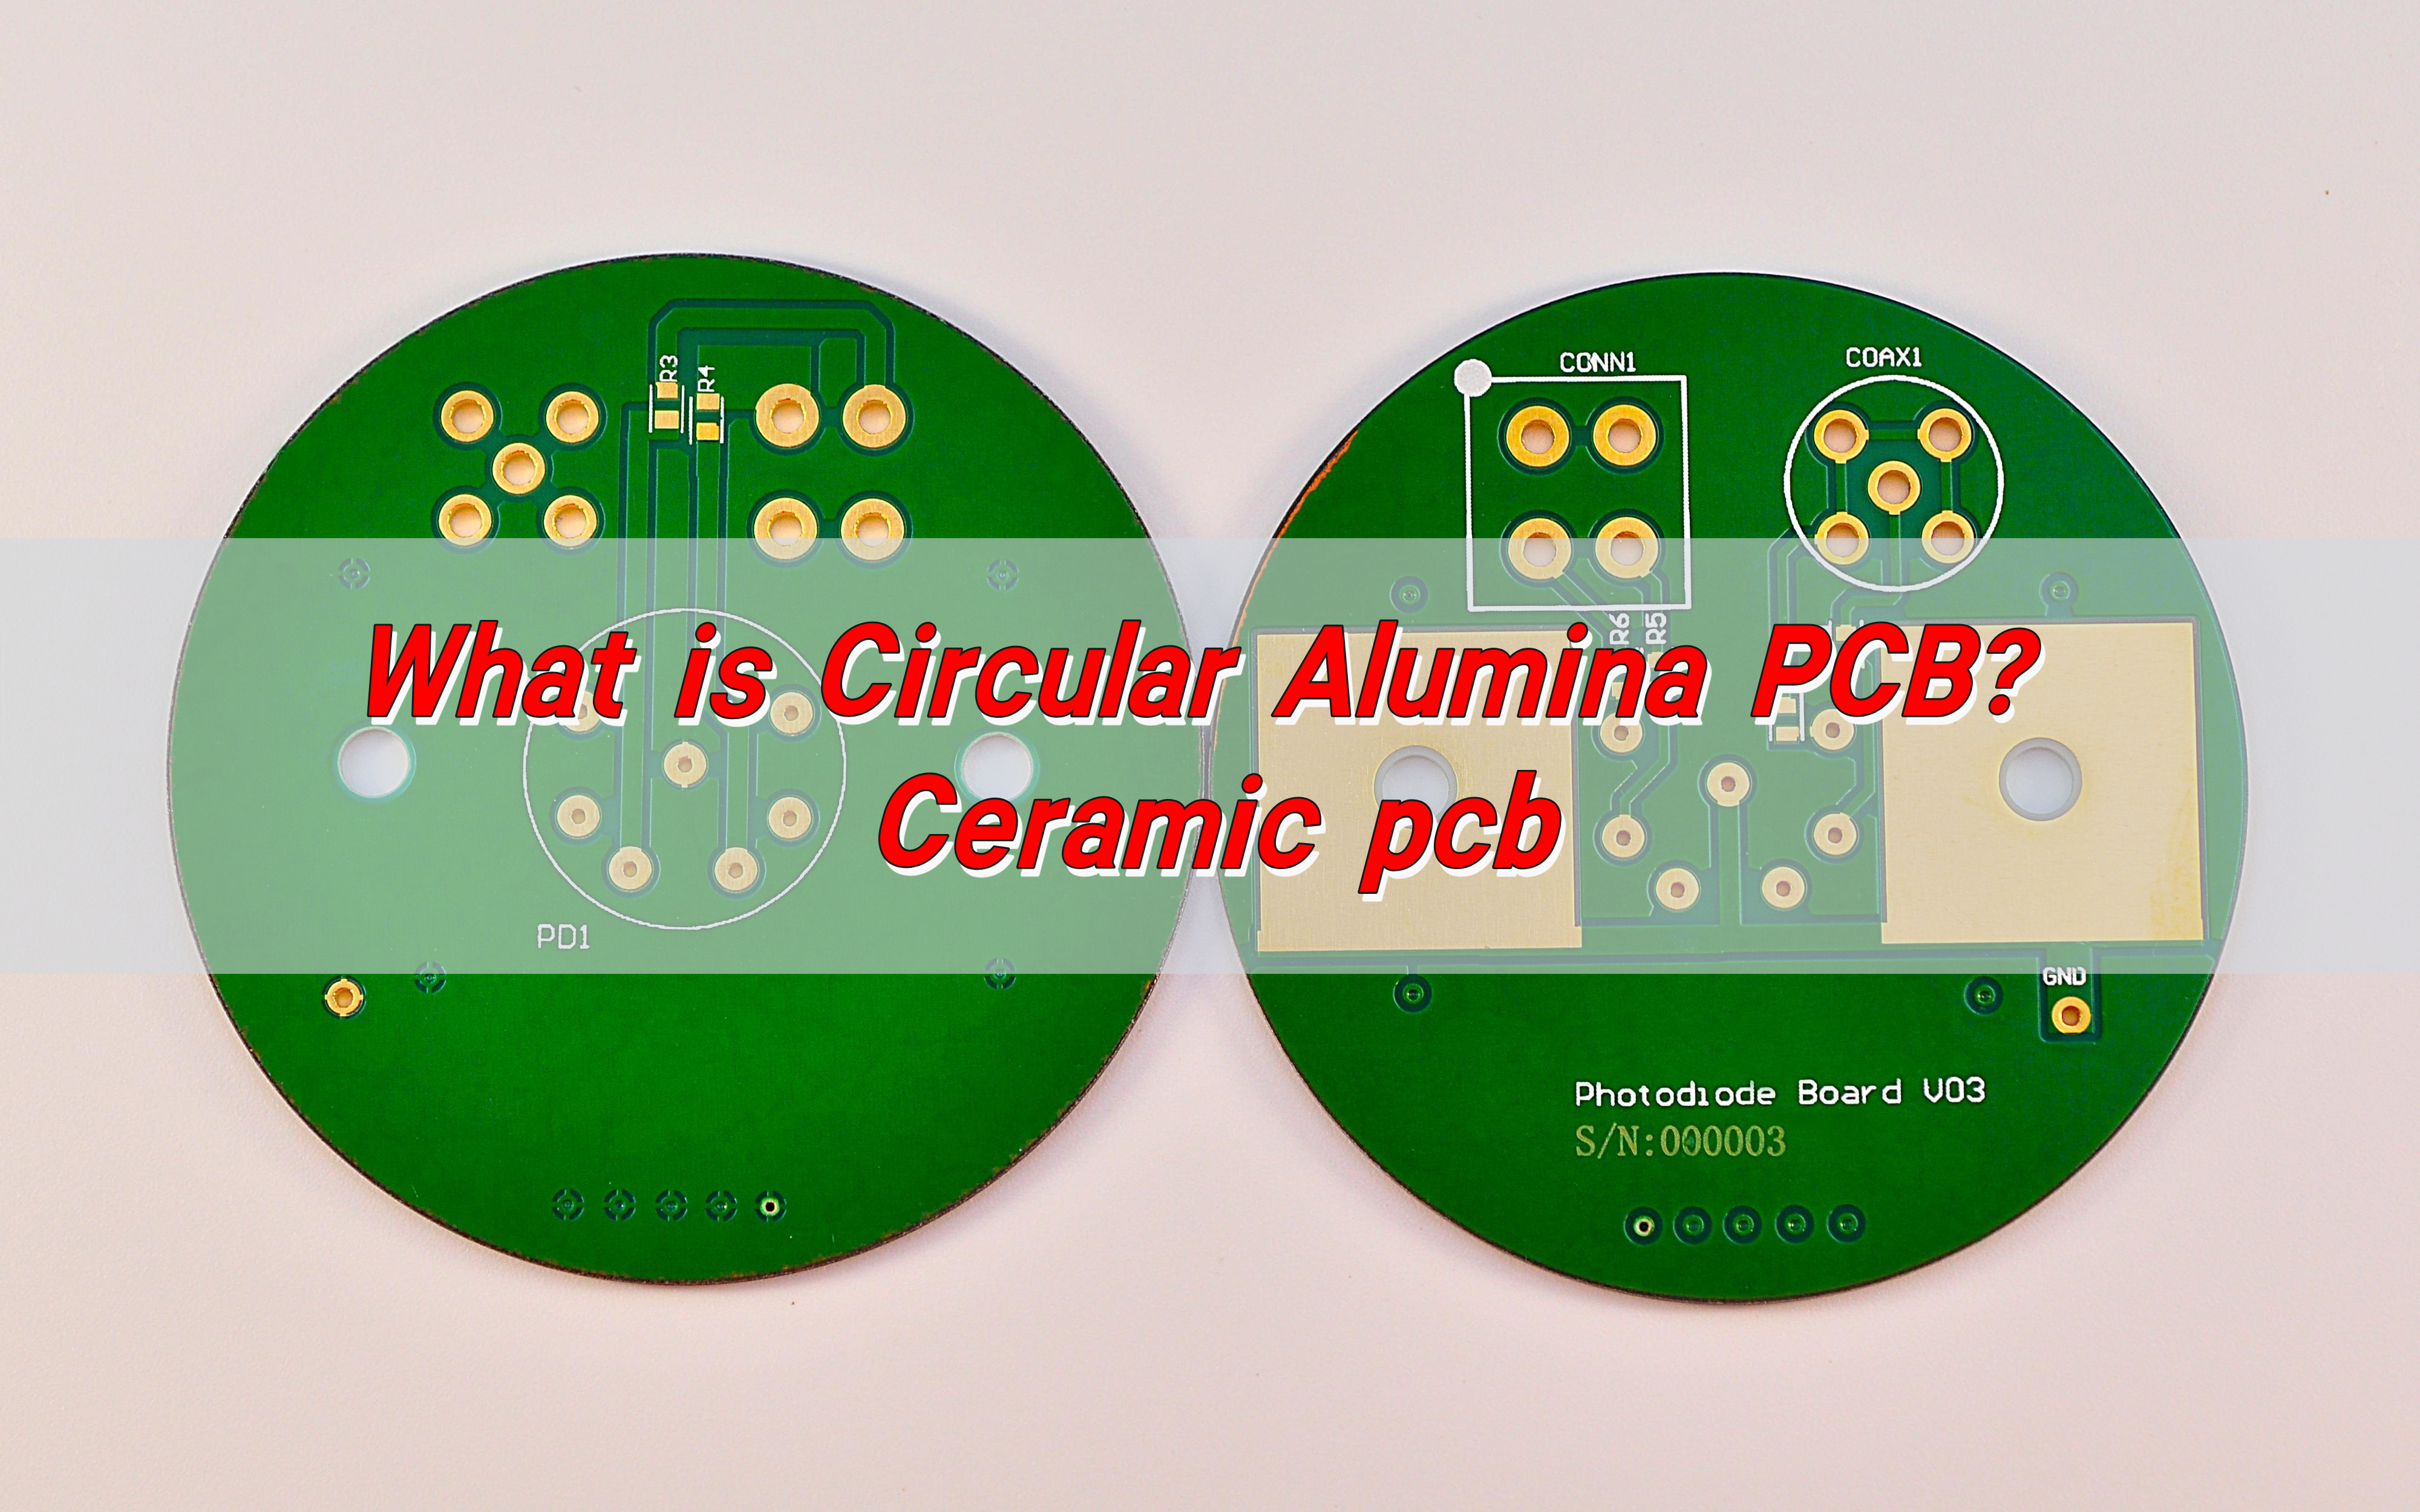
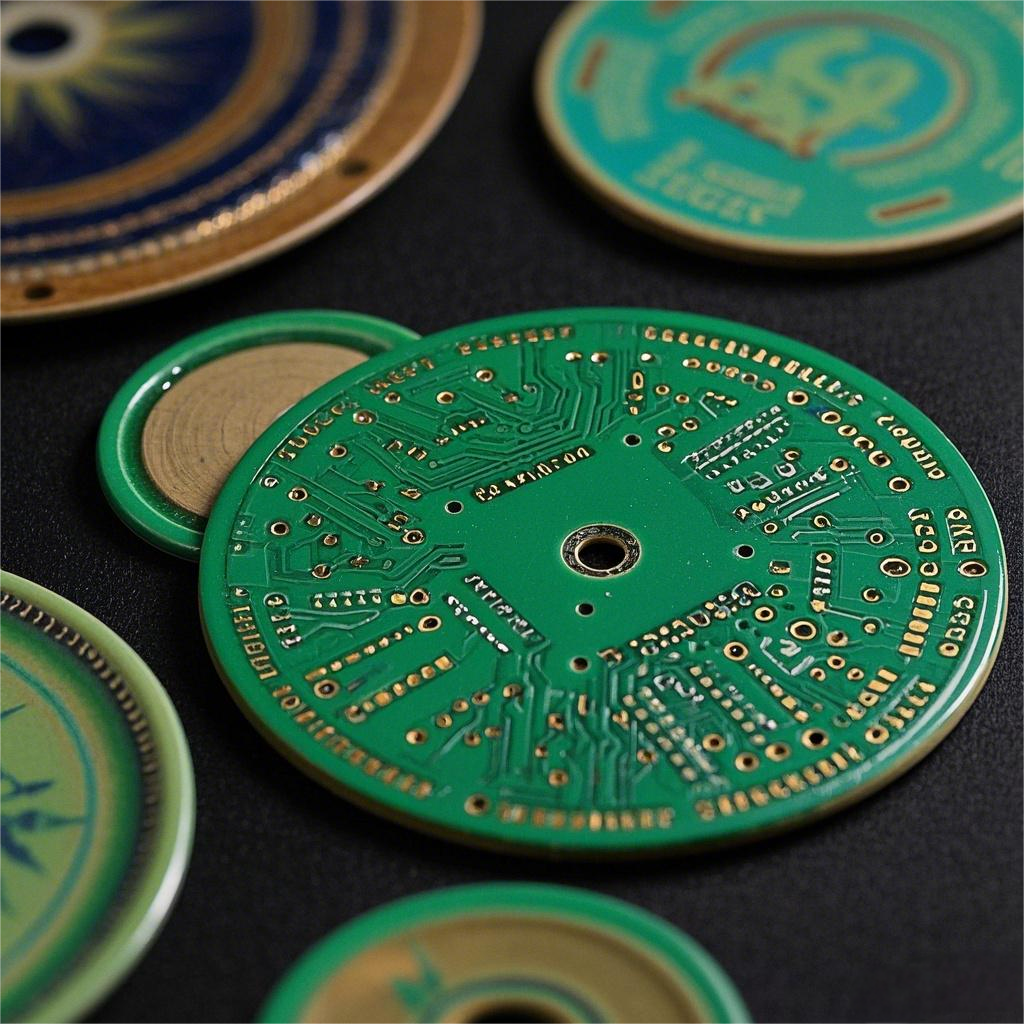
What is Circular Alumina PCB? Circular Alumina PCB is a special shape of printed circuit board, whose substrate material is alumina. Alumina PCB has excellent thermal conductivity and electrical insulation properties, so it is often used in electronic devices that require high heat dissipation and high insulation. The circular design allows this PCB to have greater design flexibility in space-constrained application scenarios.
What is Alumina PCB?
An alumina PCB is a type of ceramic PCB that is made using alumina (Al₂O₃), a form of aluminum oxide. It’s commonly used in applications where high thermal conductivity, electrical insulation, and mechanical strength are required.
Alumina has excellent electrical insulating properties, making it an ideal substrate for high-performance electronic devices. It can handle high-power applications and is used in industries like automotive, aerospace, telecommunications, and medical devices.
Alumina PCB materials are generally available in different grades, with 96% alumina being the most common, although higher purities like 99% alumina are also available for specialized applications.
What is a Ceramic PCB?
A ceramic PCB is a type of printed circuit board that uses ceramic material as a substrate. Unlike traditional FR4 PCBs, which use fiberglass-based epoxy resin, ceramic PCBs offer significantly better heat dissipation and electrical performance. This makes them an essential component in high-power and high-frequency applications.
Alumina is one of the most widely used materials for ceramic PCBs, thanks to its balanced combination of thermal and electrical properties.
Ceramic PCBs, including alumina PCBs, are more rigid, more durable, and better suited for environments with high temperature and stress. These PCBs can be designed with complex features, making them adaptable to a wide range of electronic products.
Is Alumina the Same as Ceramic?
Yes, alumina is a type of ceramic material, but not all ceramics are alumina. Alumina (Al2O3) is one of the most commonly used ceramic materials in PCB manufacturing due to its excellent properties, such as high thermal conductivity and electrical insulation.
Other types of ceramic materials used in PCBs include aluminum nitride (AlN), which offers even better thermal conductivity, and beryllium oxide (BeO), which is known for its high thermal conductivity and electrical properties.
So while alumina is a ceramic, the term “ceramic PCB” covers a broader range of materials.
How Thick is Alumina PCB?
The thickness of alumina PCB can vary depending on the specific needs of the application. Typically, alumina ceramic PCBs are manufactured in thicknesses ranging from 0.2 mm to several millimeters. The standard thickness for alumina substrate PCBs is about 0.5 mm to 1 mm, but it can be customized according to the requirements of the design.
The thickness of the PCB affects its ability to dissipate heat and handle electrical signals, so selecting the right thickness for your application is essential. Thicker boards offer better thermal management, while thinner boards are more suitable for compact designs where space is at a premium.
What is the Dielectric Constant of Alumina PCB?
The dielectric constant of alumina PCB typically ranges between 9 and 10, depending on the purity of the material and its specific formulation. The dielectric constant is a measure of the material’s ability to store electrical energy in an electric field, and it plays a crucial role in the performance of a PCB, especially in high-frequency applications.
A lower dielectric constant allows for faster signal transmission, which is why alumina PCB boards are often used in RF (radio frequency) and microwave circuits. However, the dielectric constant also needs to be matched to the requirements of the circuit to ensure the best performance. Alumina’s dielectric constant is ideal for most general-purpose applications, making it a versatile choice for many industries.
Is Higher Dielectric Constant Better for PCB?
Not necessarily. While a higher dielectric constant can be beneficial in certain applications, it does not always translate into better performance. The choice of dielectric constant depends on the nature of the application.
In general, higher dielectric constants are preferred in situations where energy storage is critical, such as in capacitors. However, for high-speed signal transmission, a lower dielectric constant is usually preferred, as it allows signals to travel faster with less signal loss.
Alumina’s dielectric constant strikes a good balance for most general applications, providing reliable performance across various circuit types.
What is Alumina PCB Used For?
Alumina PCBs are used in a wide range of applications where high-performance and reliability are critical. Some of the primary uses include:
- Power Electronics: Alumina PCBs are ideal for high-power applications, such as power supplies, LED lighting, and motor drivers, thanks to their excellent thermal conductivity.

- RF and Microwave Circuits: The material’s low signal loss and high thermal conductivity make it perfect for radio frequency (RF) and microwave applications.
- Aerospace and Defense: The aerospace industry often uses alumina ceramic PCBs due to their resistance to harsh environmental conditions, as well as their high thermal performance.
- Automotive Electronics: Automotive applications, such as engine control units (ECUs) and power modules, benefit from the reliability and durability of alumina PCBs.
- Medical Devices: Many medical devices require components that can operate in extreme conditions, and alumina PCBs are an excellent choice for these applications.
- Telecommunication Equipment: The need for reliability and performance in telecom systems makes alumina a key material in the manufacturing of components like signal processors and amplifiers.
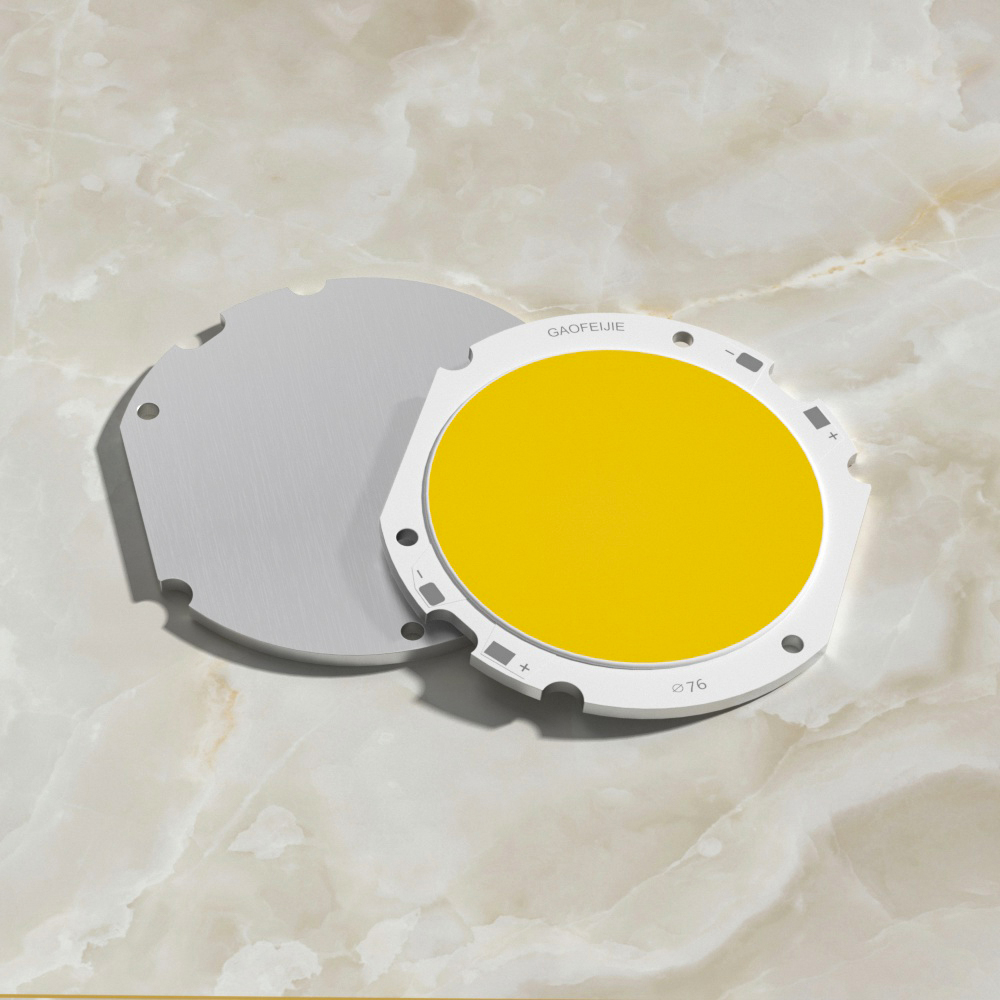
The circular alumina PCB is particularly useful in applications where the board needs to have a rounded or disk-like shape for integration into specific enclosures or devices.
What are the Disadvantages of Alumina PCB?
While alumina PCBs offer many advantages, there are some drawbacks to consider, though they are few. Some of the potential disadvantages include:
- Brittleness: Ceramic materials like alumina can be brittle and prone to cracking or breaking under mechanical stress. Proper handling during manufacturing and assembly is required to minimize the risk of damage.
- Cost: Alumina PCB boards are generally more expensive than traditional FR4 boards, mainly due to the cost of raw materials and the specialized manufacturing process. However, for high-performance applications, the benefits far outweigh the costs.
- Manufacturing Complexity: The production of alumina ceramic PCBs is more complex compared to other types of PCBs, requiring specialized equipment and processes, which may add to the lead time.
- Limited Design Flexibility: Although alumina PCBs are highly customizable, they are not as versatile in terms of form factors and design as some other PCB materials, like FR4. Designing highly intricate, fine-pitch circuits on alumina can be more challenging.
Despite these limitations, alumina remains a highly popular choice for a wide variety of high-performance applications, particularly where durability, heat dissipation, and electrical insulation are key requirements.
Conclusion:
The circular alumina PCB is a highly effective and versatile option in the world of high-performance electronics. Its combination of excellent thermal conductivity, electrical insulation, and mechanical strength makes it ideal for demanding applications in fields like telecommunications, aerospace, automotive, and medical devices.
BEST Technology specializes in manufacturing circular alumina PCBs with excellent manufacturing capabilities. Circular alumina PCBs are made of high-purity alumina materials, which have excellent thermal conductivity, mechanical strength and electrical insulation. They are widely used in LED lighting, automotive power control modules and other fields. If you have any needs, please feel free to contact us at sales@bestpcbs.com.