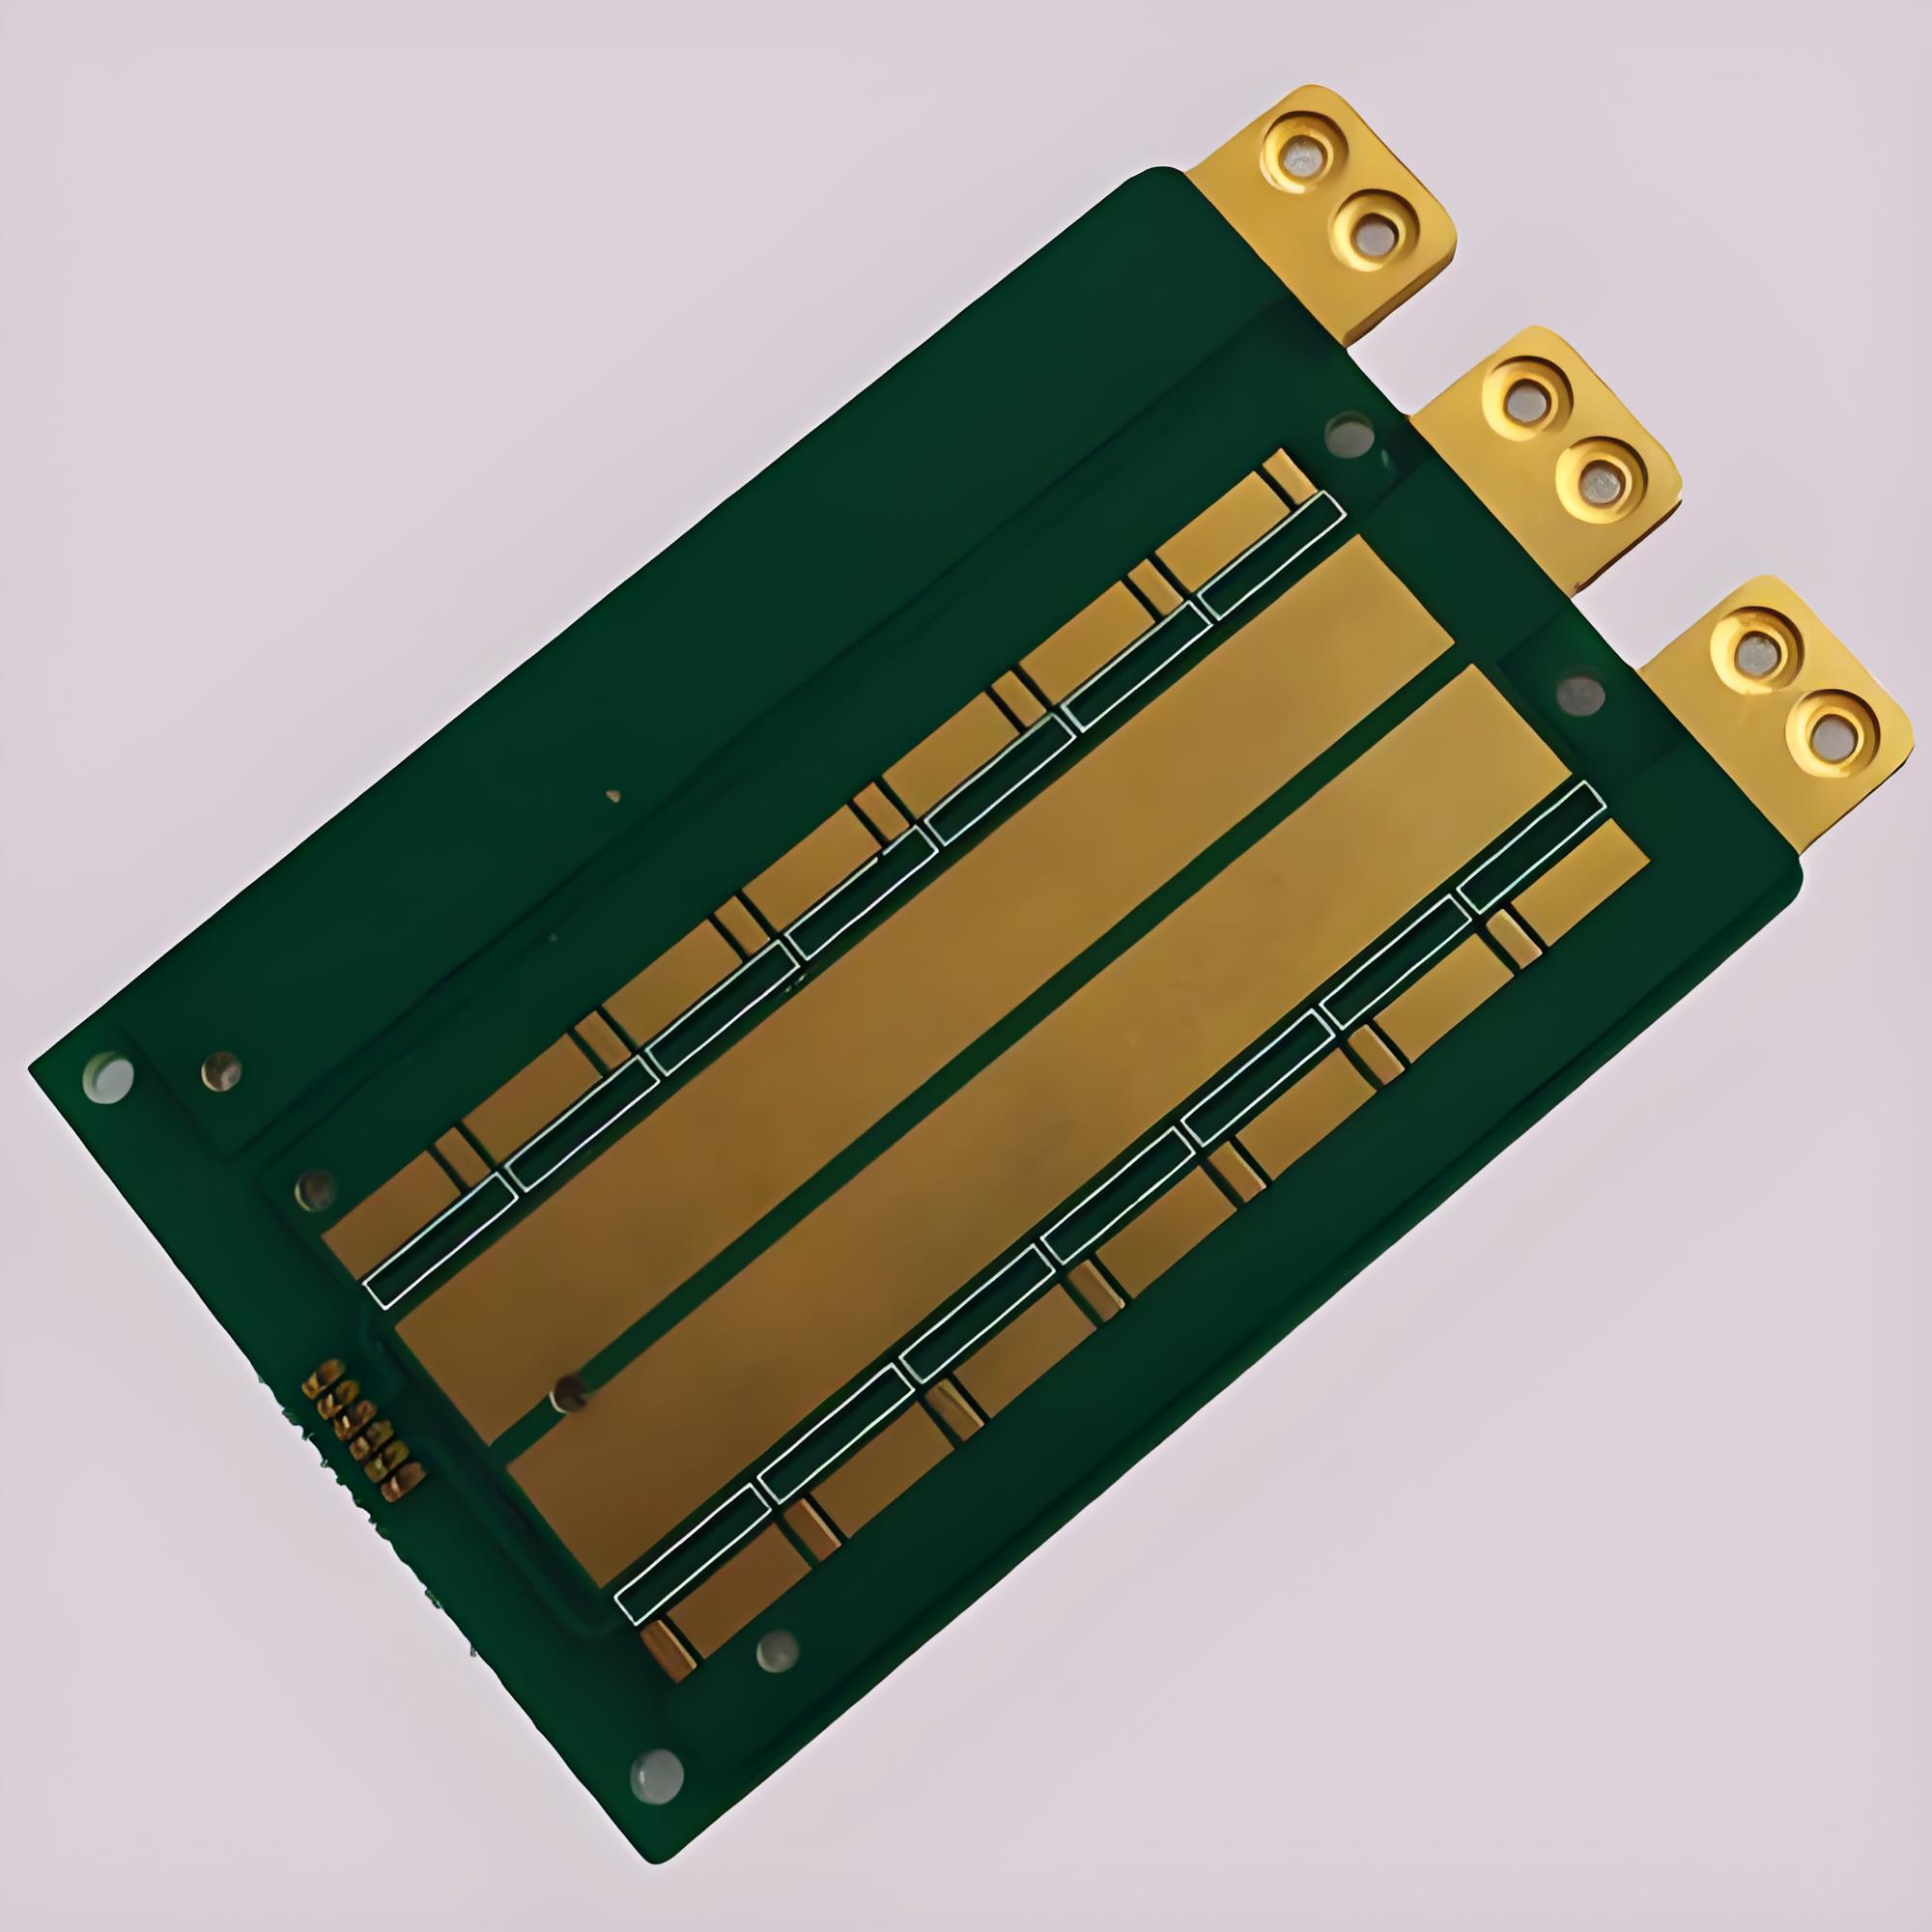
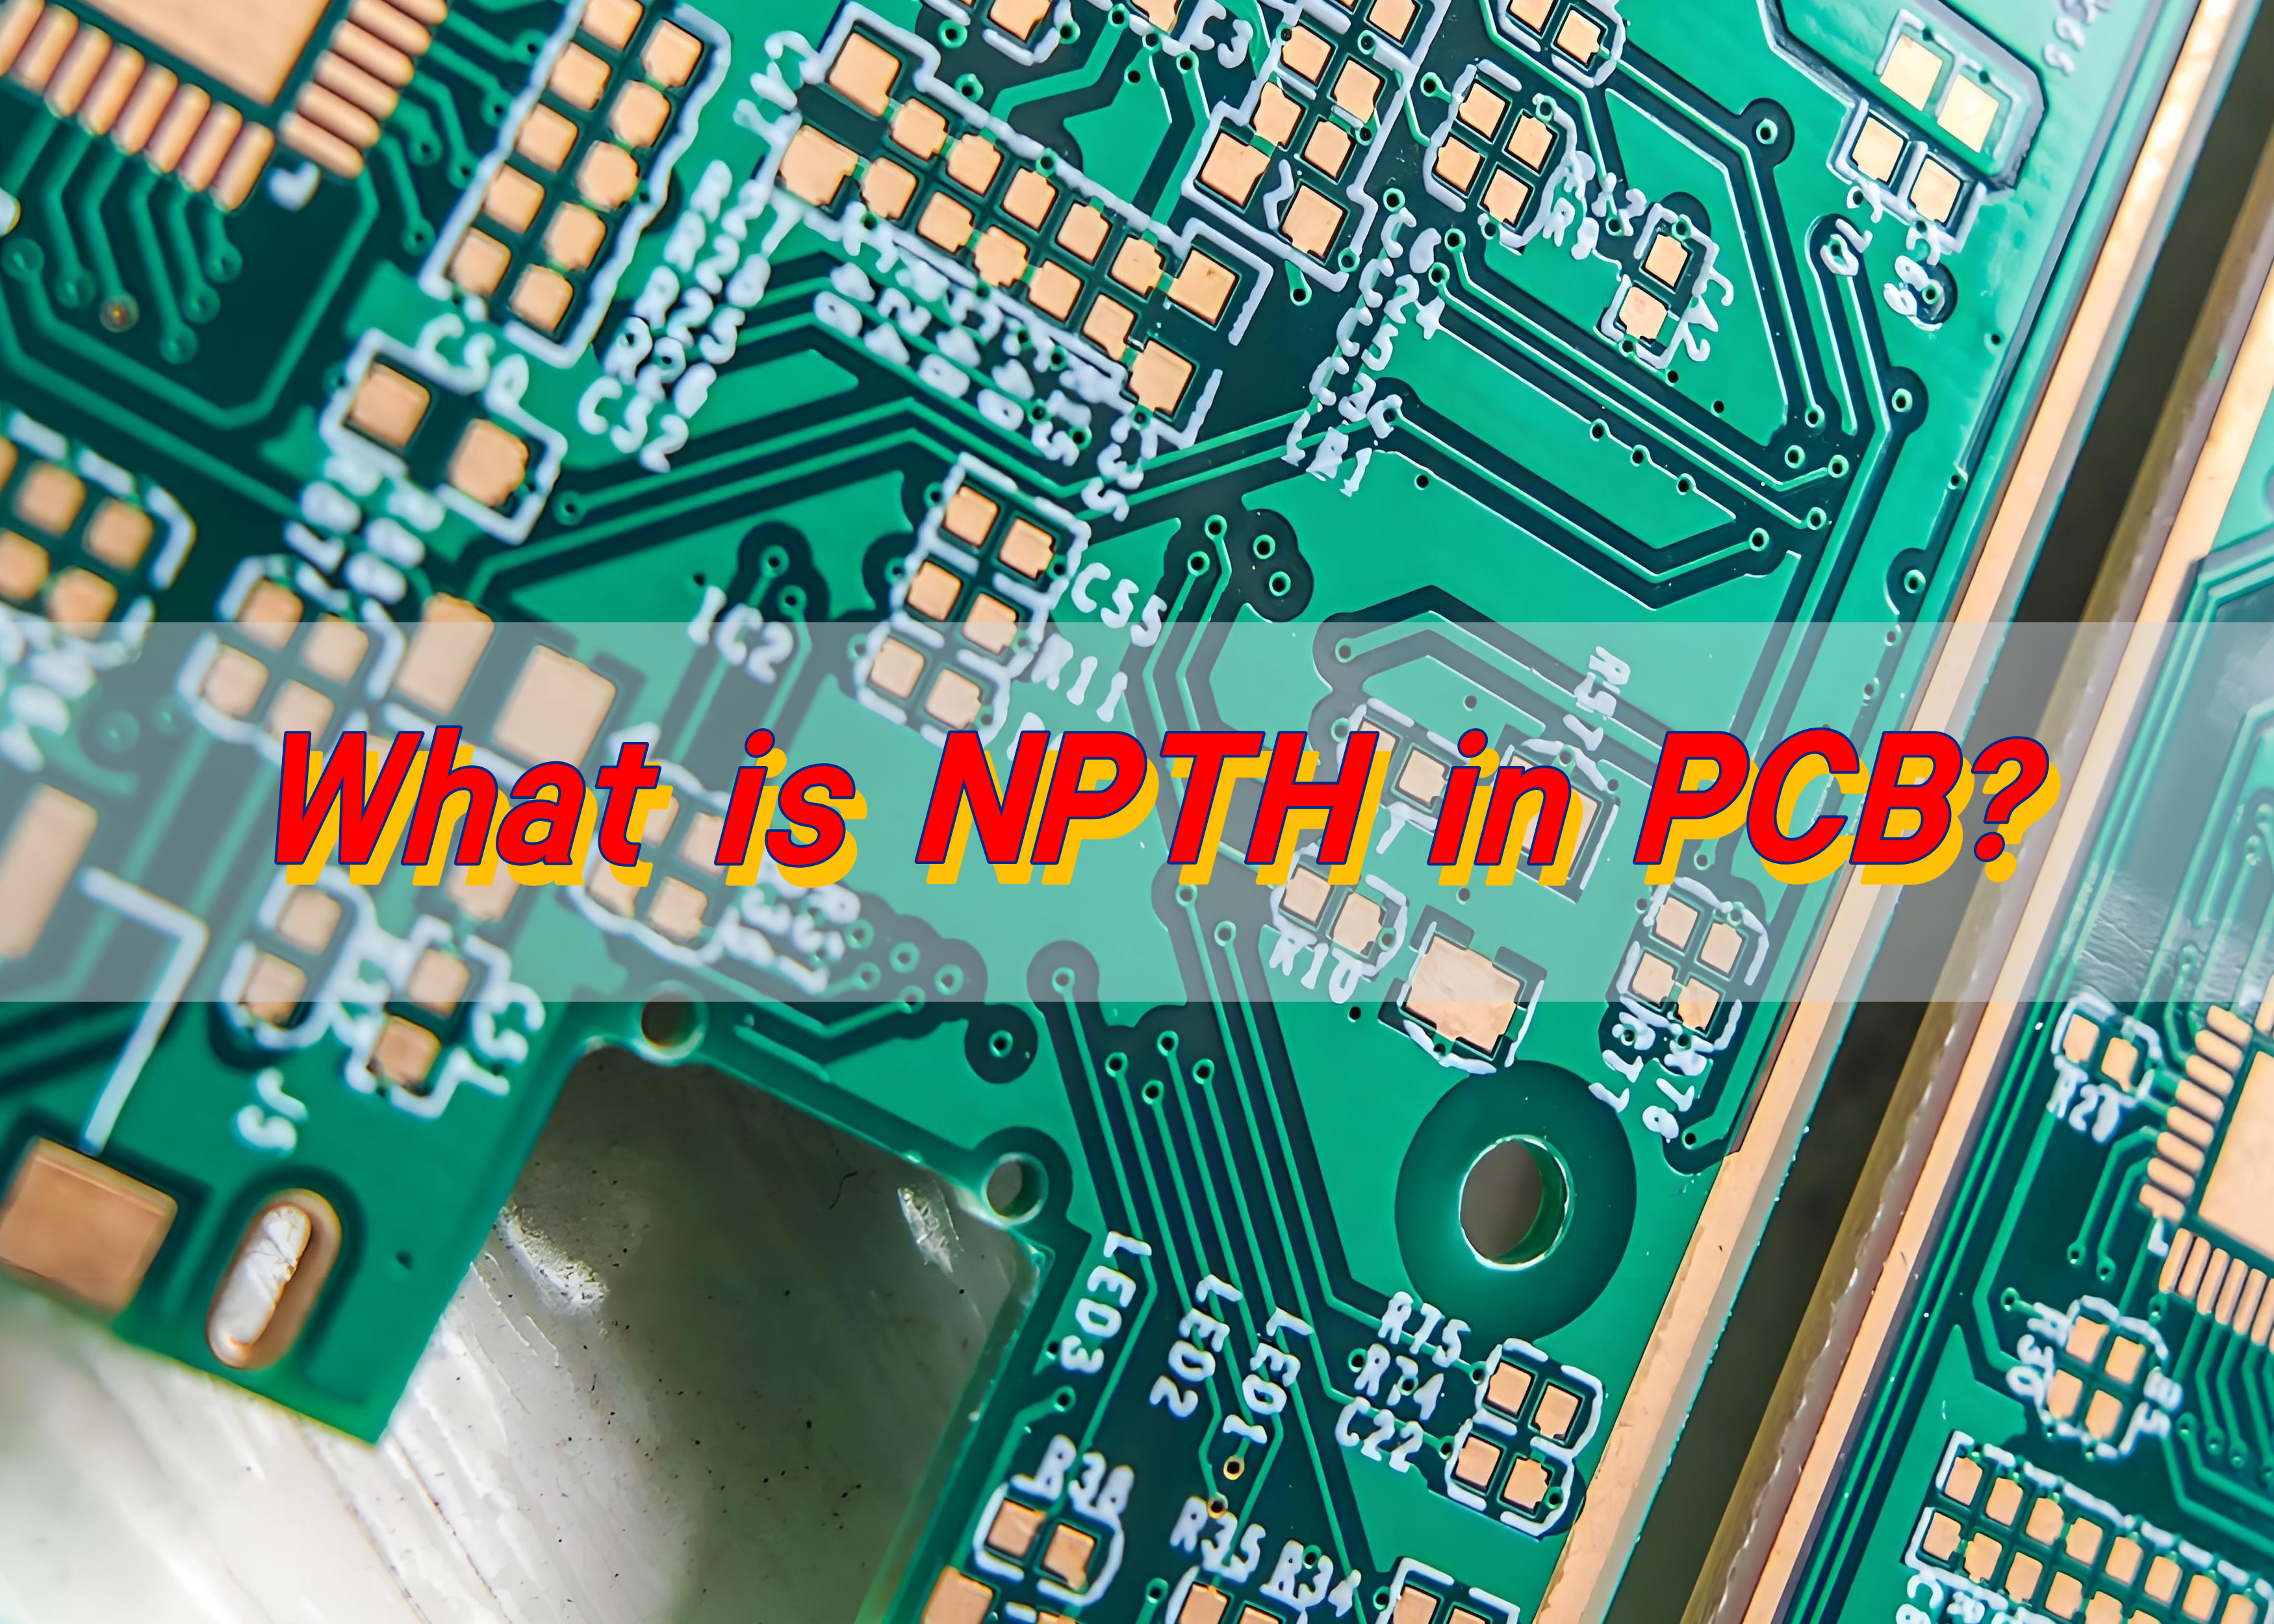
What is NPTH in PCB? NPTH is a through hole on PCB, but unlike plated through hole, its hole wall is not treated with electroplated metal. These holes are usually used for mechanical installation, positioning or as non-electrical connection purposes such as ventilation and heat dissipation channels.
What is an NPTH?
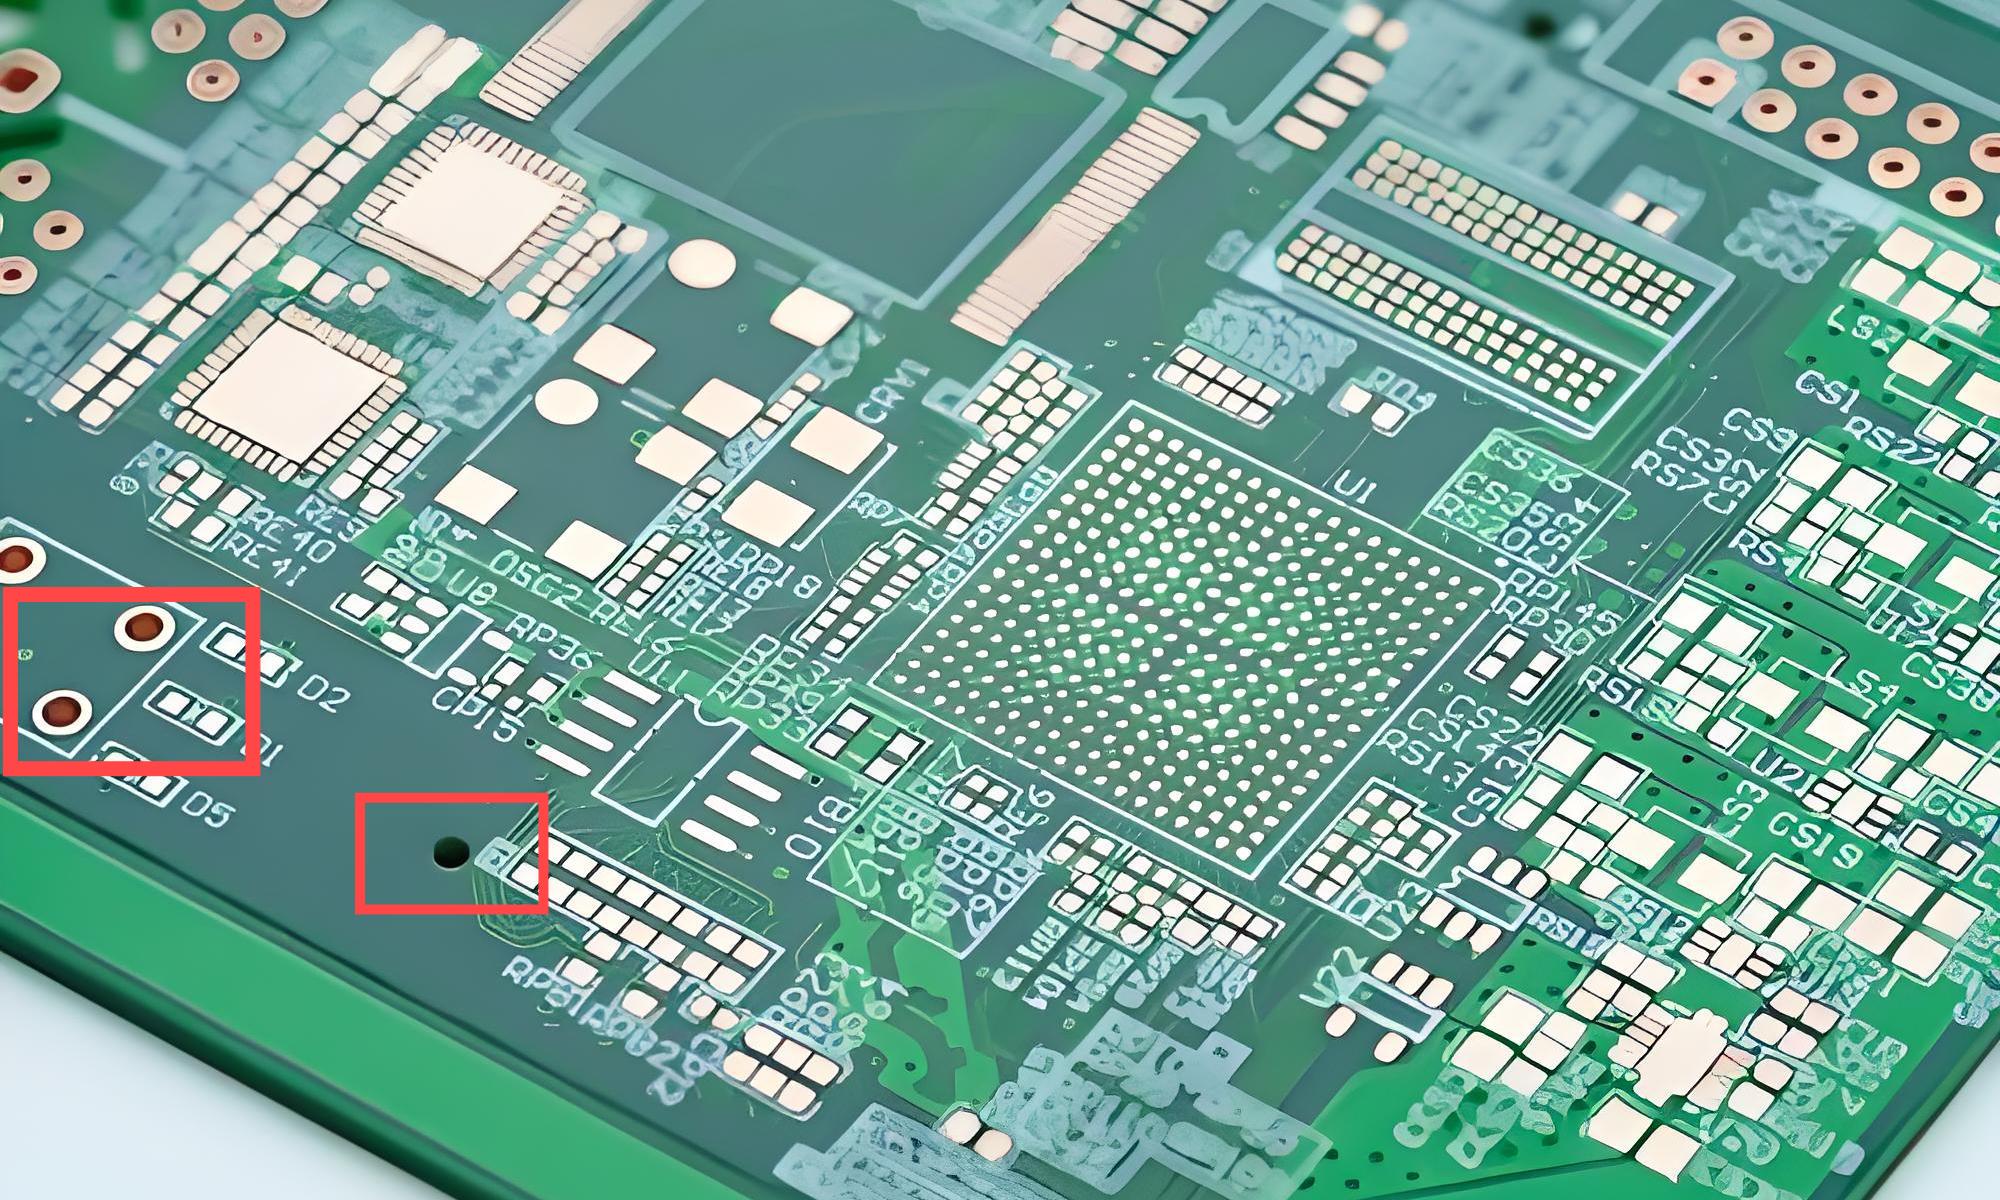
NPTH refers to non-plated through hole, that is, a hole without electroplated metal on the hole wall. The hole wall of NPTH hole is not electroplated with metal and is usually used for positioning, fixing or as a screw hole. These holes do not participate in electrical connection and are mainly used for mechanical fixing or structural support.
NPTH holes are often used in the following scenarios:
- Positioning hole: used to position and fix other components or parts on PCB.
- Screw hole: used to install screws and fix PCB or other components.
- Mounting hole: used to install connectors or other external devices.
What is the full form of NPTH?
The full name of NPTH is “Non Plating Through Hole”. In printed circuit boards (PCBs), NPTH refers to holes whose walls are not plated with metal and therefore do not participate in electrical connections. Such holes are usually used for positioning, fixing screws or other non-conductive purposes.
What is the difference between PTH and non PTH?
The main difference between PTH (Plating Through Hole) and NPTH (Non Plating Through Hole) is whether the hole wall is plated.
1. Plating:
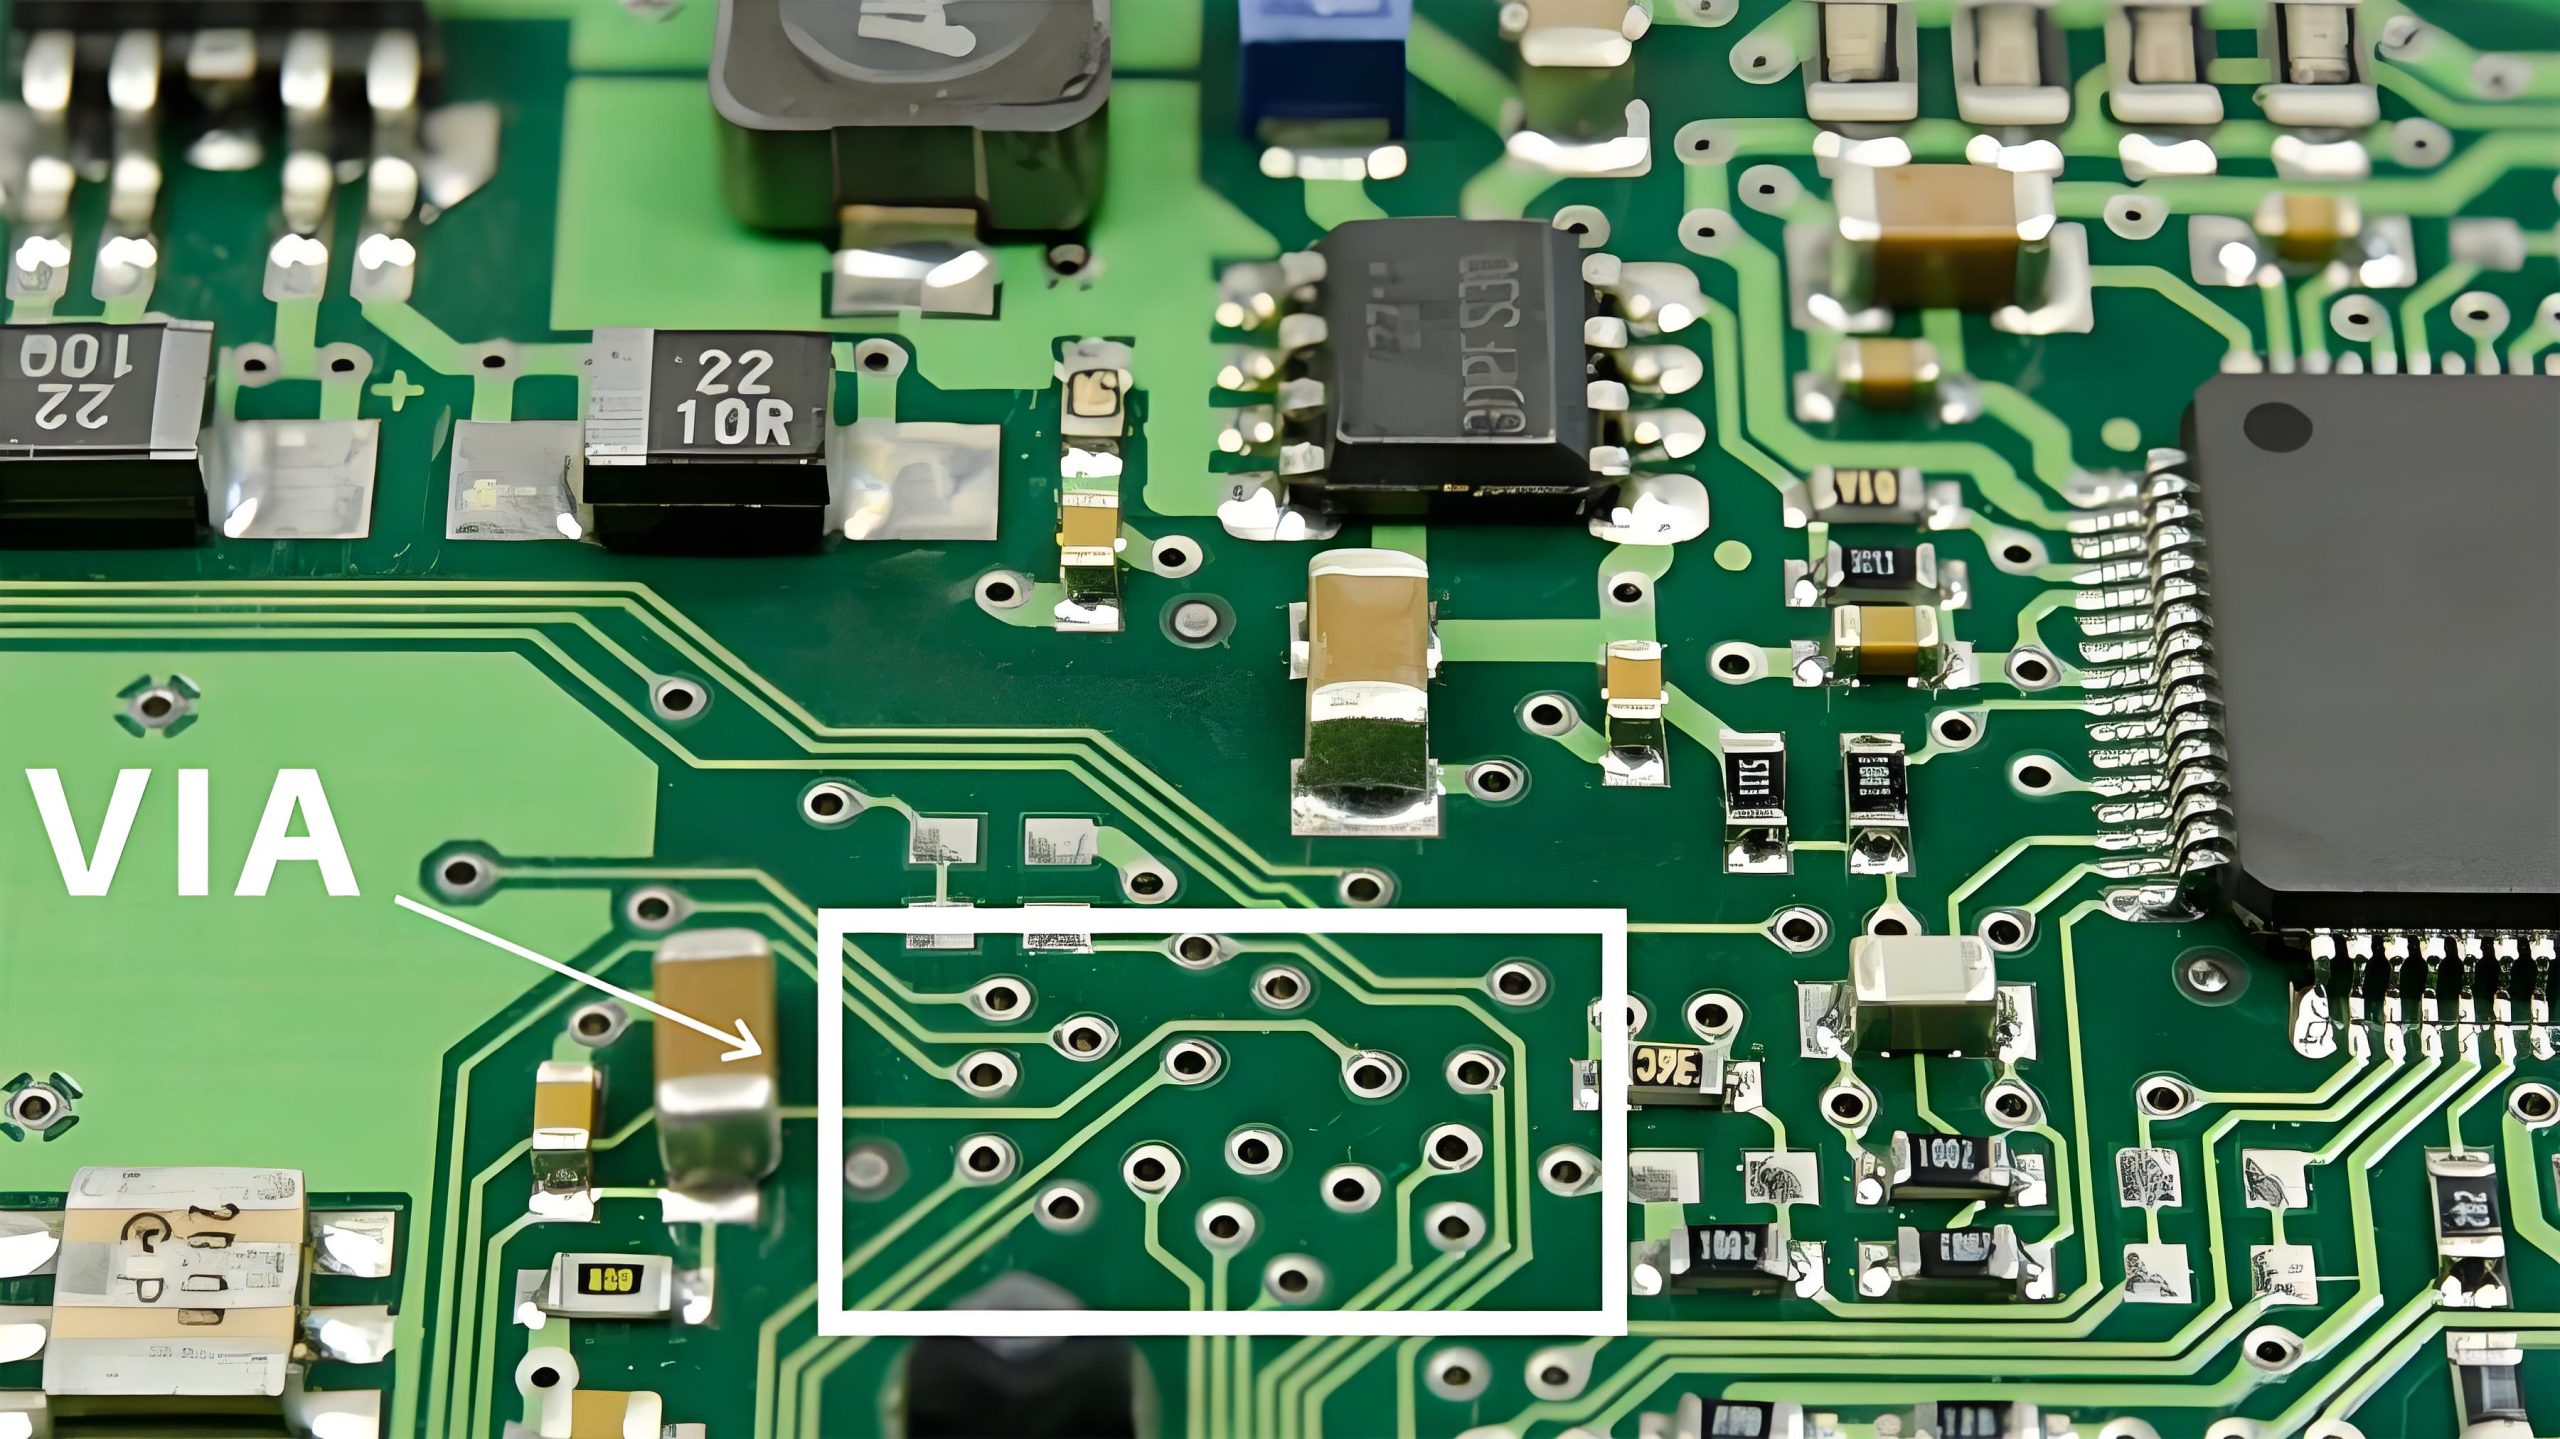
- PTH: The hole wall is plated and is usually used for electrical connections, such as vias (VIA) and component holes. There is copper on these hole walls, which can achieve electrical conduction between the layers of the circuit board.
- NPTH: The hole wall is not plated and is usually used for positioning, fixing and other functions, such as screw holes or connector fixing holes. There is no copper in these hole walls and does not participate in electrical connections.
2. Appearance characteristics:
- PTH: There are traces of plating, the hole wall is smooth and covered with copper.
- NPTH: There are no traces of plating, the hole wall is not smooth and not covered with copper.
3. Application scenarios:
- PTH: Mainly used in scenarios where electrical connection is required, such as connecting different layers of a circuit board or connecting components.
- NPTH: Mainly used in scenarios where electrical connection is not required, NPTH holes usually do not have hole rings, but in some special cases, hole rings are also designed to achieve grounding functions.
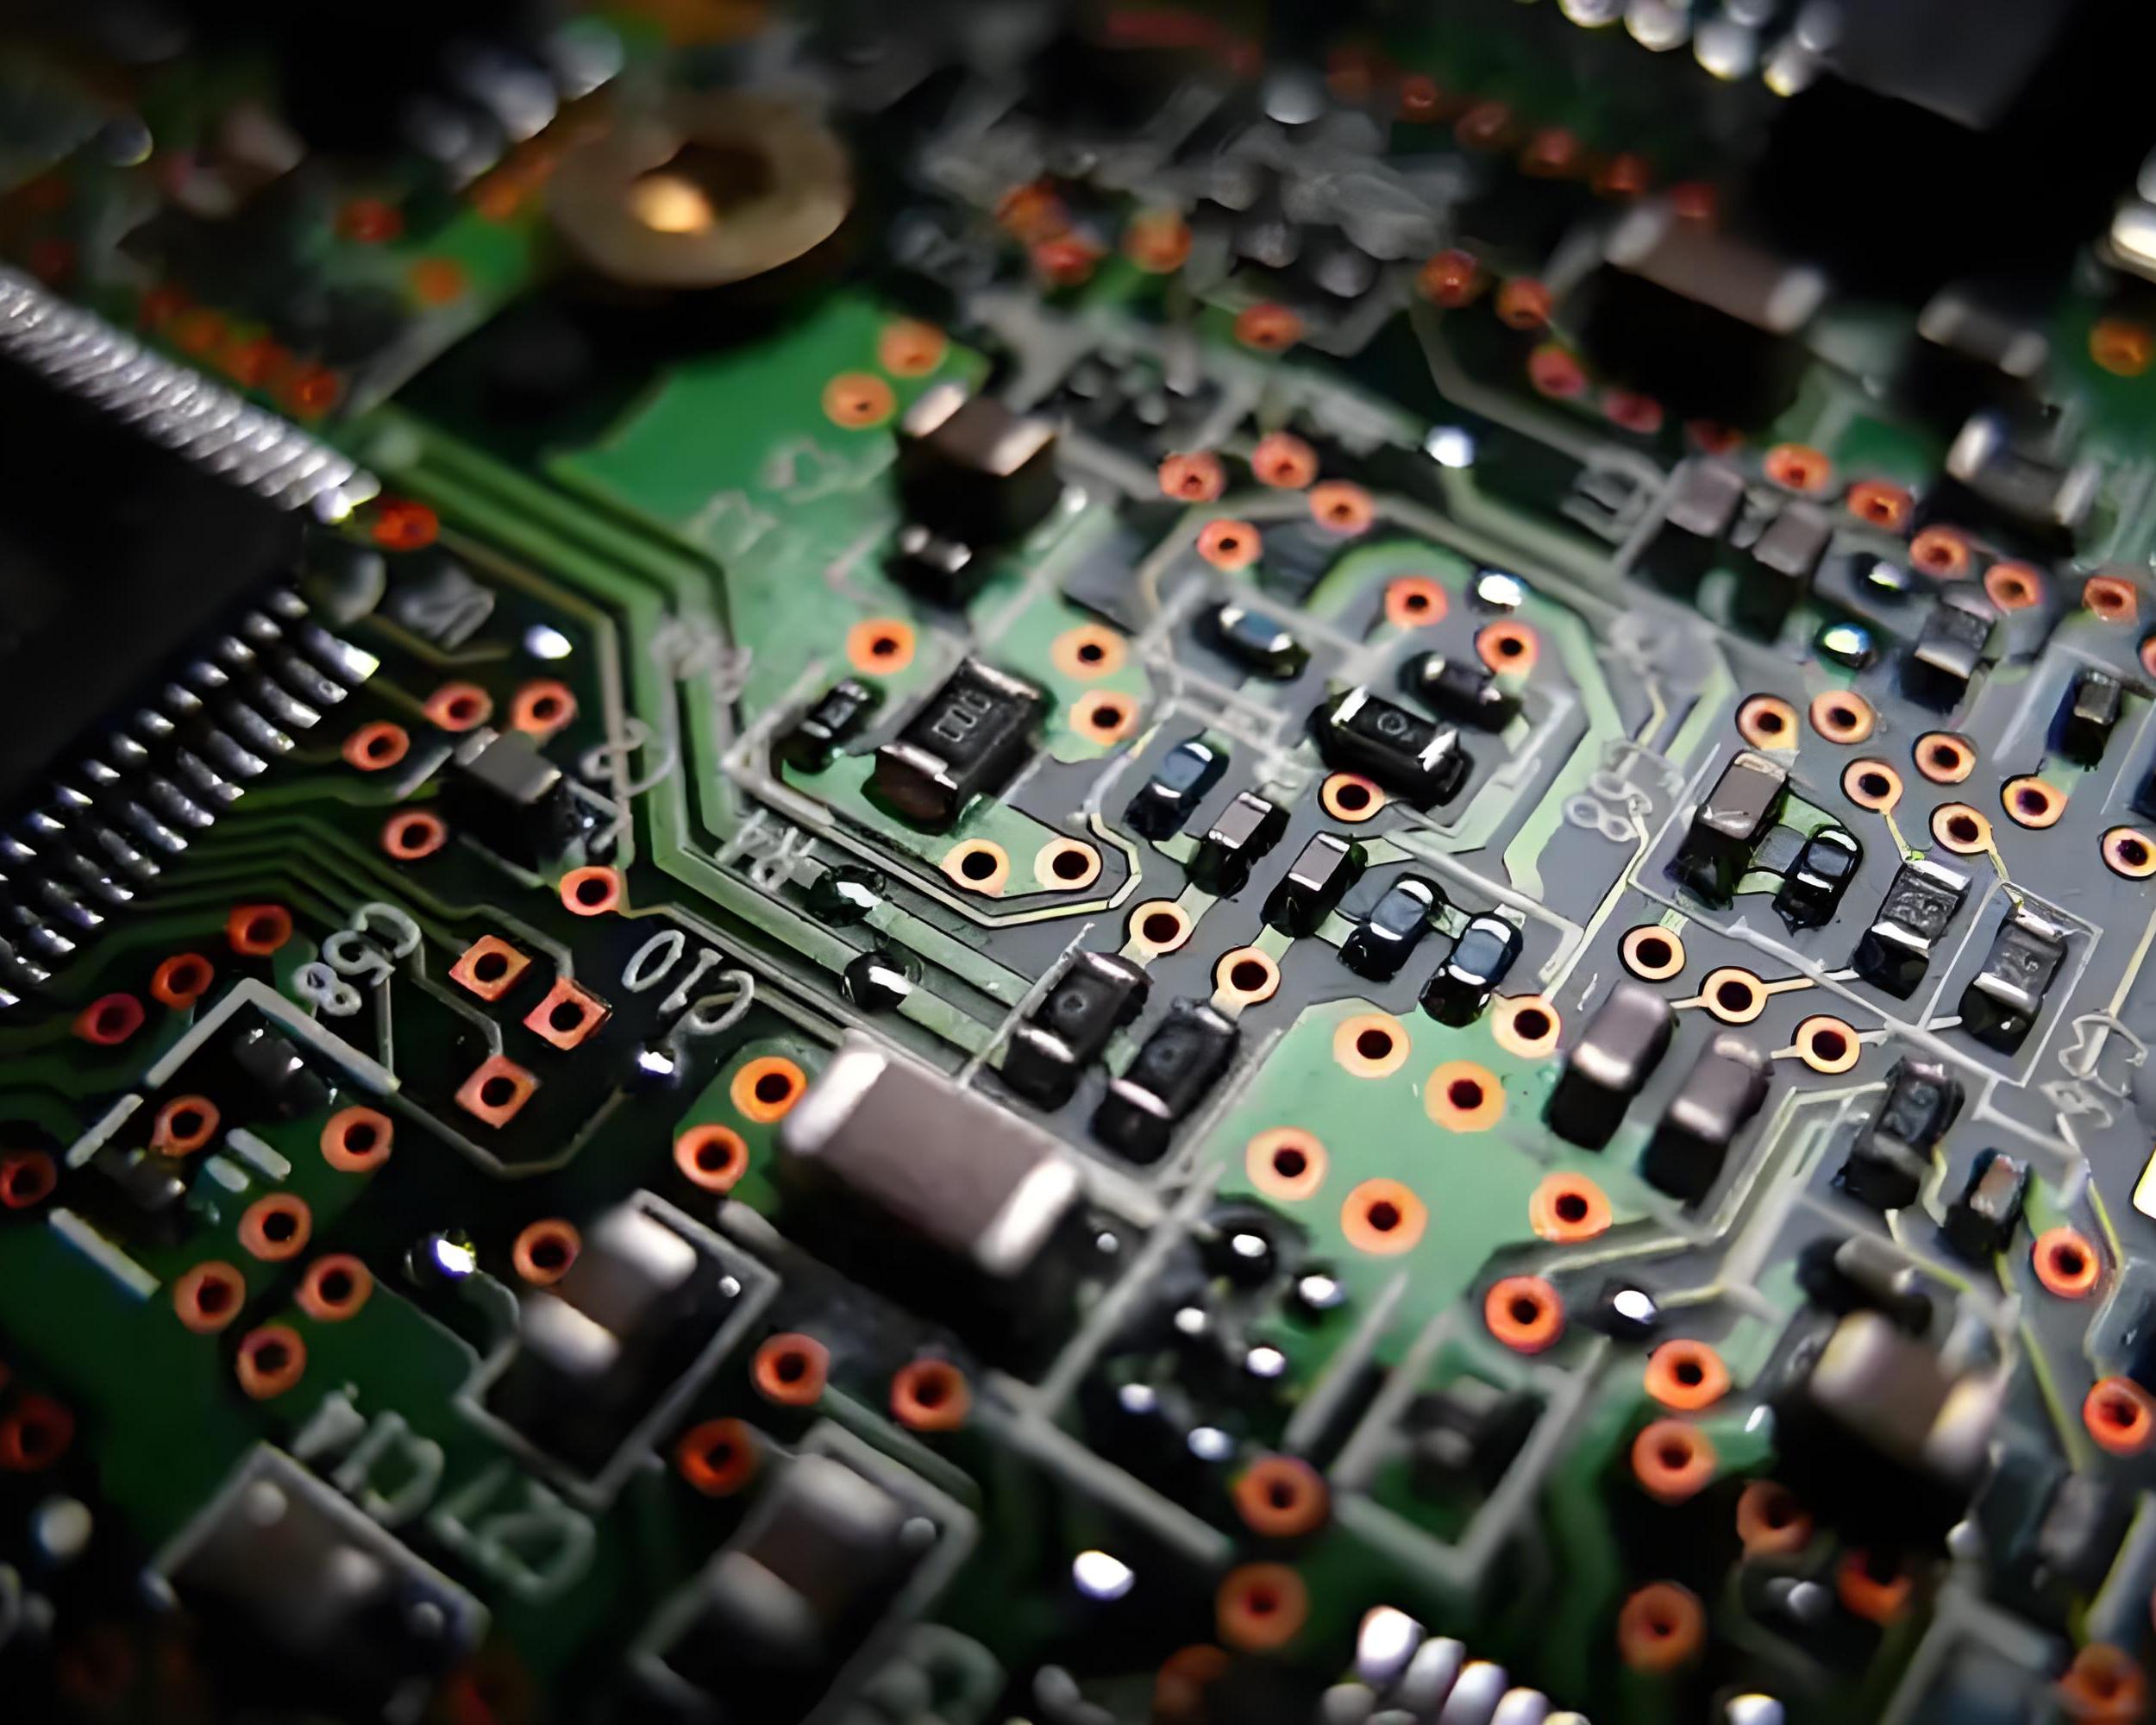
What is a PTH pad?
PTH pads (Plated Through Hole) refer to pads with through holes, and the hole walls are copper-plated. PTH pads play an important role in PCB design, and are mainly used to connect different layers of a circuit board or connect component pins to a circuit board.
The following points should be noted during the design and manufacturing process of PTH pads:
- Size and shape: The outer ring of the PTH pad cannot be less than 0.2mm (8mil) on one side to ensure stability during welding.
- Welding process: During welding, the PTH pad will take away a considerable amount of solder, which may cause insufficient solder problems.
- Manufacturing capability: The design of the PTH pad is directly related to the manufacturing capability of the circuit board, which may cause welding quality problems.
PTH pads play a key role in PCB assembly, ensuring stable connection of components and reliable electrical performance. Correct PTH pad design can significantly improve the reliability and manufacturing quality of the circuit board.
How thick is plated through-hole plating?
The plating thickness standards for plated through-holes vary depending on the application scenario. Specifically:
- IPC Level 1: The smallest thickness, short service life, usually used in consumer electronics that may become obsolete in a few years, requires an average thickness of 20 microns, and spots are not thinner than 18 microns.
- IPC Level 2: More durable, continuously used holes, suitable for equipment that often runs for 5 years or more, requires an average thickness of 20 microns, and spots are not thinner than 18 microns.
- IPC Level 3: The thickest and most durable plated through-holes, used for products expected to be used for ten years or more, requires an average thickness of 25 microns, and spots are not thinner than 20 microns.
What is the anatomy of a plated through-hole?
A plated through-hole (PTH) is a hole drilled in a circuit board, and a layer of metal is deposited on the hole wall through an electroplating process to achieve electrical connections between different layers of the circuit board. Its construction usually includes the following parts:
- Hole wall: The hole wall of the plated through-hole is formed by drilling, usually in a circular or other shape.
- Metal plating: A layer of metal deposited on the hole wall by electroplating process to achieve electrical connection. The thickness and quality of the metal plating have an important impact on the electrical performance and reliability of the plated through-hole.
- Pad: Located at both ends of the plated through-hole, it is used to solder electronic components or connect other circuit boards. The shape and size of the pad are usually designed according to the type and size of the electronic component.
- Solder mask: A layer of insulating material covering the surface of the circuit board to prevent solder flow and short circuit during soldering. The solder mask usually leaves a certain opening around the plated through-hole to solder electronic components.
What is the required hole fill of a plated through-hole?
The required hole fill of a plated through-hole is usually required to reach 100%. Specifically, the plated through-hole (PTH) should be filled with 100% vertical solder, the solder side should have a perfect fillet, and the component and pad should be in 100% contact with the solder.
The surface of the weld should be smooth, non-porous, non-disturbed, bright, and the solder joints completely wrap the solder feet and are concave. In addition, electroplating hole filling technology also plays an important role in improving the electrical performance and connection reliability of circuit boards.
Electroplating hole filling can improve electrical performance, improve connection reliability, avoid electromagnetic interference, and has excellent solderability and a more simplified process. In practical applications, electroplating hole filling is suitable for blind holes with a diameter of 80-220um and a thickness-diameter ratio of less than or equal to 1:1. The hole filling rate can reach more than 85%.
What is the difference between plated and coated?
The main difference between plating and coating lies in their formation method and application scenarios.
1. Formation method
- Plating: Plating is a metal protective layer formed on the surface of the material by electroplating or chemical plating. Electroplating is to use the principle of electrolysis to plate a thin layer of other metals or alloys on certain metal surfaces to form a metal film. Chemical plating is to form a metal coating on the surface of the material through chemical reaction.
- Coating: Coating is a protective layer formed by spraying paint on the surface of the material. Common coating methods include hot-dip galvanizing, thermal spraying and surfacing, which mainly apply metal to the surface of the substrate by physical means.
2. Application scenarios
- Plating: Plating is widely used in aviation, automobile, electronics and other fields. In the aviation field, coating can improve the mechanical strength and processing accuracy of parts and reduce the weight of parts; in the automotive field, coating can improve the corrosion resistance and wear resistance of the car body.
- Coating: Coating is widely used in construction, machinery, automobile and other fields. In the construction field, coating mainly plays the role of anti-corrosion, waterproof, heat preservation, etc.; in the mechanical field, coating can enhance the hardness, wear resistance and corrosion resistance of the material surface.
3. Advantages and disadvantages
- Plating: Advantages include good anti-corrosion, anti-wear, electrical conductivity, thermal conductivity and aesthetics. Disadvantages are complex process and high cost.
- Coating: Advantages are simple process, low cost, anti-corrosion, waterproof, wear resistance, heat insulation and other characteristics. Disadvantages are that the aesthetics and some physical properties are not as good as plating.
Although NPTH in PCB does not directly participate in electrical connection like plated through holes, it plays an irreplaceable role in mechanical installation, heat dissipation, etc., and together with plated through holes, it constitutes a complete functional system of PCB.