fmc connector pcb layout is a critical cornerstone of modern FPGA-based systems, bridging the gap between FPGA mezzanine cards (FMC) and carrier boards with precision. As signal speeds push into multi-gigabit ranges (up to 10Gbit/s per the VITA 57 standard), poor layout decisions can derail FMC connector signal integrity and cause electromagnetic interference (EMI) – a top frustration for engineers. Whether designing for industrial automation or telecom, mastering fmc connector pcb layout principles ensures thermal stability and manufacturability, while adhering to FMC connector PCB design best practices reduces costly reworks.

Key Differences Between FMC HPC LPC connector layout
Before optimizing fmc connector pcb layout, distinguishing between HPC and LPC connectors is critical – their pin counts directly impact layout strategy and FMC connector signal integrity.
FMC HPC Connectors (High Pin Count)
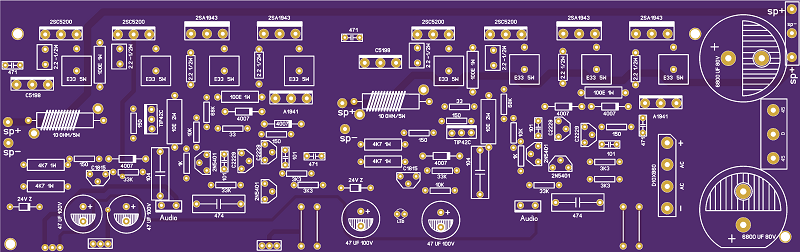
With 400 pins, HPC connectors demand wider board real estate and stricter thermal management, core considerations for FMC HPC LPC connector layout. Prioritize short trace lengths to preserve FMC connector signal integrity in high-density designs.
FMC LPC Connectors (Low Pin Count)
LPC connectors (160 pins) offer compact layouts for cost-sensitive projects, but still require strict FMC PCB impedance control (50Ω single-ended, 100Ω differential) to avoid signal degradation – a key part of fmc connector pcb layout best practices.
Compatibility Notes for Mixed Designs
HPC and LPC connectors share mechanical compatibility, enabling flexible FMC HPC LPC connector layout. Ensure pin mapping consistency to prevent cross-talk and protect FMC connector signal integrity.
7 Core FMC connector PCB design best practices for Layout Optimization
Following these rules eliminates 80% of fmc connector pcb layout issues, from signal reflections to manufacturing delays – and simplifies FMC PCB layout troubleshooting later.
1. Prioritize Symmetrical Component Placement
Differential signals (core to FMC designs) require equal-length routing to maintain FMC connector signal integrity. Place the FMC connector near the FPGA and group decoupling capacitors close to pins – a foundational FMC connector PCB design best practice.
2. Implement Strict FMC PCB impedance control
FMC standards mandate 50Ω single-ended and 100Ω differential impedance – non-negotiable for fmc connector pcb layout. Use impedance calculators to set trace widths (50-75mil for FR-4) and avoid vias on high-speed traces to prevent discontinuities.
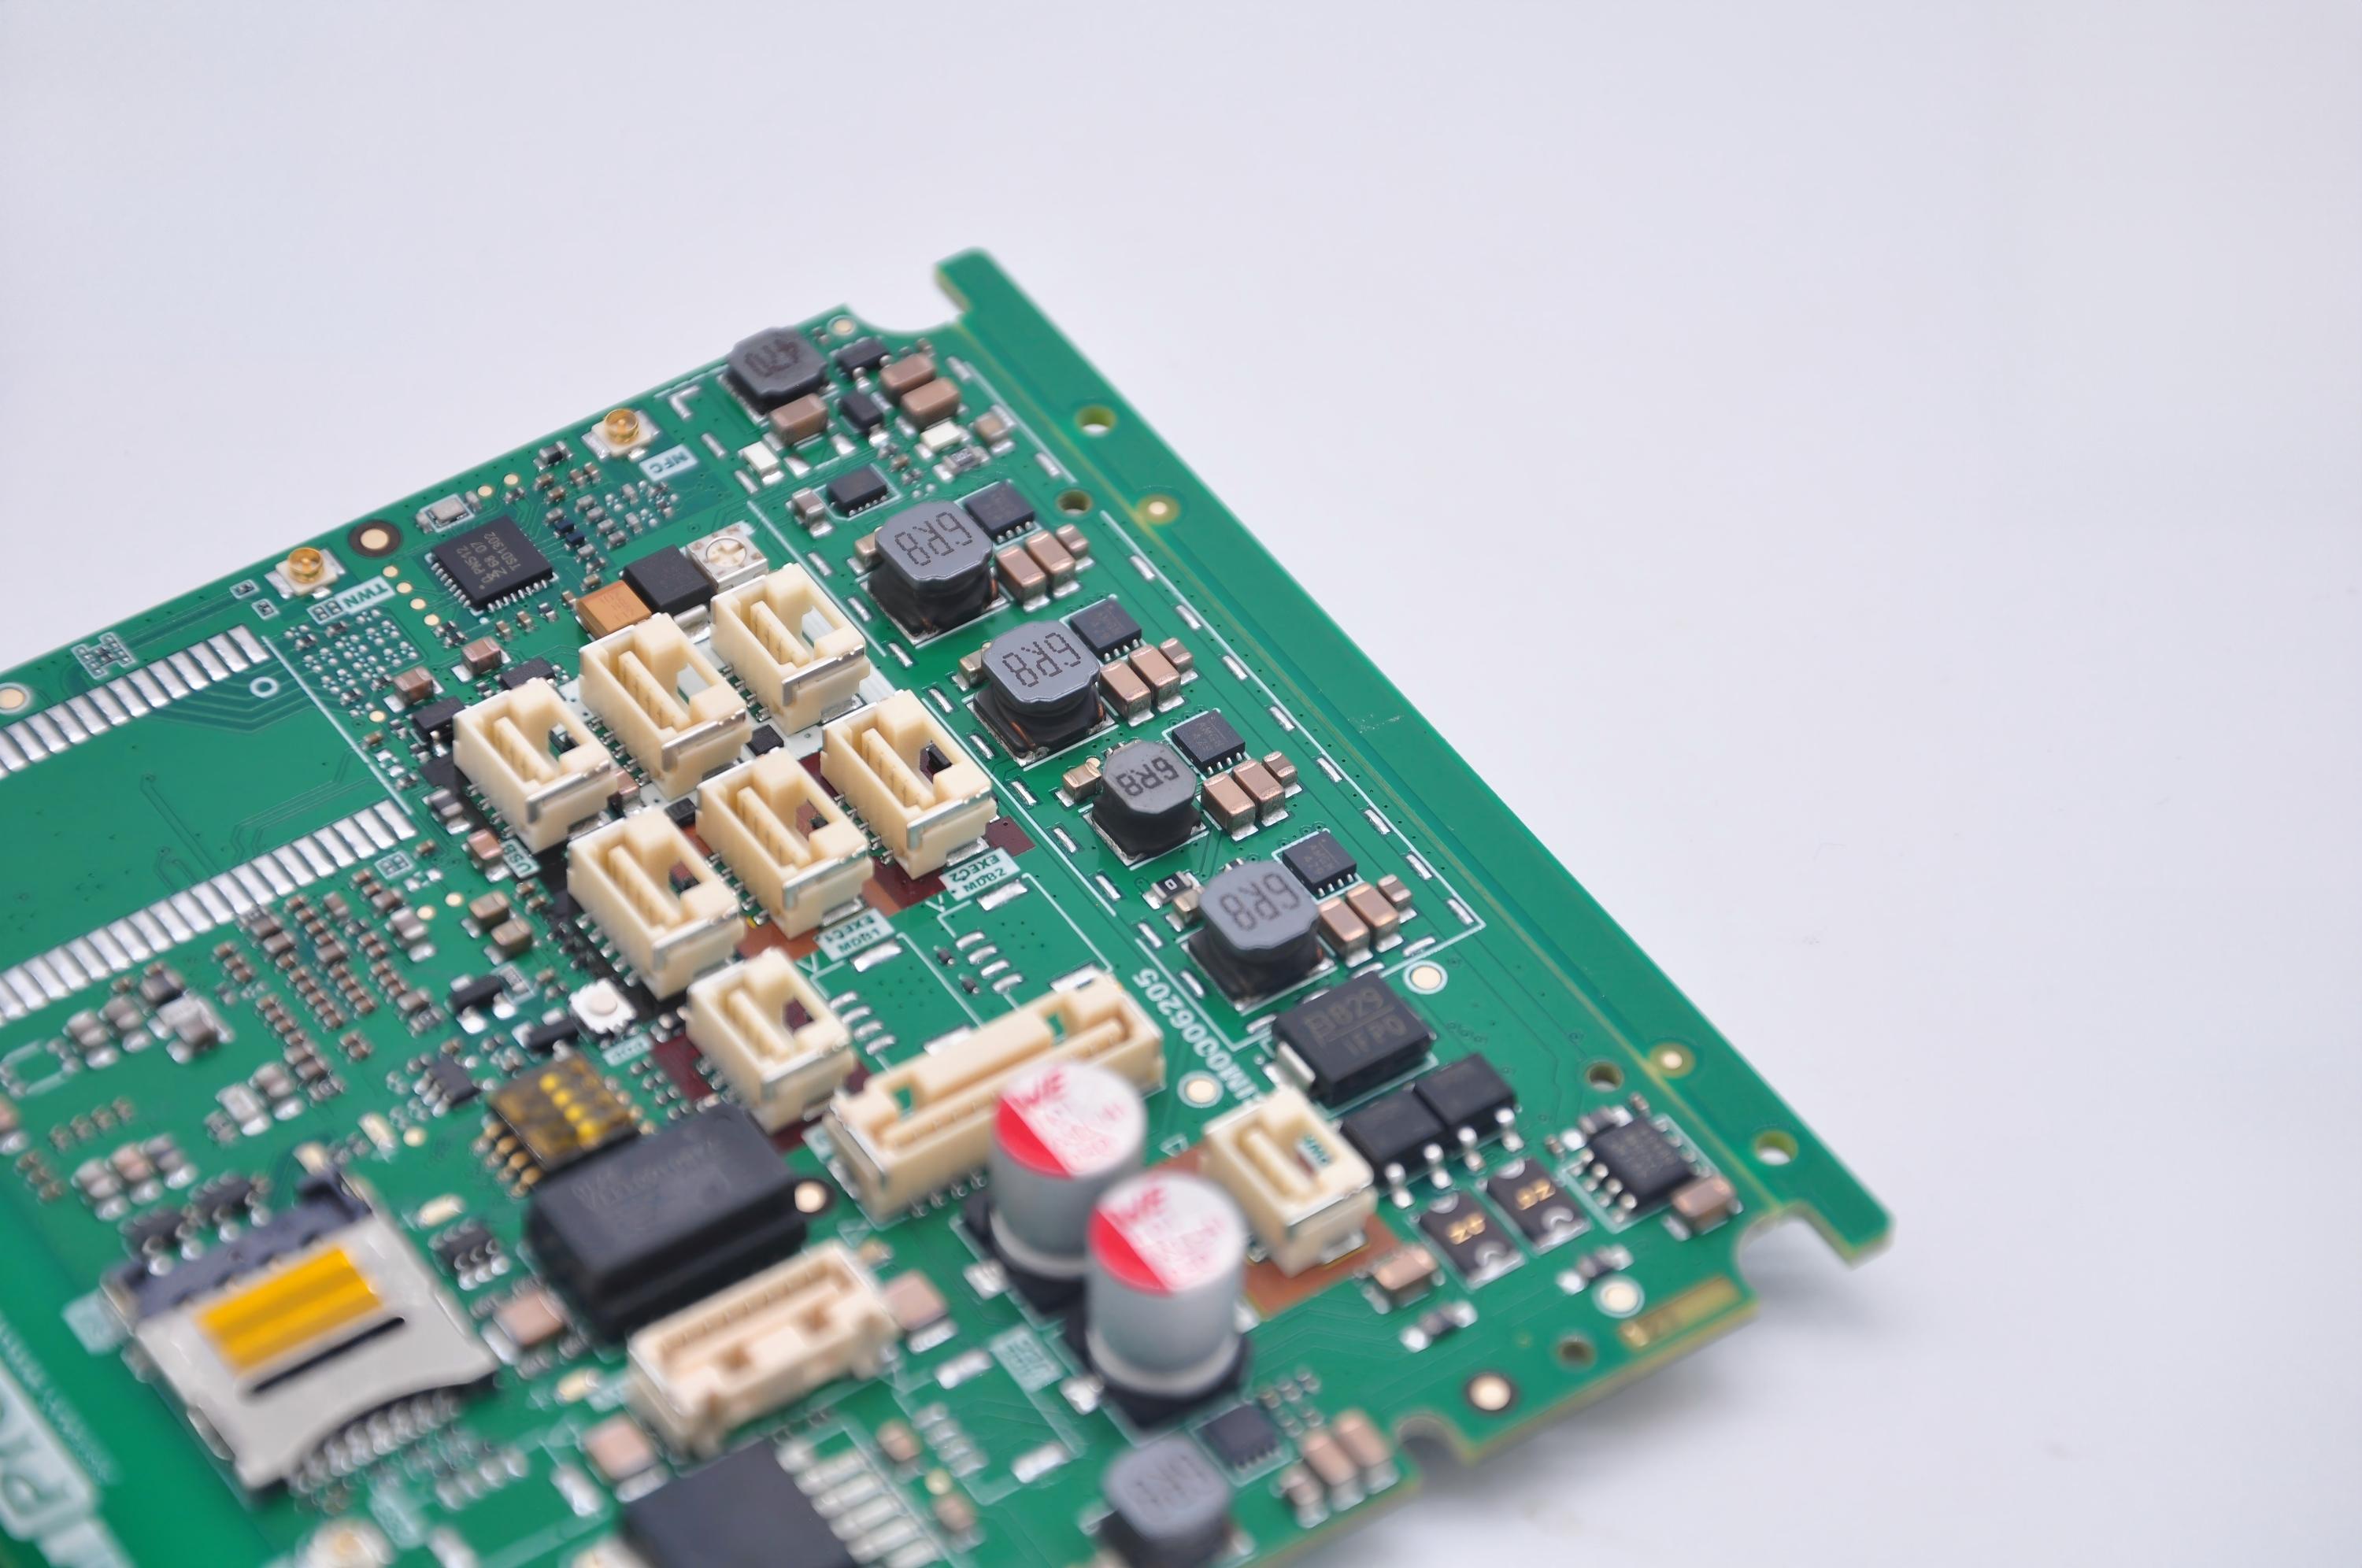
3. Optimize Power Distribution Network (PDN) Design
Inadequate decoupling is a top cause of fmc connector pcb layout failures. Place 0402/0603 capacitors within 50mil of power pins (mix 0.1μF + 10μF values) – a key step for stable FMC connector signal integrity.
4. Route Differential Pairs with Precision
Keep pairs tightly coupled (3-5mil spacing) and match lengths to ±5mil to avoid skew – critical for FMC HPC LPC connector layout and preventing FMC PCB layout troubleshooting headaches later.
5. Account for Mechanical Clearances
Single-width (69mm) and double-width (139mm) modules need specific edge clearances – ignore this, and you’ll face costly reworks during FMC PCB layout troubleshooting.
6. Enhance EMC Performance with Grounding
Connect ground pins to solid planes with multiple vias to reduce noise coupling – a proven FMC connector PCB design best practice for preserving FMC connector signal integrity.
7. Plan for Testability and Repairs
Add test points near critical signals to simplify FMC PCB layout troubleshooting – avoid placing components under the FMC module (max height 4.7mm for 10mm modules).
Common fmc connector pcb layout Traps and How to Avoid Them
Even experts face pitfalls in FMC HPC LPC connector layout – here’s how to skip costly FMC PCB layout troubleshooting:
Trap 1: Overlooking Decoupling Capacitor Placement
Placing capacitors over 100mil from power pins creates parasitic inductance – fix this by positioning them within 50mil, a key FMC connector PCB design best practice for stable FMC connector signal integrity.
Trap 2: Ignoring Return Current Paths
Ground plane splits force return currents into longer paths, ruining FMC connector signal integrity. Keep planes solid beneath traces – a non-negotiable for fmc connector pcb layout.
Trap 3: Routing Traces Through Thermal Reliefs
Thermal reliefs disrupt FMC PCB impedance control – use solid copper connections for high-speed signals to avoid FMC PCB layout troubleshooting later.
Trap 4: Underestimating Trace Length Matching
Mismatched pairs (±10mil+) cause timing errors – use design software to add serpentine bends, critical for FMC HPC LPC connector layout at 10Gbit/s speeds.
Step-by-Step fmc connector pcb layout Workflow
Follow this structured process to align with FMC connector PCB design best practices and minimize FMC PCB layout troubleshooting:
- Define Requirements: Confirm FMC type (HPC/LPC) and signal speeds – foundational for FMC HPC LPC connector layout.
- Layer Stack Design: Allocate 4+ layers for HPC (prioritize FMC PCB impedance control).
- Component Placement: Position the connector near the FPGA to preserve FMC connector signal integrity.
- Trace Routing: Prioritize differential pairs and match lengths (±5mil) – core fmc connector pcb layout rules.
- Ground Plane Optimization: Avoid splits to protect FMC connector signal integrity.
- EMI/EMC Checks: Use simulation tools to test for interference (reduces FMC PCB layout troubleshooting).
- Manufacturability Review: Verify clearances per IPC standards – a key FMC connector PCB design best practice.
Tools to Simplify fmc connector pcb layout
The right tools streamline FMC HPC LPC connector layout and ensure precise FMC PCB impedance control:
- PCB Design Software: Allegro (HPC designs), KiCad (open-source LPC) – both support FMC connector PCB design best practices.
- Impedance Calculators: Polar Instruments Si9000 (gold standard for FMC PCB impedance control).
- Simulation Tools: ANSYS SIwave (tests FMC connector signal integrity pre-production).
- Component Libraries: Samtec/TE Connectivity footprints (avoids FMC PCB layout troubleshooting from incorrect footprints).
FAQ – FMC PCB layout troubleshooting & Key Questions
Q1: What’s the maximum trace length for FMC connector signal integrity?
A: Keep 5Gbit/s signals under 3 inches (76mm); 10Gbit/s under 2 inches (50mm) – use low-loss substrates (Rogers 4350) for fmc connector pcb layout to preserve integrity.
Q2: Can I mix HPC/LPC in fmc connector pcb layout?
A: Yes – ensure separate power rails/layers for FMC HPC LPC connector layout to avoid cross-talk and protect FMC connector signal integrity.
Q3: How to fix crosstalk in fmc connector pcb layout?
A: Increase pair spacing (3x trace width) and route on separate layers – a top FMC connector PCB design best practice for FMC connector signal integrity.
Q4: Why fail thermal tests in FMC HPC LPC connector layout?
A: Clustered heat-generating components near the connector cause hotspots – spread them and add thermal vias (reduces FMC PCB layout troubleshooting).
Q5: Best decoupling for fmc connector pcb layout?
A: Mix 0.1μF (high-frequency), 10μF (mid-range), 100μF (low-frequency) – place smallest values closest to power pins for stable FMC PCB impedance control.
Q6: Soldering tips for fmc connector pcb layout?
A: Use reflow soldering (240-260°C) – hand soldering damages pins and leads to FMC PCB layout troubleshooting for signal loss.
Real-World fmc connector pcb layout Case Study
A telecom manufacturer faced FMC connector signal integrity failures with their HPC design – their fmc connector pcb layout had:
- Decoupling caps 200mil from power pins (poor FMC PCB impedance control).
- 15mil length mismatch in differential pairs (ruined FMC connector signal integrity).
- Ground plane splits (common FMC HPC LPC connector layout mistake).
After applying FMC connector PCB design best practices:
- Relocated caps to 50mil (fixed FMC PCB impedance control).
- Matched pair lengths to ±3mil (restored FMC connector signal integrity).
- Eliminated ground splits (reduced FMC PCB layout troubleshooting by 45%).
Result: EMI dropped below FCC Class B, and field failures fell by 45% – proof that proper fmc connector pcb layout drives reliability.
Final FMC connector PCB design best practices for Success
- Update VITA 57 standards (critical for FMC HPC LPC connector layout).
- Consult suppliers (Samtec/TE) for fmc connector pcb layout guidelines.
- Test prototypes early (avoids late-stage FMC PCB layout troubleshooting).
- Document trace lengths/impedance (simplifies fmc connector pcb layout revisions).
Conclusion – Master fmc connector pcb layout for High-Performance Designs
fmc connector pcb layout balances science and practicality – prioritize FMC connector signal integrity and FMC PCB impedance control, follow FMC connector PCB design best practices, and plan for FMC PCB layout troubleshooting upfront. Whether designing HPC or LPC, adhering to these rules ensures your FMC HPC LPC connector layout is reliable, manufacturable, and optimized for high-speed performance – reducing costs and frustration long-term.