

How to Make a Stencil: 2 Methods for Beginners & Pros
Learning how to make a stencil is a valuable skill for DIY projects, crafts, and even professional applications like PCB assembly. Mastering how to make a stencil correctly ensures clean, consistent results whether you’re using basic hand tools or advanced cutting machines. This guide breaks down two reliable methods—handmade for beginners and machine-assisted for precision—to suit different skill levels and project needs.


What Materials Do You Need to Make a Stencil?
Essential Supplies for All Methods
- Stencil substrate: Mylar, PVC sheets (0.3-0.5mm thickness), or plastic dividers for reusability; cardstock for one-time use.
- Cutting tools: X-Acto knife (sharp #11 blade) for hand cutting; vinyl cutter or laser cutter for machine methods.
- Auxiliary tools: Cutting mat, packing tape, spray adhesive, sandpaper, and tweezers for detail work.
- Design tools: Printer, pencil, black marker, and graphic software (CorelDRAW, Adobe Illustrator) for digital designs.
How to Choose the Right Stencil Material?
| Material | Best For | Pros | Cons |
|---|---|---|---|
| Mylar | Reusable stencils | Durable, waterproof, heat-resistant | Slightly higher cost than PVC |
| PVC Sheets | DIY & small-batch use | Low-cost, easy to cut, flexible | Not ideal for high-heat applications |
| Cardstock | One-time projects | Budget-friendly, instant availability | Prone to warping when wet |
Step-by-Step Guide to DIY Handmade Stencils
For Beginners (No Special Tools Needed)
- Prepare your design: Print or draw a bold, simple design (avoid thin lines). For text, use thick fonts to prevent breakage.
- Secure the design: Tape the printed design to the back of your transparent substrate to align cuts accurately.
- Cut carefully: Hold the X-Acto knife at 45°, cut along the design’s outer edges first, then inner details. Use a cutting mat to protect surfaces.
- Remove excess material: Use tweezers to pull out hollow sections (e.g., centers of letters like “O” or “A”).
- Trim edges: Sand rough edges lightly for clean lines and better paint adhesion.
How to Make a Stencil with a Cutting Machine?
For Precision & Complex Designs
For intricate patterns or mass production, use a vinyl cutter or laser cutter. Import your design into the machine’s software, adjust size and cut settings (speed: 3-5mm/s, pressure: 100-150g for vinyl), and load the substrate.
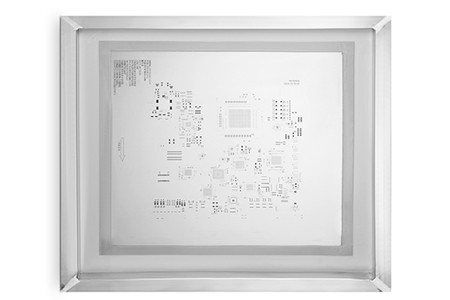
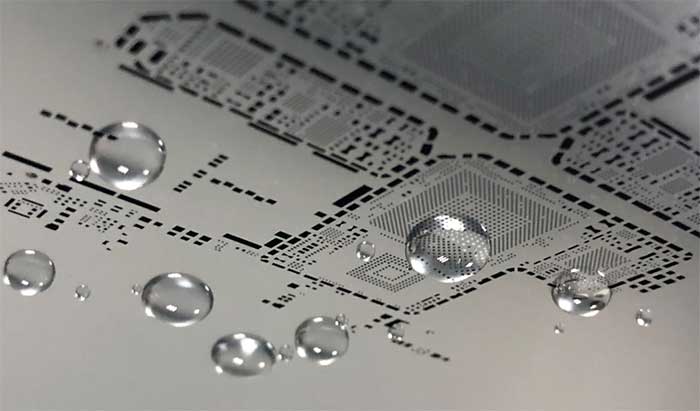
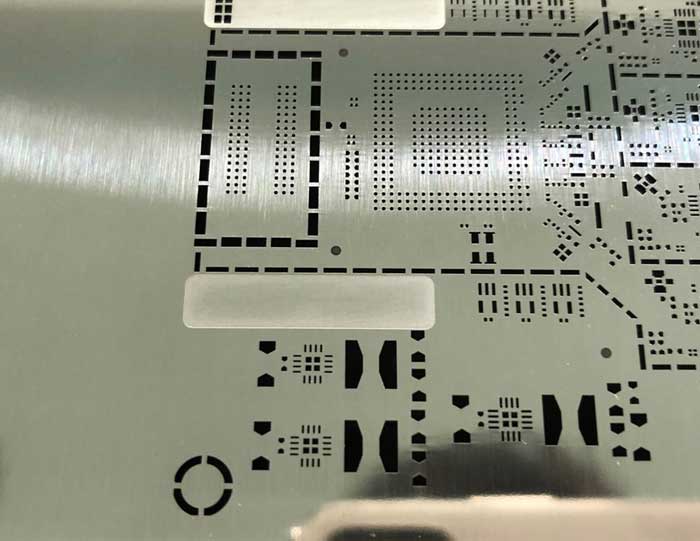
Laser cutters work best for Mylar or stainless steel (for professional SMT stencils). After cutting, peel the stencil from the backing and test for loose sections before use.
Design Tips for Durable & Precise Stencils
Avoid Common Design Mistakes
- Add “bridges”: Connect small hollow areas (islands) to the stencil frame to prevent tearing. Bridges should be at least 1mm wide.
- Keep it simple: Beginners stick to large shapes; save fine details for machine-cut stencils.
- Size strategically: Make the stencil 1-2cm larger than the target design for easier handling.
How to Test & Touch Up Your Stencil?
Test the stencil on scrap material before final use. If edges bleed, apply thin tape to seal gaps. For minor tears, use clear tape on the stencil’s back to reinforce without blocking the design. Replace the stencil if tears are too large to repair.
Common Applications of Homemade Stencils
Homemade stencils work for wall decor, fabric painting, signage, and hobby PCB projects. For professional electronics assembly, however, precision SMT stencils are required to apply solder paste accurately to tiny components.
FAQ: Troubleshooting Stencil Making Issues
- Q: Why do my stencil edges have burrs? A: Use a sharper blade, cut slower, or switch to a thinner substrate. Sanding after cutting also helps.
- Q: How to prevent paint bleeding under the stencil? A: Apply light, thin coats of paint and use spray adhesive to secure the stencil tightly.
- Q: My stencil tears easily—what’s wrong? A: Lines or bridges are too thin. Redesign with wider bridges (≥1mm) or use a more durable material like Mylar.
- Q: Can I reuse a paper stencil? A: Paper stencils are for one-time use; switch to Mylar or PVC for reusable options.
- Q: How to fix a misaligned design? A: Secure the design to the substrate with multiple tape points before cutting to prevent shifting.
- Q: Why won’t my cutting machine cut through the substrate? A: Adjust the blade depth or pressure; ensure the material is compatible with the machine.
How to Extend the Service Life of Your Stencil?
Clean the stencil immediately after use with mild soap and water (avoid harsh chemicals). Store flat in a dry place to prevent warping. For plastic stencils, apply a thin layer of clear nail polish to edges to reinforce durability.
Differences Between DIY Stencils & Professional Stencils
DIY stencils are cost-effective for small projects but lack the precision of professional options. Professional stencils (e.g., laser-cut stainless steel) offer tight tolerances, durability for high-volume use, and are essential for applications like PCB assembly where accuracy is critical.
Where to Get High-Quality Custom Stencils?
For projects requiring professional-grade precision—such as SMT stencils for PCB assembly—we offer high-quality custom stencils tailored to your design specifications. Our stencils are laser-cut for accuracy, made with durable materials, and suitable for both prototype and small-batch production. Need a custom stencil? Place your order by emailing us at sales@bestpcbs.com.