

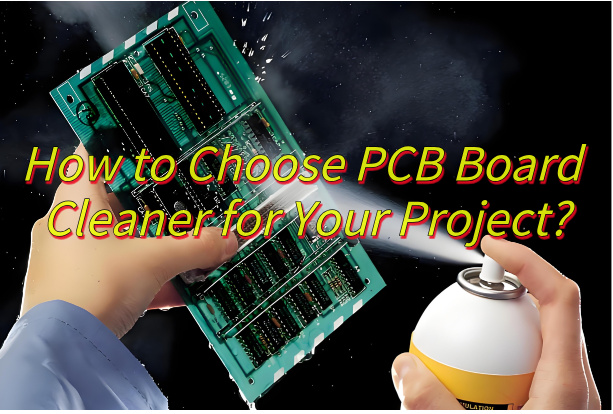
How to choose PCB board cleaner for your project? This guide explores spray types, selection tips, cleaning tools, alcohol-free methods, and post-maintenance for optimal PCB care.
- Why does residue keep damaging my sensitive circuits?
- Are harsh cleaners degrading my components?
- How do I clean densely packed boards without disassembly?
EBest Circuit (Best Technology) Can Provide:
- Non-Corrosive Formulas – Safe for copper traces & delicate parts.
- Fast-Drying, No-Residue Tech – Cleans thoroughly without leaving streaks.
- Penetration Sprays & Brushes – Reach tight spaces without dismantling.
Contact us now if you need PCB board cleaning or PCBA service: sales@bestpcbs.com.
What Is PCB Board Cleaner?
A PCB board cleaner is a specialized chemical solution developed to safely remove contaminants from printed circuit boards without compromising their structure or performance. It effectively targets manufacturing and operational residues including flux, solder paste, dust, oils, and oxidation layers. The formulation carefully avoids aggressive substances that might harm delicate PCB elements like copper pathways or insulation materials.
The cleaner’s balanced composition ensures thorough residue removal while preventing new deposits from forming. This cleaning process is vital for preventing electrical issues, material degradation, and thermal problems, ultimately extending the operational life of electronic components. Suitable for both professional and amateur use, these cleaners meet strict safety and environmental regulations while maintaining optimal cleaning performance.
How to Choose PCB Board Cleaner?
1. Identify Contaminant Type
Select cleaners formulated for specific residues:
- Flux residues: Use specialized flux removers, especially for hardened no-clean flux variants that cause electrochemical migration.
- Ionic/organic contaminants: Prioritize cleaners with ion-complexing agents to neutralize conductive residues like chlorides or sulfates.
- Oils/greases: Solvent-based cleaners efficiently dissolve non-polar contaminants.
- Dust/particulates: Foaming cleaners or static-dissipative sprays dislodge particles from tight spaces without electrostatic risks.
2. Evaluate Cleaner Formulation
Solvent-Based Cleaners
- Pros: Fast-drying, no rinsing required, effective on oils and polymerized flux.
- Cons: Higher VOC emissions; may degrade plastics or silicones.
Water-Based Cleaners
- Pros: Eco-friendly, low toxicity, suitable for water-soluble residues.
- Cons: Requires thorough rinsing/drying; ineffective on non-polar contaminants.
Specialized Options
- Static-dissipative cleaners: Essential for high-frequency/sensitive components to prevent ESD damage.
- Contact cleaners: Remove oxidation from connectors while enhancing conductivity.
3. Verify Compatibility & Safety
- Material testing: Ensure compatibility with PCB substrates (FR-4, polyimide), soldermask, and component labels. Test on scrap boards first.
- Component safety: Avoid cleaners causing corrosion on copper traces, solder joints, or aluminum capacitors.
- Environmental/health compliance: Prioritize non-ODS, low-GWP formulations with safety certifications (e.g., ISO 14001).
4. Assess Cleaning Efficacy
Validate performance using industry-standard tests:
- Ionic contamination: Measure resistivity of extracted solution (≤1.56 μg NaCl/cm² for automotive PCBs).
- SIR testing: Confirm >100 MΩ resistance after humidity exposure.
- Visual inspection: Check for residue under 10× magnification.
5. Consider Application & Workflow
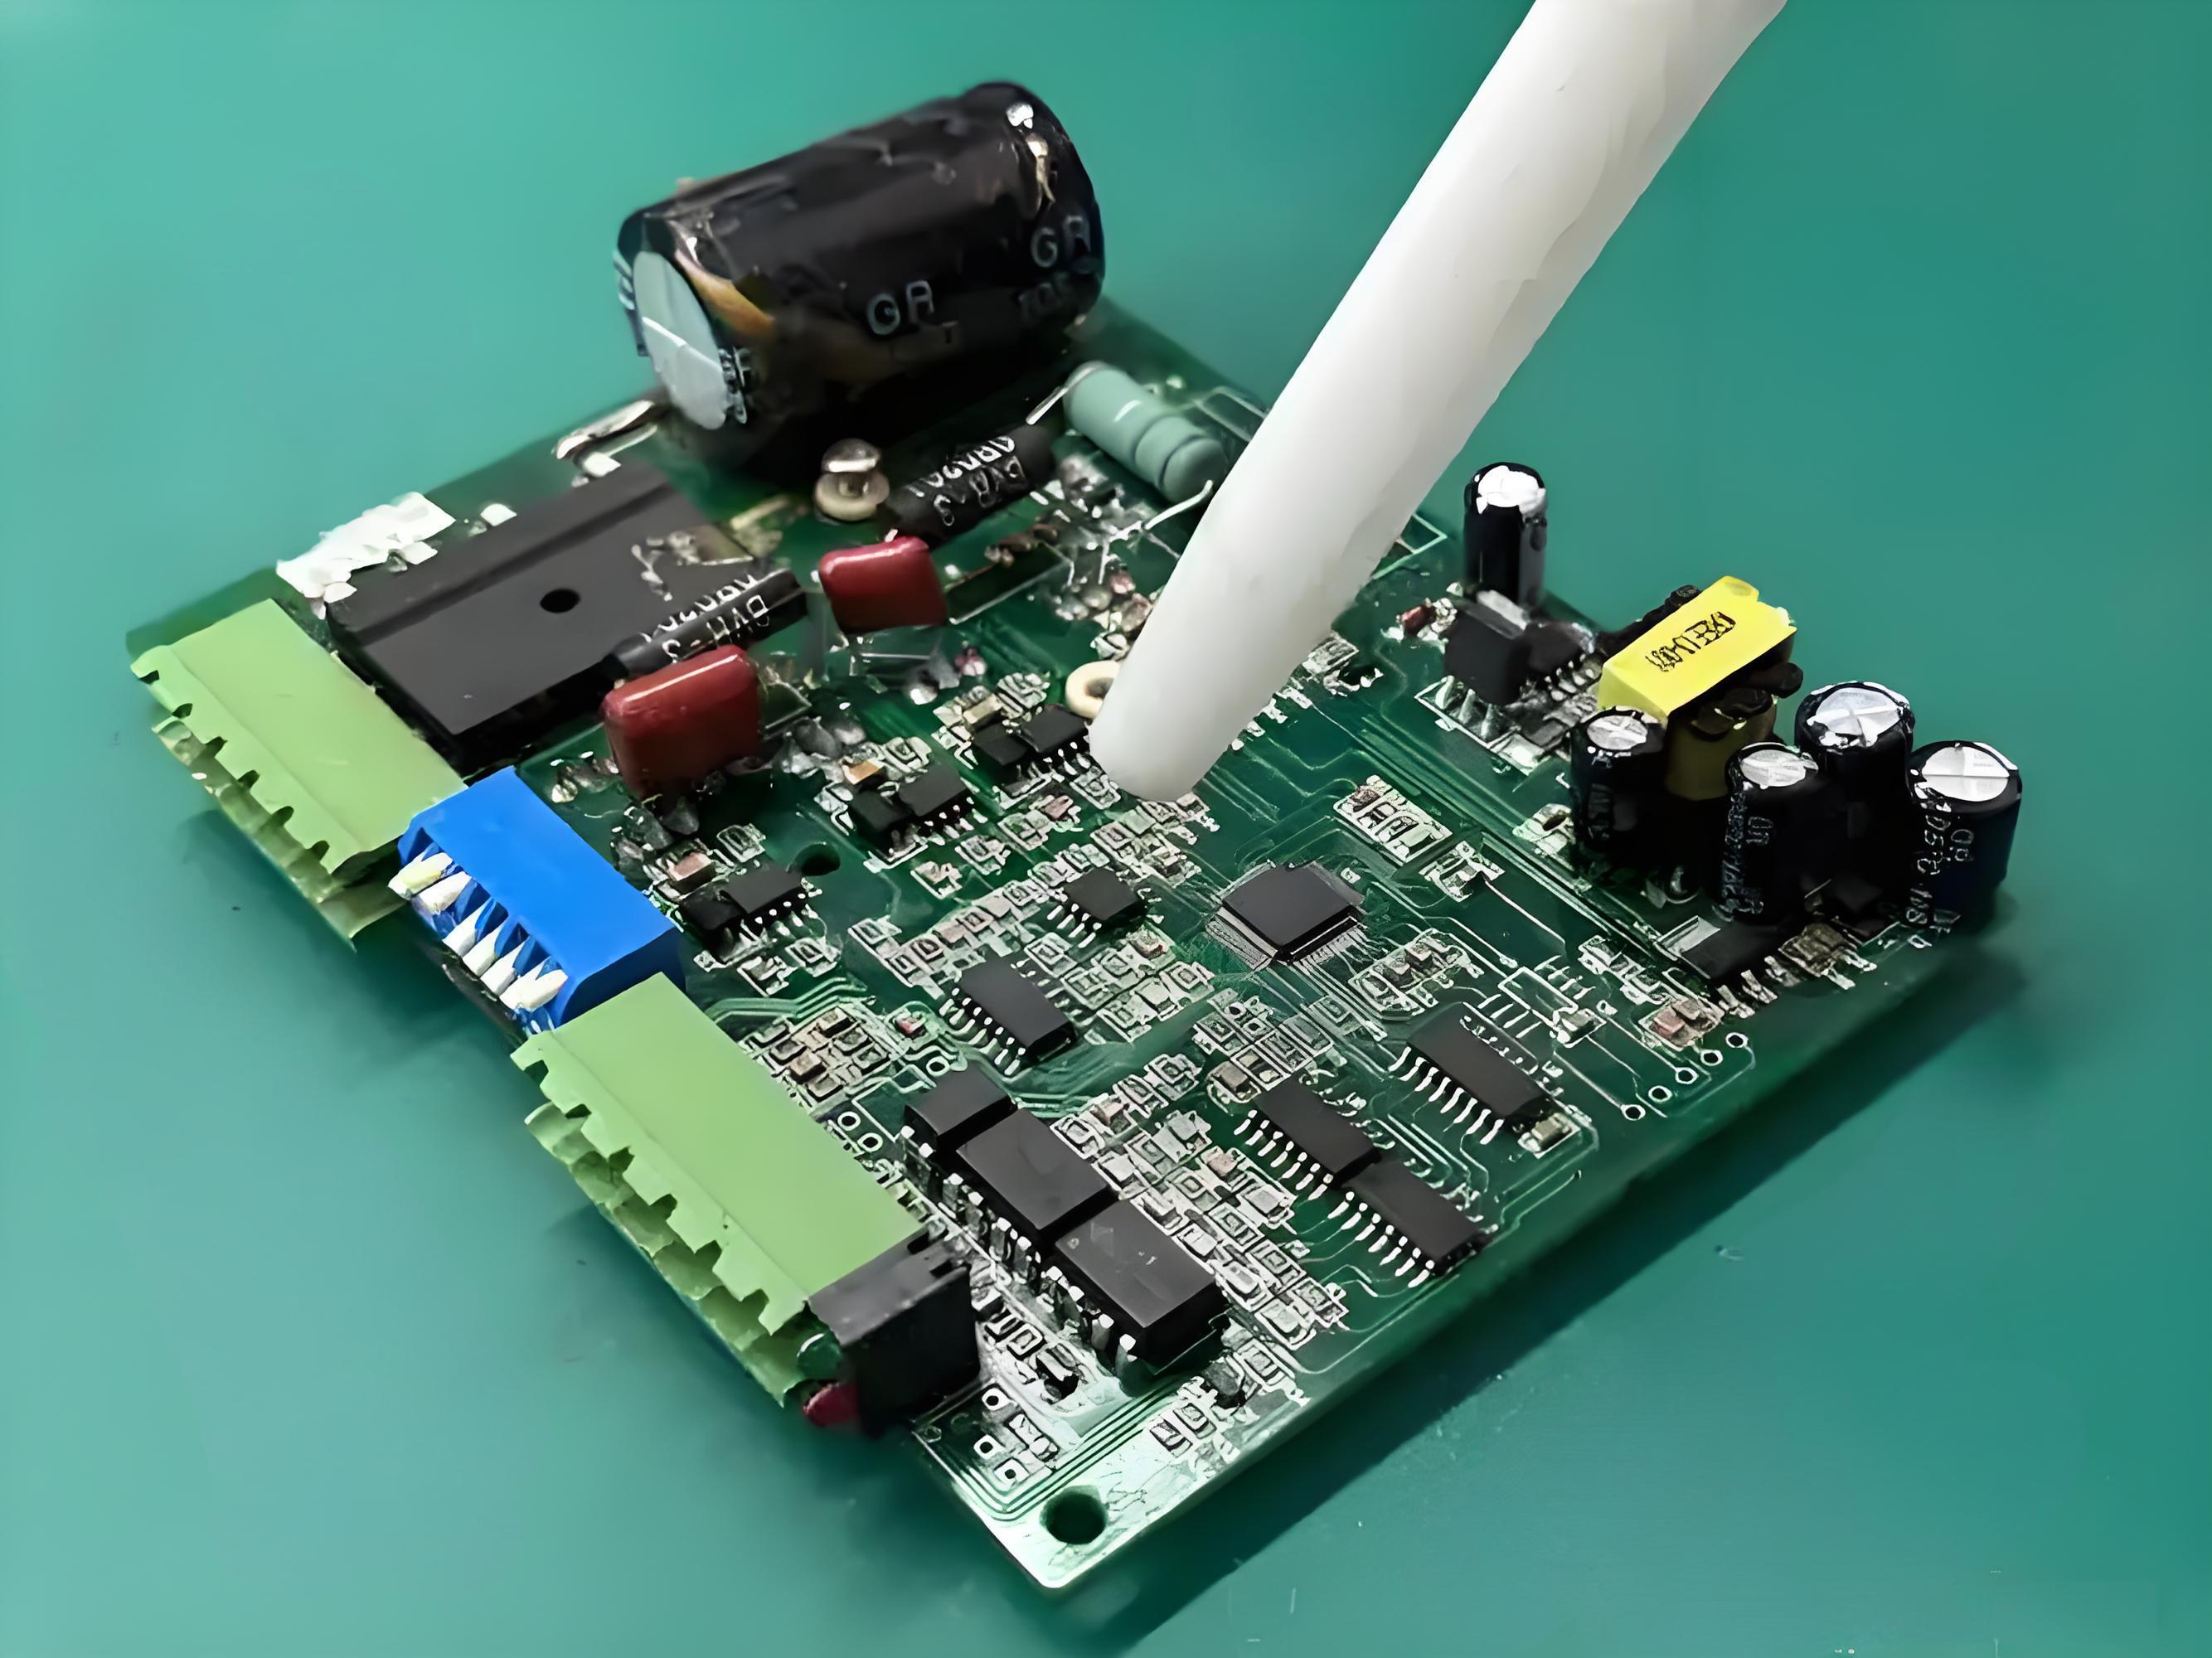
- Manual cleaning: Use aerosol sprays with extension tubes for precision.
- Automated systems: Inline cleaners with ultrasonics/impingement suit high-volume production.
- Drying time: Fast-evaporating solvents reduce processing delays; water-based cleaners demand forced-air drying.
PCB Board Cleaner Spray Types
Here are types of PCB board cleaner:
- Solvent-Based Cleaners – Fast-evaporating sprays using chemical solvents to dissolve flux residues and grease without streaking.
- Water-Based Cleaners – Eco-friendly solutions with water and mild detergents for water-soluble residues, requiring rinsing.
- No-Clean Flux Removers – Specifically break down hardened no-clean flux residues without damaging components.
- Contact Cleaners – Remove oxidation from connectors and switches while improving conductivity.
- Foaming Cleaners – Expand into foam for deeper cleaning in tight spaces with extended contact time.
- Static-Dissipative Cleaners – Neutralize static charges during cleaning to prevent ESD damage.
Tools for Cleaning Printed Circuit Boards
Manual Cleaning Tools
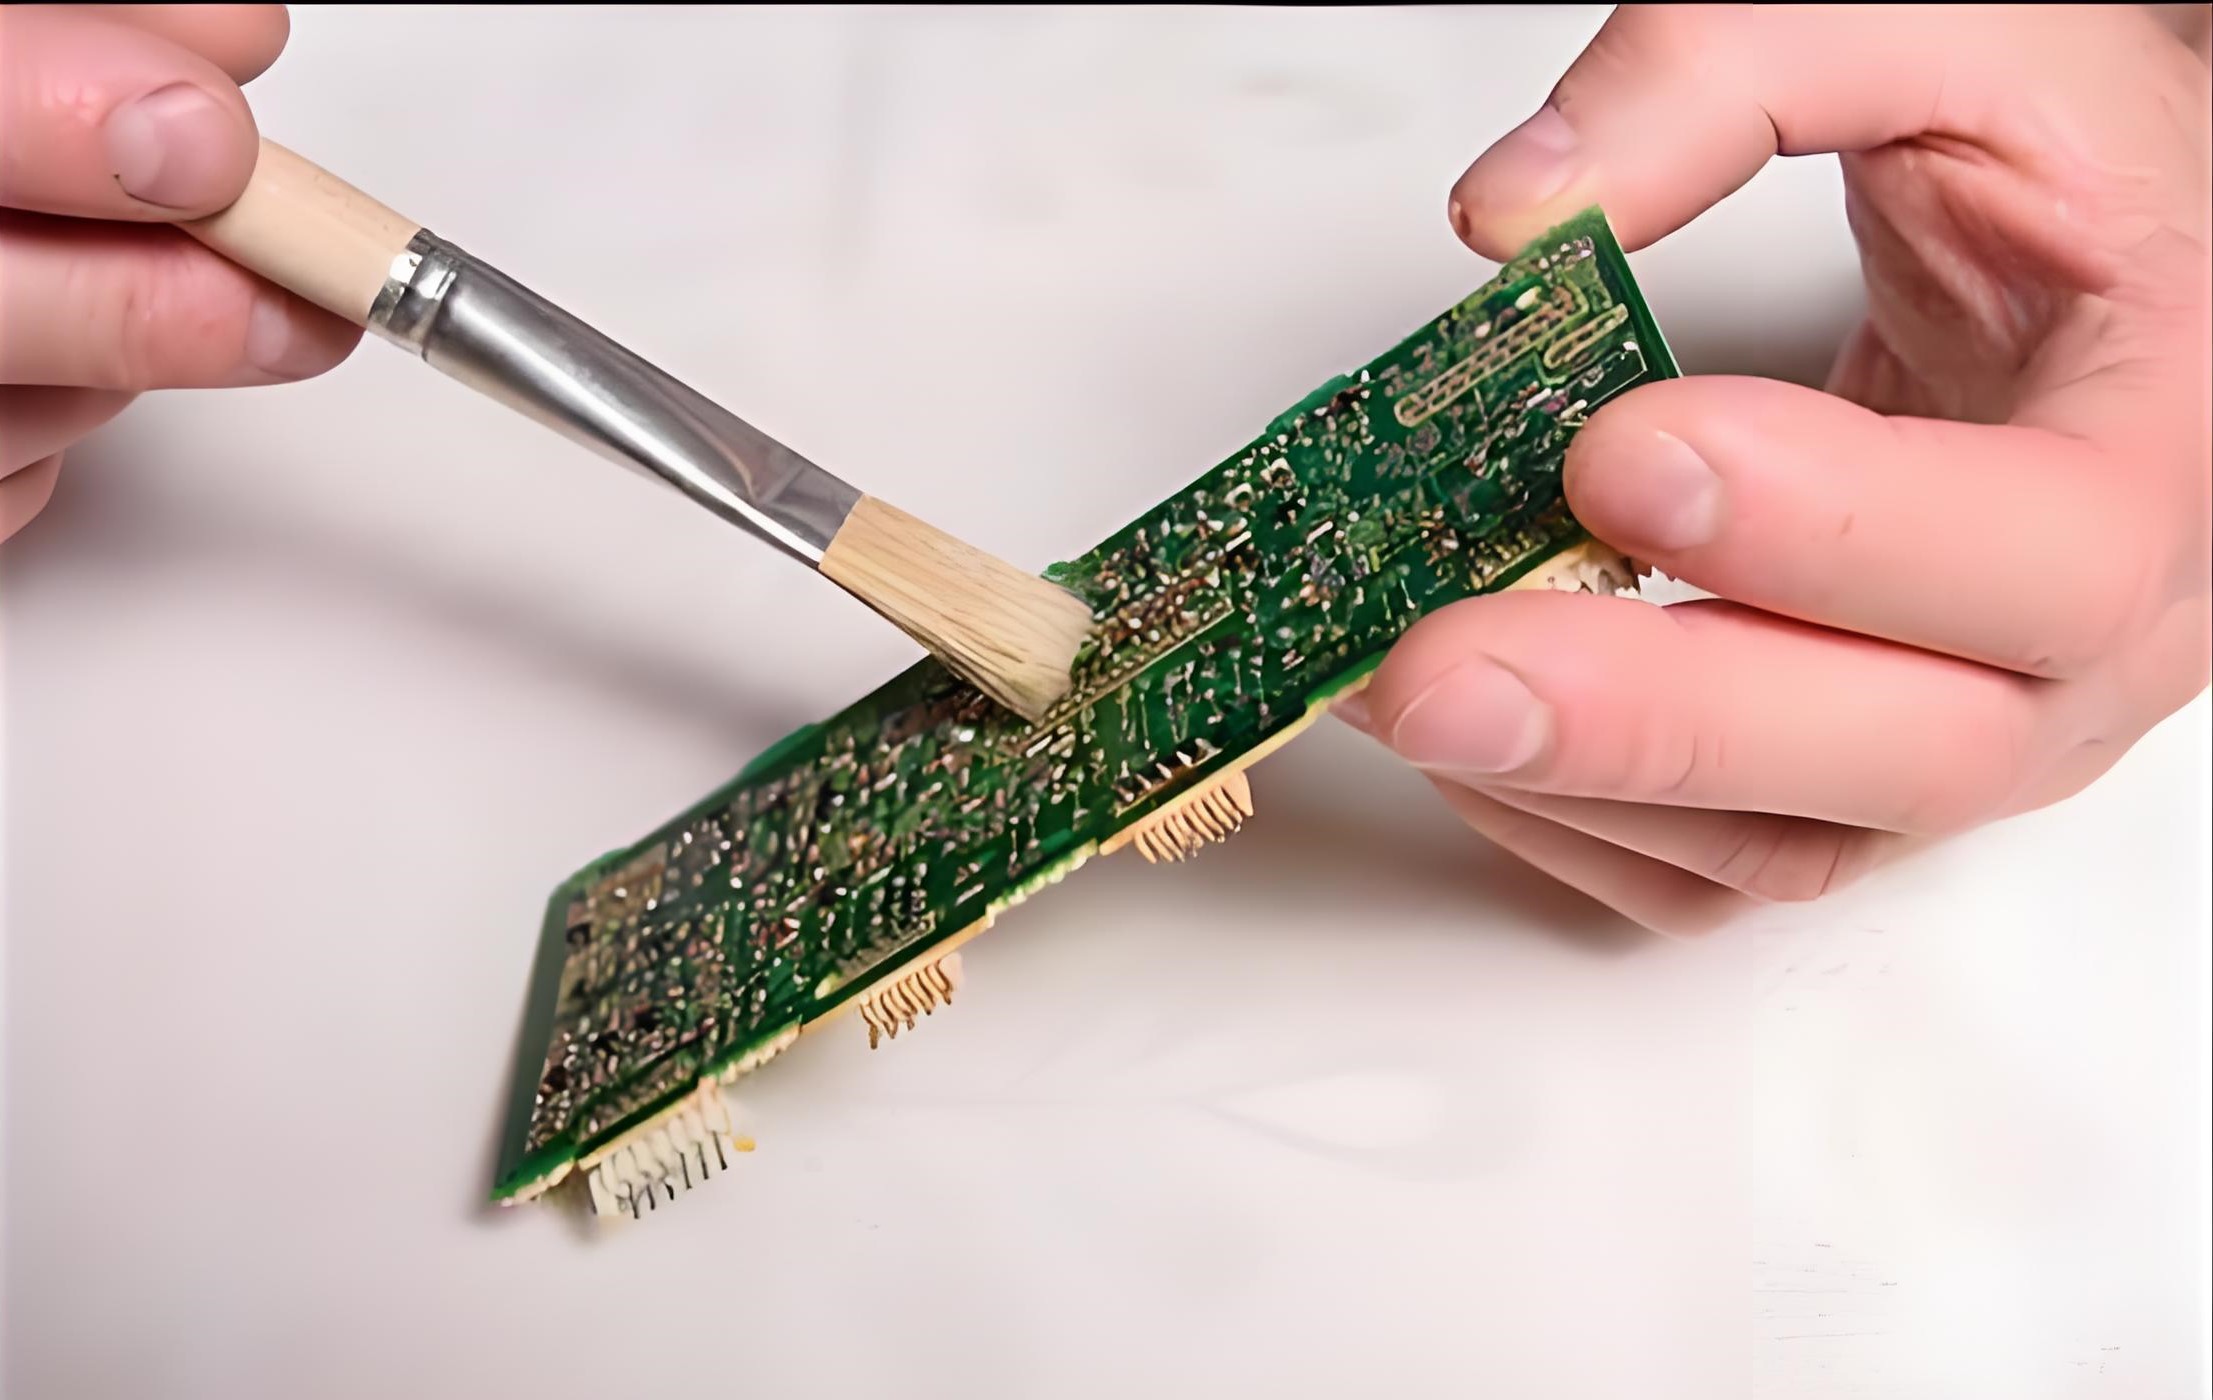
- Anti-Static Brushes: Soft-bristled brushes with conductive materials to safely remove loose debris without generating static electricity.
- Precision Swabs: Lint-free foam or microfiber tips for targeted cleaning of component leads and tight spaces.
- ESD-Safe Tweezers: Non-magnetic tools for removing stubborn particles without risking electrostatic discharge
Chemical Application Tools
- Aerosol Spray Systems: Pressurized cans with precision nozzles for even solvent distribution.
- Dispensing Bottles: Controlled-flow containers for applying water-based cleaners in specific areas.
- Ultrasonic Cleaners: Bath systems using high-frequency sound waves to remove microscopic contaminants from complex assemblies.
Drying & Finishing Equipment
- Compressed Air Systems – Oil-free air blowers for removing residual cleaning fluids and dislodged particles.
- Vacuum Desoldering Tools – For extracting flux residues from solder joints and through-hole components.
- Low-Lint Wipes – Specially woven fabrics that leave no fibers during final wipe-downs.
Inspection & Verification
- Magnifying Lamps: Illuminated lenses (5X-10X magnification) for post-cleaning quality checks.
- IR Thermometers: Non-contact temperature sensors to verify no thermal damage occurred during cleaning.
How Do You Clean Circuit Boards?
Step 1: Safety and Preparation
Disconnect Power:
- Unplug the device and remove batteries. Never clean powered or connected circuits.
Gather Tools:
- PCB cleaner spray (choose type based on residue; solvent-based for flux/grease, water-based for dust).
- Soft-bristle brush (anti-static if available).
- Lint-free swabs or foam-tip applicators.
- Microfiber cloth.
- Compressed air (optional, for loose debris).
Work Area:
- Use a well-ventilated space. Wear nitrile gloves and safety goggles.
Step 2: Dry Cleaning (Remove Loose Debris)
- Blow Away Dust: Use short bursts of compressed air (≥6 inches from the board) to dislodge dust/dirt.
- Gentle Brushing: Lightly scrub with a soft brush, moving along (not across) copper traces to avoid damage.
Step 3: Apply Cleaner
Spray Correctly:
- Hold cleaner can upright, 4–6 inches from the board.
- Spray in short bursts; avoid oversaturating.
- For tough residues (e.g., flux), spray directly onto swabs first, not the board to control flow.
Target Problem Areas:
- Focus on solder joints, connectors, or visible grime.
- Avoid sensors, connectors, or open ports unless using contact cleaner.
Step 4: Scrubbing
- Use Swabs: Gently rub residues with a dampened swab. Replace swabs frequently to avoid redepositing grime.
- Stubborn Stains: Apply cleaner, wait 10–15 seconds to dissolve residue, then retry. Never force scrub.
Step 5: Rinsing (Water-Based Cleaners Only)
- If using water-based cleaners:
- Rinse with distilled water (not tap water minerals cause corrosion).
- Tilt the board to drain liquid completely.
Step 6: Drying
- Air Dry: Place the board in a warm, dry area for 15–30 minutes.
- Accelerate Drying: Use compressed air (≥6 inches away) or a low-heat hairdryer (keep moving; avoid overheating).
- Verify Dryness: Check crevices with a magnifying glass—no moisture should remain.
Step 7: Final Inspection
- Examine under bright light: Ensure no residue, fibers, or liquid remains.
- Test function only when completely dry.
How to Clean a Circuit Board without Alcohol?
Alcohol-Free PCB Cleaning Methods
Water-Based Cleaning Solutions
- Use specialized electronics-grade water-based cleaners.
- Apply by spraying or immersion.
- Gently scrub with soft-bristle brushes.
- Rinse thoroughly with deionized water.
- Air-dry completely before reassembly.
Ultrasonic Cleaning
- Fill tank with non-alcohol cleaning fluid.
- Set temperature between 35-85°C.
- Limit cleaning cycles to 2-5 minutes.
- Ideal for removing stubborn contaminants.
- Avoid prolonged exposure for sensitive components.
Dry Ice Blasting
- Uses compressed air-propelled dry ice pellets.
- Sublimation process lifts contaminants.
- Leaves no residue or moisture.
- Requires proper ventilation.
- Wear protective gear during operation.
Oxide Powder Mixtures
- Create paste with aluminum oxide and deionized water
- Apply sparingly to affected areas.
- Use plastic tools for gentle scrubbing.
- Rinse immediately after cleaning.
- Ensures thorough residue removal.
Safety Notes
- Always test methods on small areas first.
- Ensure complete drying before powering.
- Wear appropriate protective equipment.
- Store cleaned boards in dry environments.
Post-Cleaning PCB Board Maintenance Methods
- Thorough Drying – After cleaning, ensure complete evaporation of cleaning agents using compressed air or controlled heating (below component tolerance levels). Moisture trapped under components causes corrosion and electrical leakage.
- Visual Inspection – Examine under bright light/magnification for residual contaminants, especially in crevices and under components. Re-clean if streaks, white residues, or particulate matter remain.
- Conformal Coating Application – Apply protective coatings (acrylic, silicone, or urethane-based) to shield against moisture, dust, and chemical exposure. Ensure proper masking of connectors and heat-sensitive areas.
- Corrosion Prevention – Use anti-corrosion sprays or inhibitor wipes on exposed metal contacts and traces, particularly in high-humidity environments.
- Storage Conditions – Store PCBs in anti-static bags with desiccants if not immediately used. Maintain 30-50% relative humidity and avoid temperature fluctuations.
- Periodic Re-Cleaning – For boards in continuous operation, schedule maintenance cleaning every 6-12 months depending on environmental contaminants.
- Functional Testing – Verify electrical performance post-cleaning with continuity checks and power-on tests to detect latent cleaning-related issues.
Conclusion
Choosing the right PCB cleaner ensures longevity and peak performance of your electronics. From solvent sprays to alcohol-free methods and maintenance, this guide equips you to safeguard sensitive components. For precision beyond DIY solutions, trust our professional PCBA services. We combine cutting-edge cleaning technology with stringent quality control, eliminating residues while preserving circuit integrity. Contact us now for a quote: sales@bestpcbs.com.