

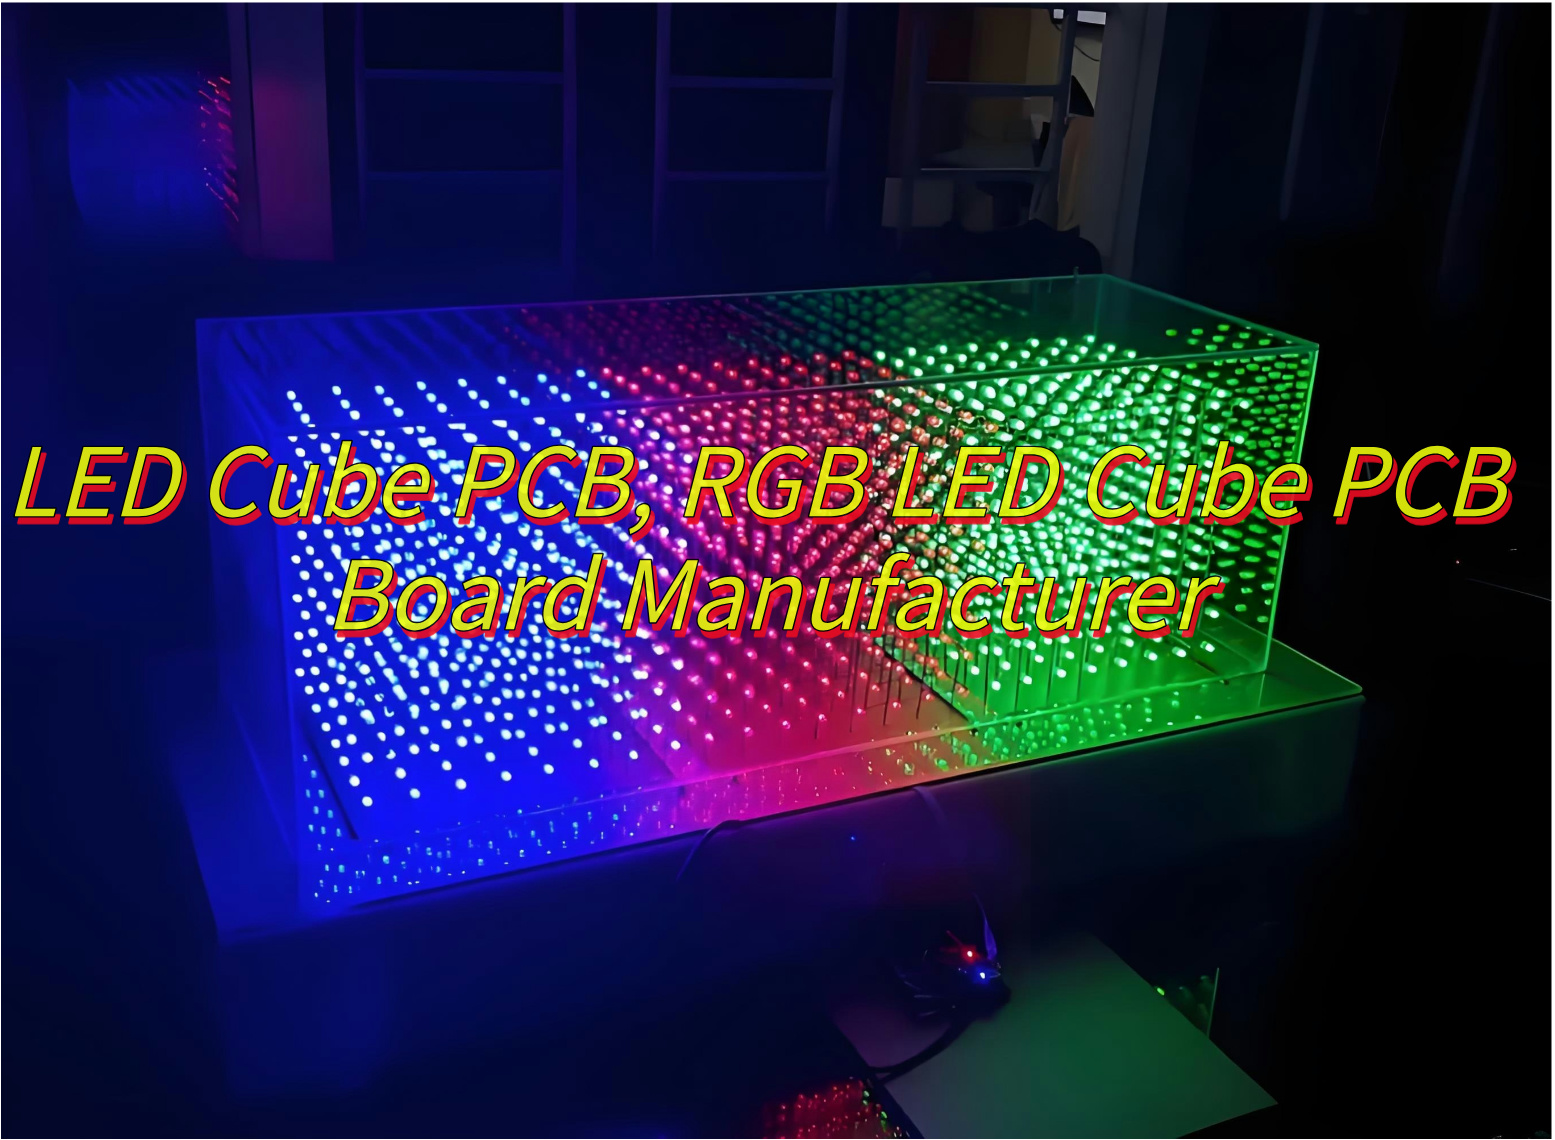
Why Settle for Generic LED Cube PCB? Customizing bulk LED Cube PCB orders achieves scalable production, cost control, and integration of advanced features like mini-LEDs or flexible circuits.
As a LED cube PCB manufacturer, EBest Circuit (Best Technology) specializes in LED Cube PCB boards designed for dynamic visual applications. Our advanced engineering integrates multilayer designs with superior thermal management, ensuring seamless operation even in complex LED matrix configurations. By utilizing premium materials and automated optical inspection systems, we guarantee 99%+ electrical reliability for pixel-perfect lighting control.
Clients benefit from flexible customization—whether prototyping compact 8x8x8 cubes or scaling to industrial-grade 16x16x16 systems. Our optimized production flow enables fast 7-day prototyping and 15-day bulk order delivery, backed by full RoHS/UL compliance. With 12+ years of expertise in LED-driven PCB solutions, we empower innovators across stage lighting, architectural displays, and interactive installations to achieve stunning visual impact without compromising durability. Contact our team today for free technical support and competitive pricing: sales@bestpcbs.com.
What Is LED Cube PCB?
An LED Cube PCB is a specialized three-dimensional printed circuit board designed to house and control LEDs in a cubic formation. Unlike traditional flat PCBs, it enables the vertical stacking of LEDs across multiple layers, creating immersive visual effects. Its core function lies in providing a structured platform for precise LED placement while ensuring efficient power distribution and signal transmission between layers. LED Cube PCBs center around their ability to support complex animations and patterns through layered control systems. They offer modular design flexibility, allowing customization of LED density and spacing to achieve desired visual outcomes. Additionally, these boards often integrate advanced drivers and controllers, simplifying programming for dynamic light displays while maintaining energy efficiency and durability.
What Is Structure of LED Cube PCB?
- Multi-layer construction – Combines several PCB layers, each dedicated to specific functions like power delivery, signal routing, or LED mounting.
- Vertical interconnects – Uses plated through-holes or vias to establish electrical connections between layers, ensuring seamless communication across the cube.
- LED matrix grids – Each layer contains a grid pattern for precise LED placement, maintaining consistent spacing in all directions.
- Controller integration – Often includes embedded controller slots or interfaces for programming dynamic light effects.
- Thermal management features – May incorporate heat sinks, copper pours, or ventilation holes to dissipate heat generated by densely packed LEDs.
- Protective coatings – Some designs add conformal coatings or weatherproofing layers to safeguard sensitive components.
What Are Application of LED Cube PCB?
- Entertainment venues – Deployed in concert stages, nightclubs, and theaters to create immersive light shows synchronized with music or performances.
- Architectural installations – Used in building facades, art installations, or interactive exhibits to add depth and motion to static structures.
- Advertising and branding – Employed in retail stores, trade shows, or corporate lobbies to craft attention-grabbing logos, animations, or promotional content.
- Educational tools – Integrated into STEM learning kits or interactive displays to visualize concepts like 3D geometry, light refraction, or data visualization.
- Gaming and esports – Featured in gaming setups or arena lighting to enhance immersive experiences with customizable RGB effects.
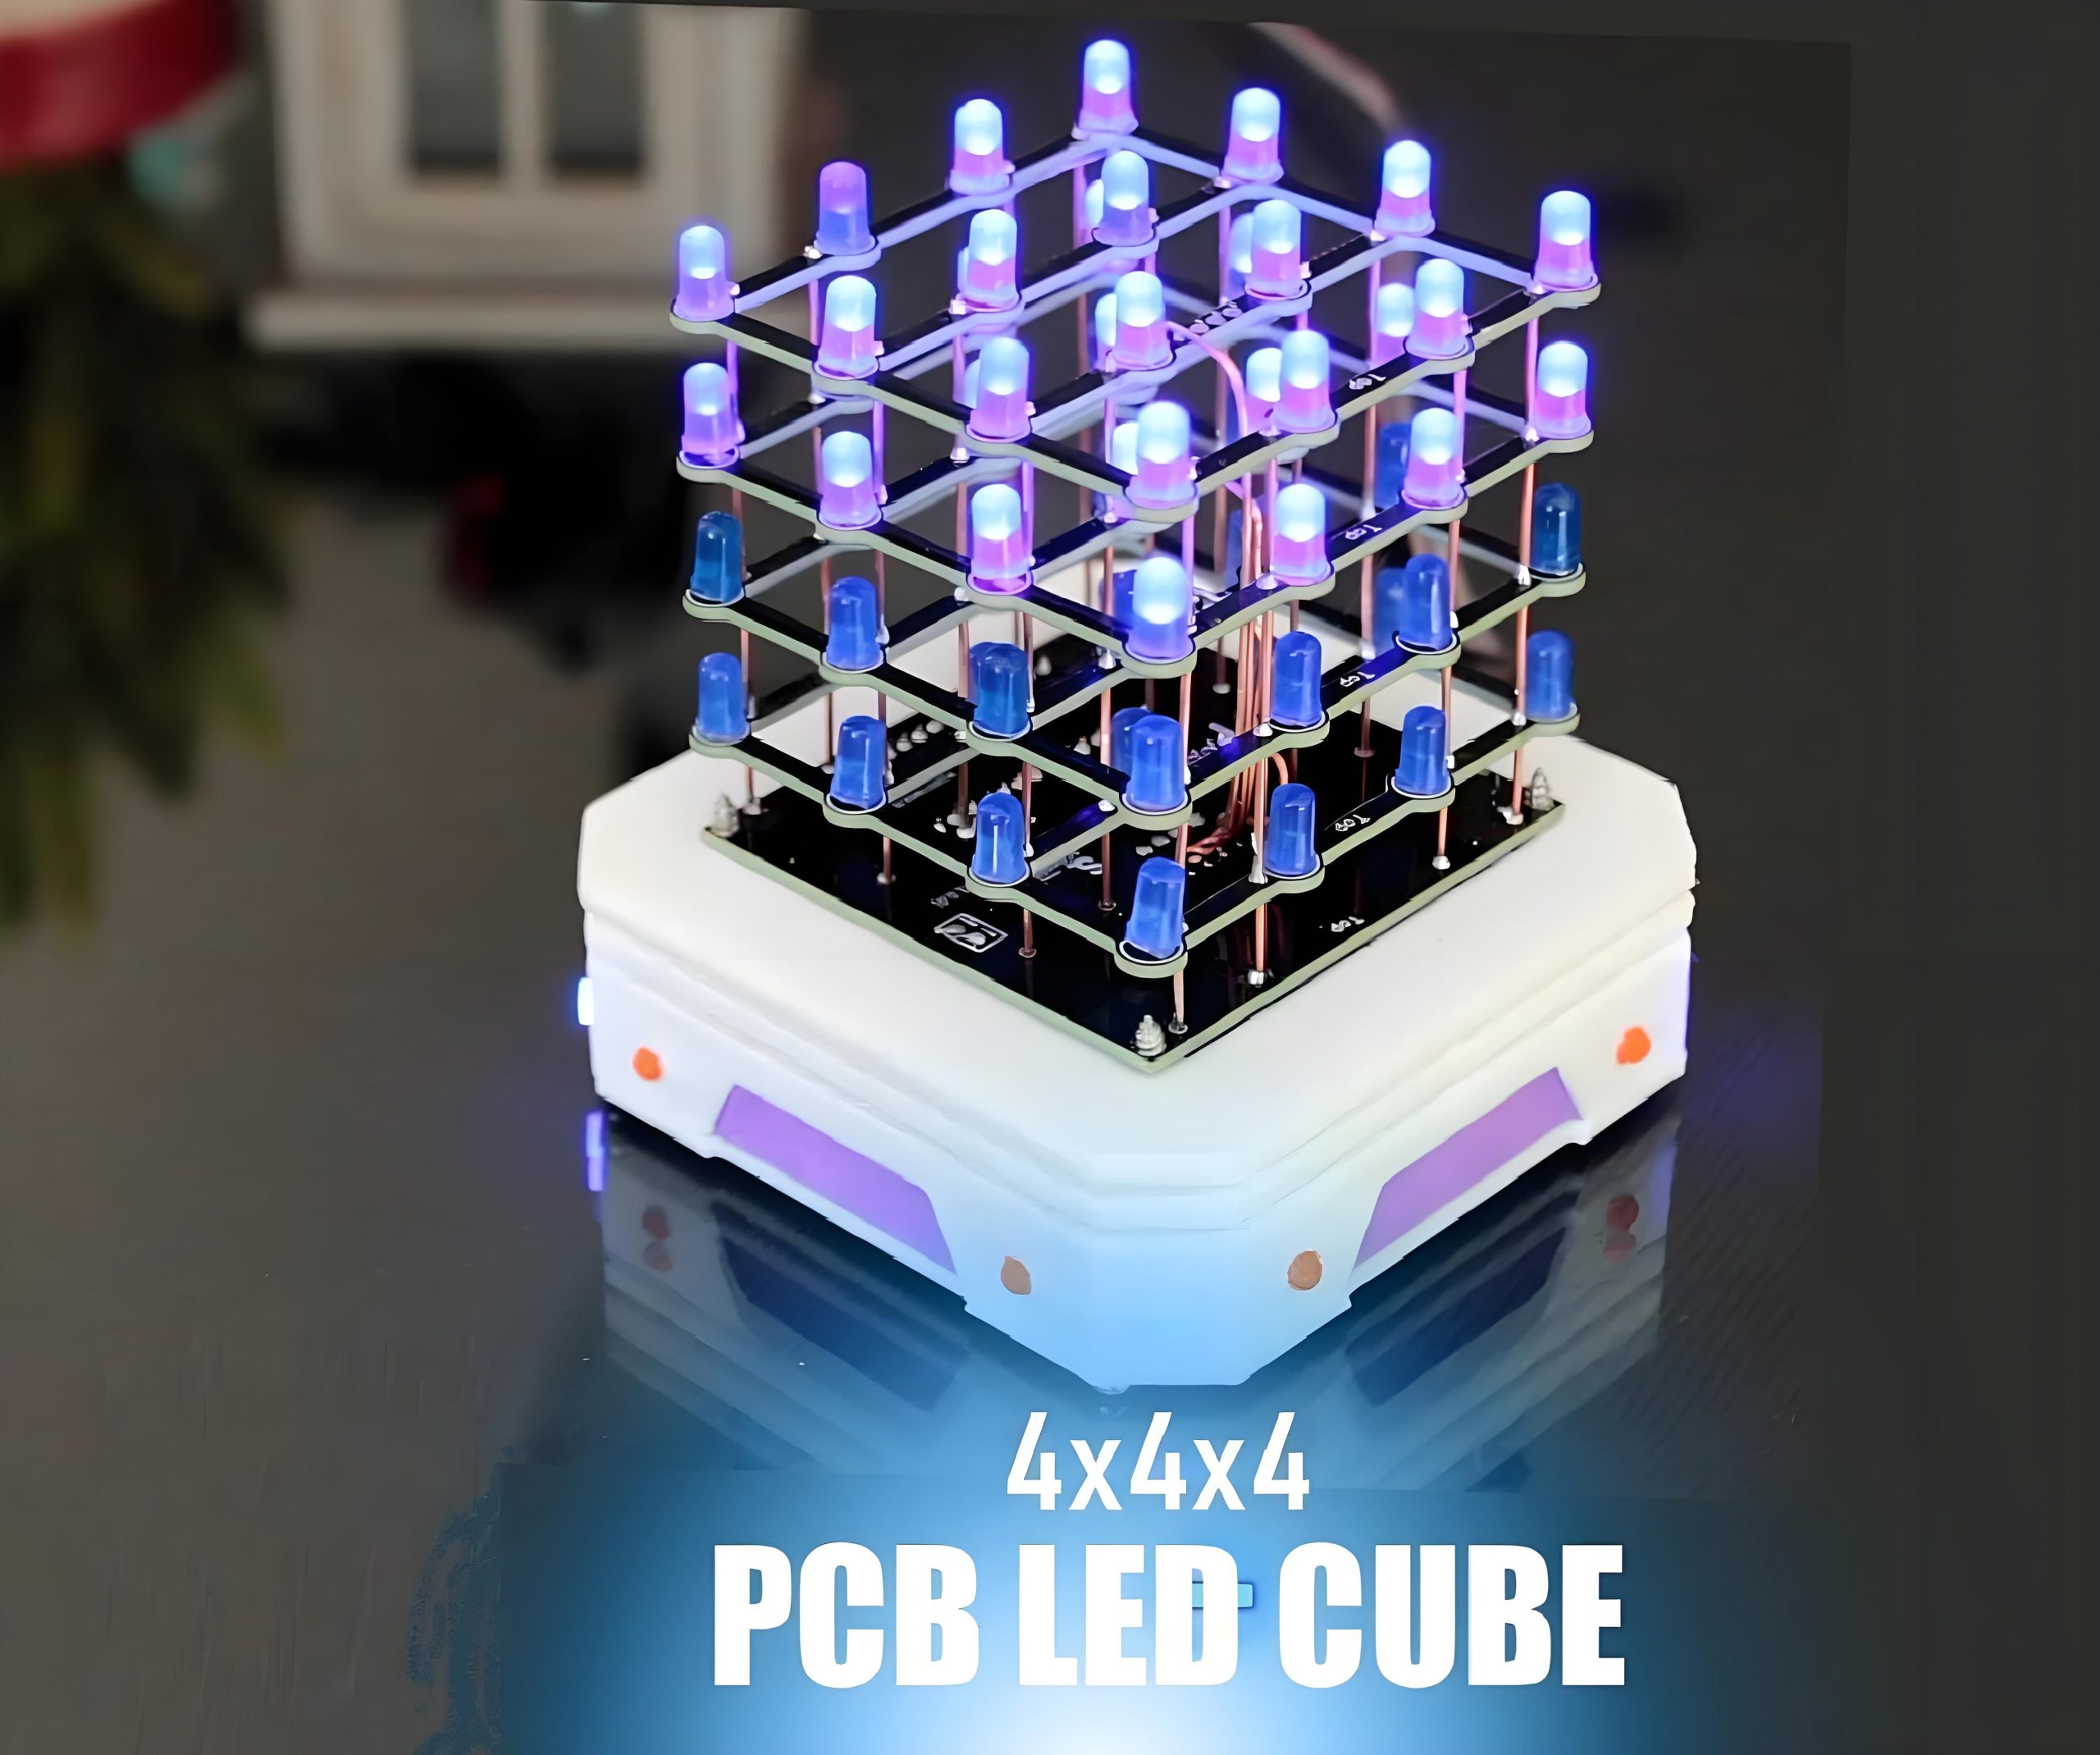
How to Design A 4x4x4 LED Cube PCB?
This is how to Design a 4x4x4 LED Cube PCB:
1. Plan the LED Cube PCB Layout
- Arrange 64 LEDs in a 4x4x4 grid. Each layer (4×4) shares a common anode, while columns (vertical connections) use cathodes.
- Use KiCad or Eagle to map rows and columns, ensuring minimal crossing traces.
2. Select Components for the LED Cube PCB Kit
- Choose low-profile RGB LEDs (e.g., 5mm diffused) for uniform light distribution.
- Include current-limiting resistors (e.g., 220Ω) for each cathode line.
- Add driver ICs like 74HC595 shift registers or MOSFETs for multiplexing.
3. Design Circuit Connections
- Connect all anodes in a single layer (Layer 1: LEDs 1–16, Layer 2: 17–32, etc.).
- Route cathode traces vertically across layers to reduce wire clutter.
- Reserve space for microcontroller headers in the LED Cube PCB layout.
4. Optimize Power and Ground Planes
- Dedicate a copper pour for ground (GND) to minimize noise.
- Use 1oz copper thickness for traces handling >20mA per LED.
5. Generate LED Cube PCB Gerber Files
- Run a Design Rule Check (DRC) to avoid trace spacing/shorting issues.
- Export Gerber files for fabrication. Include layer-specific files for stacked PCBs.
6. Prototype and Test the LED Cube PCB Project
- Order a prototype PCB kit from a fab house.
- Solder LEDs layer-by-layer, testing each with a 3V coin cell before final assembly.
- Validate color consistency and multiplexing speed using sample Arduino code.
7. Troubleshoot Common Issues
- Fix flickering: Increase PWM frequency in code or add decoupling capacitors.
- Address uneven brightness: Adjust resistor values per color channel (red: 150Ω, green/blue: 220Ω).
By following these steps, you’ll streamline your LED Cube PCB project from layout to functional prototype.
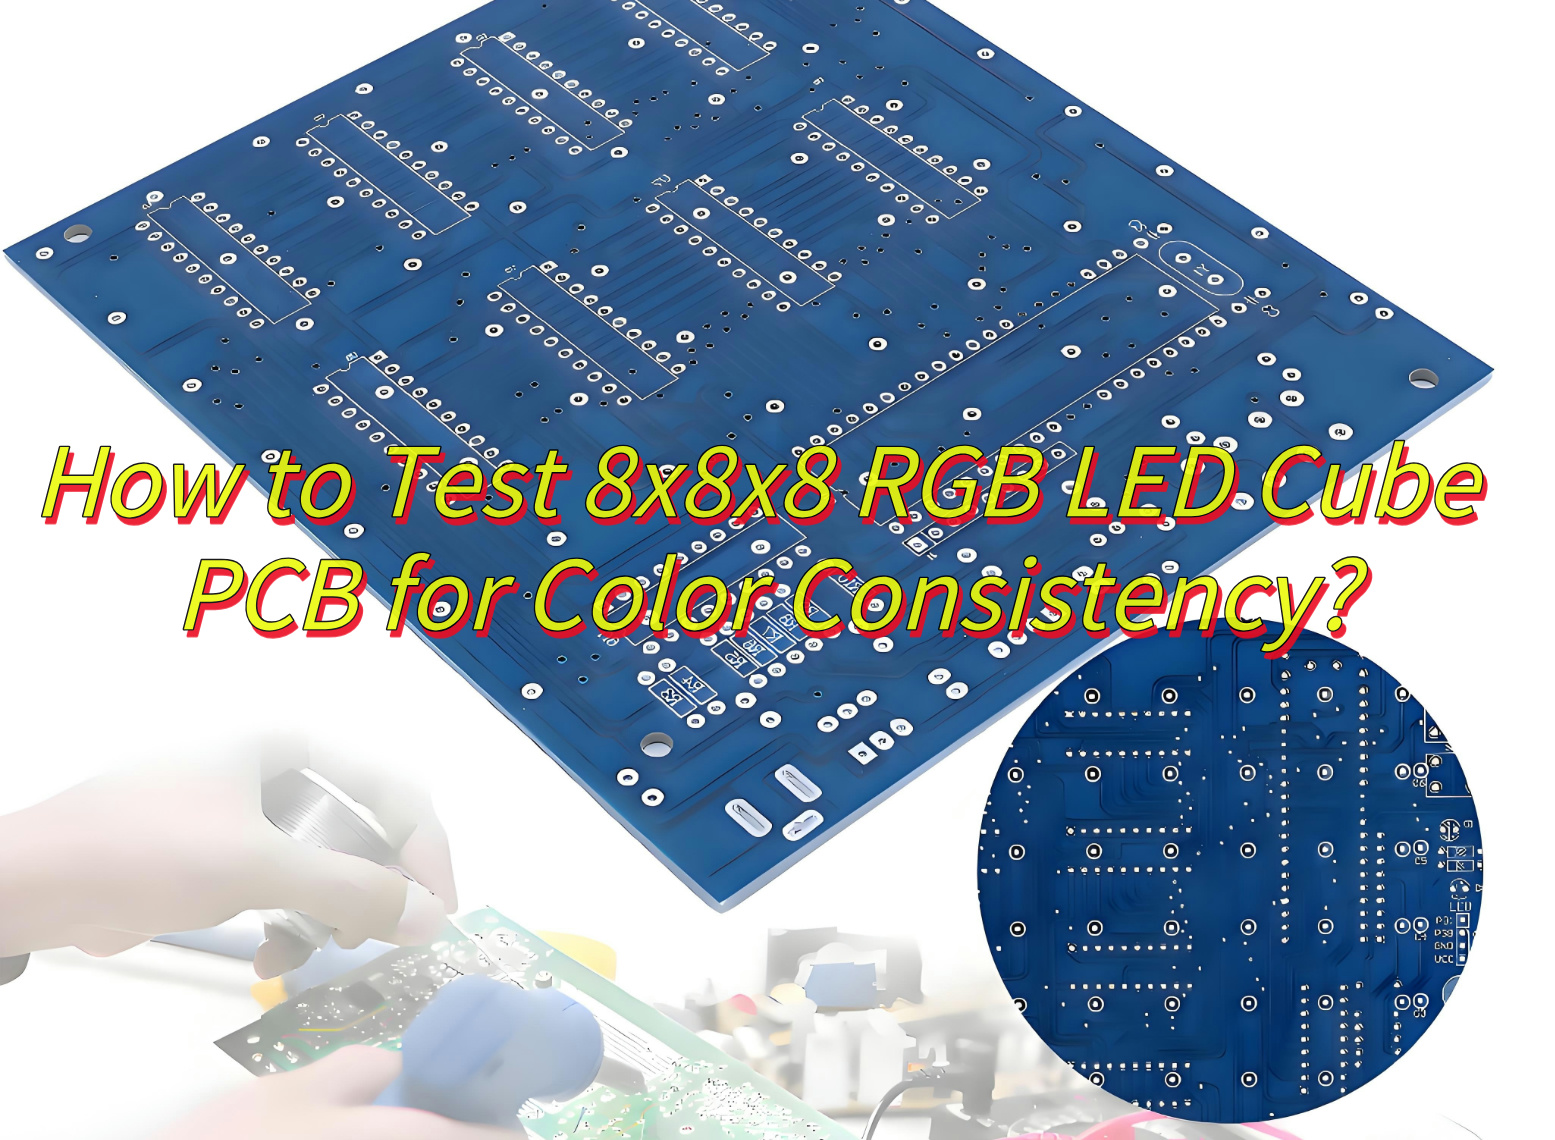
How to Test 8x8x8 RGB LED Cube PCB for Color Consistency?
Below is a structured approach to validate and optimize color consistency across all 512 LEDs in an 8x8x8 matrix.
1. Visual Inspection Under Controlled Conditions
- Lighting Control: Test in a dark environment with ambient lighting below 10 lux to eliminate external light interference.
- Uniform Backdrop: Place the cube against a neutral gray or matte-black surface to enhance color contrast and reduce reflections.
2. Instrument-Based Color Measurement
- Spectroradiometer Testing: Use a high-precision spectroradiometer to measure the CIE 1931 xy-Y coordinates and correlated color temperature (CCT) of each LED.
- ΔE Calculation: Compute the color difference (ΔE) using the CIEDE2000 formula to quantify deviations from target values, aiming for ΔE < 1.5 for adjacent LEDs.
3. Aging and Stability Testing
- Burn-In Test: Operate the cube at maximum brightness for 72–120 hours to identify early-life color shifts.
- Long-Term Monitoring: Track color stability over 1,000 hours using automated measurement systems to detect drift due to LED degradation.
4. Thermal Impact Assessment
- Temperature Variation Testing: Measure color output at temperatures ranging from 25°C to 85°C to ensure consistency across operating conditions.
- Heatsink Validation: Confirm that thermal management solutions (e.g., heatsinks, fans) do not introduce localized color variations.
5. Software Calibration and Binning
- Pre-Calibration: Use LED binning data from the manufacturer to group LEDs by color and brightness characteristics.
- PWM Adjustment: Implement software algorithms to adjust pulse-width modulation (PWM) signals, compensating for minor color discrepancies.
6. Angular Color Uniformity Testing
- Viewing Angle Analysis: Measure color output from multiple angles (e.g., 0°, 30°, 60°) to ensure consistent performance across the cube’s field of view.
- Anti-Glare Coatings: Validate that diffusers or coatings do not introduce angular color shifts.
7. Statistical Process Control (SPC)
- Data Logging: Record color measurements for every LED in a spreadsheet or database for trend analysis.
- Control Charts: Use SPC charts to monitor ΔE values over time, triggering alerts for deviations beyond acceptable limits.
How to Improve the Heat Dissipation Capability of LED Cube PCB?
1. Optimize Copper Layer Thickness
- Increase the copper weight (e.g., 2 oz/ft² instead of 1 oz/ft²) for power-carrying traces and ground planes. Thicker copper layers reduce electrical resistance and distribute heat more efficiently.
2. Incorporate Thermal Vias
- Add arrays of thermal vias beneath high-power LED components. These small, plated holes transfer heat from the top layer to internal or bottom copper layers. Use a grid pattern (e.g., 0.3mm diameter, 1mm spacing) for optimal conductivity.
3. Use High-Thermal-Conductivity Substrates
- Replace standard FR-4 material with metal-core PCBs (e.g., aluminum-based substrates) or ceramics. These materials offer superior thermal conductivity, rapidly drawing heat away from LEDs.
4. Implement Heat Sinks
- Attach passive heat sinks to the PCB’s backside or directly to LED clusters. For compact designs, use extruded aluminum or copper heat sinks with thermal adhesive.
5. Maximize Component Spacing
- Avoid clustering high-power LEDs. Spread components across the PCB to prevent localized heat buildup and allow airflow between devices.
6. Integrate Thermal Interface Materials (TIMs)
- Apply thermal pads, pastes, or phase-change materials between the PCB and heat sinks. These fill microscopic gaps, ensuring efficient heat transfer.
7. Optimize Power Distribution
- Reduce resistive losses by widening traces connected to high-current LEDs. Use star topologies or dedicated power planes to minimize voltage drops and heat generation.
8. Enable Forced Air Cooling
- For high-density LED cubes, install small fans or blowers to enhance airflow. Position them to direct air across the PCB surface or through heat sink fins.
9. Monitor Temperature with Sensors
- Embed temperature sensors near hotspots. Use feedback to dynamically adjust brightness or activate cooling systems when thresholds are exceeded.
10. Test and Iterate
- Validate thermal performance using infrared cameras or thermocouples. Adjust copper pour areas, via placement, or cooling methods based on real-world data.
How to Select a RGB LED Cube PCB Board Manufacturer?
Below are some methods about how to select a RGB LED Cube PCB board manufacturer:
Technical Expertise and Process Compatibility
- Advanced PCB Technologies: Prioritize manufacturers with expertise in HDI (High-Density Interconnect), rigid-flex boards, and multilayer PCBs (6+ layers). These technologies are essential for achieving the intricate 3D wiring and compact layouts of LED Cubes.
- Customization Support: Ensure the manufacturer offers DFM (Design for Manufacturability) analysis to optimize impedance control, heat dissipation, and signal integrity.
- R&D Capabilities: Manufacturers with extensive patent portfolios like EBest Circuit (Best Technology) often excel in resolving complex challenges like high-frequency signal transmission.
Quality Certifications and Reliability Testing
- Certifications: Verify compliance with ISO 9001, IATF 16949, and UL standards to ensure adherence to global quality benchmarks.
- Inspection Equipment: Look for facilities equipped with AOI (Automated Optical Inspection) and X-Ray testing to detect soldering defects and ensure electrical performance.
- Reliability Data: Request thermal shock tests (-40°C to 125°C, 500+ cycles) and vibration test reports to validate PCB durability under extreme conditions.
Production Efficiency and Scalability
- Rapid Prototyping: Choose manufacturers offering 12–48-hour sample delivery (e.g., EBest Circuit (Best Technology)) to accelerate product development cycles.
- Scalable Capacity: Confirm the manufacturer’s ability to handle small-batch orders and scale up to 1M+ sq.m monthly output for bulk production flexibility.
- Digital Tracking: Manufacturers using ERP/MES systems enable real-time production monitoring, ensuring transparency in order fulfillment.
Cost Transparency and Value Optimization
- Pricing Structure: Clarify cost drivers such as layer count, material type (e.g., FR-4 vs. aluminum substrates), and surface finishes (e.g., ENIG). Avoid hidden fees by requesting itemized quotes.
- Cost-Effective Solutions: Prioritize manufacturers with bulk purchasing power to reduce material costs without compromising quality.
Industry Experience and Customer Support
- LED-Specific Knowledge: Partner with manufacturers experienced in consumer electronics or LED display projects, as they understand driver circuit design and thermal management needs.
- Technical Support: Choose manufacturers providing 24/7 technical assistance and guaranteed 48-hour response times for defect resolution.
How to Test 8x8x8 RGB LED Cube PCB for Color Consistency?
Below is a structured approach to validate and optimize color consistency across all 512 LEDs in an 8x8x8 matrix.
1. Visual Inspection Under Controlled Conditions
- Lighting Control: Test in a dark environment with ambient lighting below 10 lux to eliminate external light interference.
- Uniform Backdrop: Place the cube against a neutral gray or matte-black surface to enhance color contrast and reduce reflections.
2. Instrument-Based Color Measurement
- Spectroradiometer Testing: Use a high-precision spectroradiometer to measure the CIE 1931 xy-Y coordinates and correlated color temperature (CCT) of each LED.
- ΔE Calculation: Compute the color difference (ΔE) using the CIEDE2000 formula to quantify deviations from target values, aiming for ΔE < 1.5 for adjacent LEDs.
3. Aging and Stability Testing
- Burn-In Test: Operate the cube at maximum brightness for 72–120 hours to identify early-life color shifts.
- Long-Term Monitoring: Track color stability over 1,000 hours using automated measurement systems to detect drift due to LED degradation.
4. Thermal Impact Assessment
- Temperature Variation Testing: Measure color output at temperatures ranging from 25°C to 85°C to ensure consistency across operating conditions.
- Heatsink Validation: Confirm that thermal management solutions (e.g., heatsinks, fans) do not introduce localized color variations.
5. Software Calibration and Binning
- Pre-Calibration: Use LED binning data from the manufacturer to group LEDs by color and brightness characteristics.
- PWM Adjustment: Implement software algorithms to adjust pulse-width modulation (PWM) signals, compensating for minor color discrepancies.
6. Angular Color Uniformity Testing
- Viewing Angle Analysis: Measure color output from multiple angles (e.g., 0°, 30°, 60°) to ensure consistent performance across the cube’s field of view.
- Anti-Glare Coatings: Validate that diffusers or coatings do not introduce angular color shifts.
7. Statistical Process Control (SPC)
- Data Logging: Record color measurements for every LED in a spreadsheet or database for trend analysis.
- Control Charts: Use SPC charts to monitor ΔE values over time, triggering alerts for deviations beyond acceptable limits.
What Customization Service Are Available for Bulk LED Cube PCB Orders?
Here are customized options for bulk LED cube PCB orders:
1. Dimensional Precision
- Cube Size: Specify dimensions from compact 4x4x4 to large-scale 16x16x16 configurations.
- Layer Design: Adjust PCB thickness, via placement, and hole patterns to match enclosures or thermal needs.
2. LED Engineering
- Density & Layout: Choose spacing (5mm, 10mm) and arrangements (grid, hexagonal) for optimal brightness and power efficiency.
- Color & Consistency: Select single-color, RGB, or addressable LEDs with tight binning (ΔE < 3) for uniform visuals.
3. Power & Control Systems
- Voltage Tuning: Optimize for 12V, 24V, or 48V systems to minimize energy loss in large arrays.
- Control Integration: Add headers, wireless modules (BLE/Wi-Fi), or DMX512 ports for seamless compatibility with existing systems.
4. Thermal Management
- Material Upgrades: Incorporate copper pours, thermal vias, or aluminum backing to prevent overheating.
- Ventilation: Add forced-air vents or heatsink mounting holes for passive cooling in harsh environments.
5. Protective Finishes
- Conformal Coatings: Apply silicone, acrylic, or nano-coatings to resist moisture, chemicals, or abrasion.
- IP Ratings: Achieve IP65/IP67 compliance without compromising optical performance.
6. Firmware & Software
- Preloaded Programs: Embed custom animations, color sequences, or IoT connectivity features.
- Bespoke Protocols: Develop proprietary control logic using Arduino, Raspberry Pi, or custom platforms.
7. Compliance & Certifications
- Regulatory Support: Source pre-certified materials and design for UL, CE, or FCC compliance.
- Documentation: Receive test reports and certifications tailored to global markets.
8. Packaging & Logistics
- Custom Packaging: Choose ESD-safe trays, reel-to-reel, or bulk boxes with SKU labeling.
- Direct Delivery: Partner with suppliers offering doorstep delivery to reduce handling risks.