

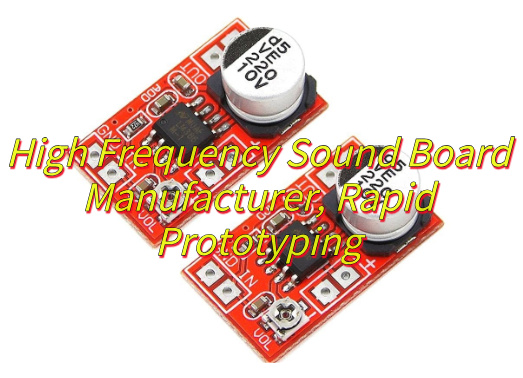
What is high frequency sound board? Let’s discover its material, function, application, lifespan, how to set up and connect sound board to your computer through this blog.
Are you troubled with these questions?
- Signal integrity issues? High-frequency interference messing up ADC sampling, raising test costs?
- Prototyping delays? Spotting design flaws late, holding up projects?
- Welding yield low? Tiny parts having defects, slowing production?
As a sound board manufacturer, EBest Circuit (Best Technology) can provide you service and solution:
- Full SI simulation: See signal loss clearly from design to product.
- 72-hour fast prototyping: With DFM review and backup plans.
- Micro-spacing welding: Custom solutions, guaranteeing 85%+ first-article yield.
Welcome to contact us if you have any request for sound board design, manufacturing and assembly: sales@bestpcbs.com.
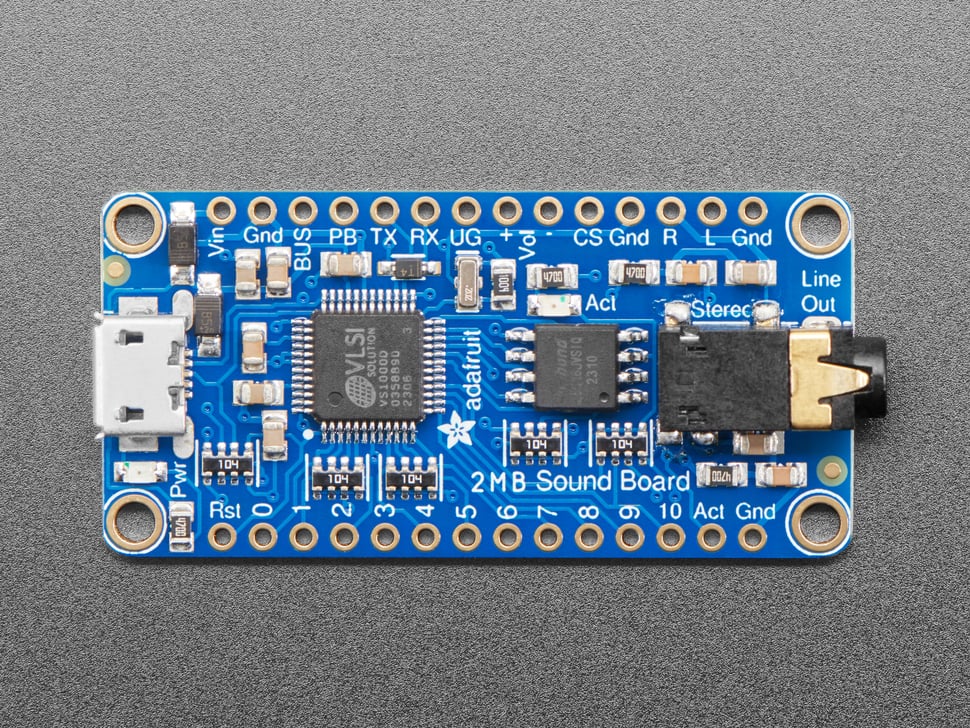
What Is High Frequency Sound Board?
High Frequency Sound Board usually refers to a device or software capable of generating, processing, or playing high-frequency sounds (generally above the upper limit of human hearing range, i.e., above 15,000–20,000 Hertz).
What Material is the High Frequency Sound Board Made of?
Polytetrafluoroethylene (PTFE, Teflon)
- Features: Ultra-low dielectric loss, high-temperature resistance, chemically stable.
- Applications: High-frequency fields above 5GHz (e.g., satellite communications, radar).
- Advantages: Minimal signal loss, high integrity.
- Limitations: High cost, requires reinforcement.
Modified Polyphenylene Oxide (PPO)
- Features: Balanced performance and cost, low high-frequency loss.
- Applications: 1-10GHz range (e.g., automotive collision avoidance systems).
- Advantages: Cost-effective.
- Limitations: Limited in ultra-high-frequency applications.
Cyanate Ester Resin
- Features: High-temperature resistance, excellent insulation.
- Applications: Aerospace communication equipment.
- Advantages: Stable in extreme conditions.
- Limitations: High cost, difficult processing.
Epoxy Resin
- Features: Low cost, easy processing, but high high-frequency loss.
- Applications: Low-frequency circuit boards, consumer electronics.
- Advantages: Suitable for mass production.
- Limitations: Not ideal for high-frequency sound boards.
FR-4/PPO Composite Substrate
- Features: Combines FR-4 cost with PPO performance, moderate loss.
- Applications: Automotive radars, industrial sensors (1-10GHz).
- Advantages: Balanced performance and cost.
- Limitations: Insufficient for ultra-high frequencies.
Hydrocarbon (PCH) Resin
- Features: Low loss, high-frequency performance close to PTFE, lower cost.
- Applications: 5G base stations, RF modules.
- Advantages: High cost-effectiveness.
- Limitations: Long-term stability requires validation.
What Are Function of High Frequency Sound Boards?
Functions of High-Frequency Sound Boards
- Low-Loss Signal Transmission: Minimize dielectric loss and attenuation for clear signal integrity in satellite, radar, and 5G systems.
- Impedance Matching: Match component impedance (antennas, transmitters) to reduce reflections and ensure efficient power transfer.
- Thermal Management: Dissipate heat from resistive and dielectric losses to prevent performance drops and extend component life.
- Mechanical Stability: Provide a rigid base for mounting components, reducing vibration noise and ensuring consistent electrical performance.
- EMI Shielding: Use shielding layers or grounding to block interference in crowded RF environments.
- Frequency Filtering: Integrate passive filters (microstrip) to reject unwanted frequencies in radio receivers and analyzers.
- High-Speed Digital Support: Enable low-crosstalk, controlled-delay data transmission for servers, data centers, and advanced computing.
What Is a High Frequency Sound Board Used for?
Applications of high frequency sound board:
- Wireless Communication: 5G networks, Wi-Fi, Bluetooth, satellite links.
- Radar & Navigation: automotive ADAS (collision avoidance), aviation/maritime navigation.
- Medical Imaging: MRI machines, ultrasound devices, surgical lasers.
- Aerospace & Defense: Electronic warfare, secure military communications, space exploration satellites.
- Computing & Data Centers: High-speed server interconnects, cloud computing, AI/big data processing.
- Consumer Electronics: Smartphones, wearables (smartwatches, fitness trackers), smart home devices.
- Industrial & Scientific Research: Non-destructive material testing, particle accelerators, environmental monitoring sensors.
How to Properly Set up a Sound Board?
1. Hardware Connection and Basic Checks
- Confirm Interface Types: Identify XLR, TRS, USB, or Thunderbolt interfaces based on your sound board model and match them with microphone, instrument, or computer connections.
- Test Cables: Use intact cables to connect devices to avoid signal interruptions or noise caused by poor contact.
- Power Supply and Grounding: Ensure the sound board has an independent power supply (e.g., external power adapter) and avoid sharing sockets with other devices.
2. Driver and Software Configuration
- Install Official Drivers: Download and install the latest drivers (e.g., Universal Audio Apollo) from the official website to ensure system recognition of the sound board.
- Set Sample Rate and Bit Depth: In audio software (e.g., DAW), set the sample rate to 44.1kHz/48kHz (for music production) or 96kHz/192kHz (for professional recording). Choose a bit depth of 24-bit or 32-bit floating point to enhance dynamic range.
- Select Input/Output Channels: Specify the sound board’s inputs (e.g., microphone channels 1-2) and outputs (e.g., monitor headphones/speakers) in the DAW or system audio settings.
3. Input Channel Setup
Gain Adjustment (Gain Staging):
- Speak softly into the microphone or play an instrument, and slowly increase the gain knob until the input level stabilizes between -18dB and -12dB (avoid clipping distortion).
- Observe the sound board’s level meters or DAW input signals to ensure no continuous red overload indicators.
Phantom Power:
- If using a condenser microphone, enable 48V phantom power for the corresponding channel (press the “48V” or “PHANTOM” button).
Input Type Switching:
- Switch high-impedance instrument inputs (e.g., electric guitar/bass) to “Hi-Z” mode (if available) to avoid signal attenuation.
4. Signal Processing and Equalization (EQ)
- High-Pass Filter (HPF): Enable the high-pass filter (usually set at 80Hz-120Hz) to filter out low-frequency noise picked up by the microphone (e.g., footsteps, air conditioning hum).
- Three-Band EQ Adjustment for High Frequencies: Enhance clarity for vocals or strings (e.g., 3kHz-5kHz) and reduce harshness (e.g., above 8kHz).
5. Auxiliary Send and Monitor Control
Auxiliary Output (Aux Send):
- If connecting effects units (e.g., reverb, delay) or singer in-ear monitors, adjust the corresponding channel’s AUX knob to an appropriate volume.
- Set up auxiliary tracks in the DAW, load effect plugins, and adjust send levels.
Monitor Mix:
- Adjust the “MONITOR” or “CUE” knob on the sound board to balance direct and return signals for clear feedback during operation.
- Use a headphone distributor (if available) to provide independent monitor mixes for multiple users.
6. Main Output and Bus Setup
Main Output Level (Main Out):
- Connect the sound board’s main outputs (L/R) to speakers or recording devices and adjust the main fader to control overall volume.
- Ensure correct speaker polarity (consistent positive/negative connections) to avoid sound cancellation.
Bus Processing (Optional):
- Create bus tracks in the DAW (e.g., drum bus, accompaniment bus) for unified processing of similar signals (e.g., compression, EQ, effects).
7. Testing and Fine-Tuning
Signal Chain Check:
- Test each microphone/instrument channel individually to confirm no muting (MUTE), phase inversion, or wiring faults.
- Record a short audio clip and check for complete waveforms (no truncation or excessively low levels).
Environment Adaptation:
- Adjust speaker positions based on room acoustics (e.g., avoid reflective surfaces) or use acoustic treatment materials (e.g., acoustic foam, diffusers).
- If feedback occurs, reduce the corresponding frequency’s EQ or move the microphone away from speakers.
How Do I Connect a Sound board to My Computer?
1. Check the audio board’s interface type:
- Look for USB, 3.5mm audio jacks (microphone/headphone), TRS/XLR (pro gear), or PCIe slots (internal cards).
- Choose the right connection based on the interface.
2. Connect via USB:
- Plug the USB cable into the audio board and your computer (use USB 2.0 or higher).
- Most USB boards work automatically; some pro models may need official drivers.
3. Connect via 3.5mm audio jacks (analog signals):
- For audio output (e.g., headphones), link the board’s 3.5mm output to your computer’s “Line In” or mic port (check port function).
- For input (e.g., mic), connect the board’s input port to your computer’s mic port.
4. Connect via TRS/XLR (pro equipment):
- Use adapters like XLR-to-3.5mm or TRS-to-6.35mm to match your computer’s ports.
- After connecting, manually select the board in your computer’s sound settings (e.g., “Realtek Audio” or board brand).
5. Install a PCIe internal sound card:
- Turn off your computer and unplug it. Open the case, find an empty PCIe slot, and insert the board firmly.
- Restart and install drivers (usually from the manufacturer’s website or included CD).
6. Install drivers:
- Download the latest drivers from the manufacturer’s site.
- Run the installer, restart your computer, and verify the board appears in your sound settings.
7. Set up audio settings:
- Open sound settings (Windows: Settings → System → Sound; Mac: System Preferences → Sound).
- Choose the audio board as the default for both output (playback) and input (recording).
- Adjust volume and test audio.
8. Test and fix issues:
- Play music or record to check for sound.
- No sound? Check cables, enable the device, or reinstall drivers.
- Noise? Try a new cable, adjust the sample rate (e.g., 44.1kHz/16bit), or close other audio apps.
9. Use optional audio software:
- Some boards include tools for sound effects, mixing, or multi-channel output (e.g., ASIO drivers). Install and explore for pro features.
How Long Does a High Frequency Soundboard Last?
The lifespan of a high frequency soundboard typically ranges from 5 to 15 years, depending on factors such as device quality (industrial-grade components can last over 10 years, while consumer-grade models may only last 3-5 years), usage environment (high temperatures and humidity accelerate aging), and maintenance frequency (regular cleaning and firmware updates can extend its lifespan). Replacement should be considered if frequent failures occur, performance no longer meets requirements, or spare parts become unavailable.
Why Choose EBest Circuit (Best Technology) as Sound Board Manufacturer?
Reasons why choose as high frequency sound board manufacturer:
Competitive Pricing Without Compromising Quality
- No hidden fees, transparent pricing tailored to your budget and project scale.
Fast Lead Times & Rapid Prototyping Service
- 7–10 working days for prototype production; 3–4 weeks for bulk orders (industry-leading speed).
- For urgent orders, we provide 48 hours rapid prototyping service.
Premium Quality Assurance
- 100% AOI (Automated Optical Inspection) and X-ray testing for soldering reliability.
- Certification: ISO9001:2015; ISO13485:2016; REACH; RoHS; IATF16949.
Free DFM (Design for Manufacturability) Review
- Our engineers analyze your design before production to identify cost-saving tweaks, improve manufacturability, and avoid delays.
One-Stop Service From Prototype to Mass Production
- We will handle everything from design, prototyping, mass production and PCBA to save your time and energy cost.
Customization Flexibility
- Tailor sound boards to your needs: shape, size, input/output ports, control interfaces, and firmware.
- Support for analog/digital mixing, wireless connectivity (Bluetooth/Wi-Fi), and AI-powered noise reduction.
Eco-Friendly & Sustainable Practices
- Lead-free soldering and recyclable packaging minimize environmental impact.
- Energy-efficient factories powered by renewable energy (where available).
Welcome to contact us if you have any request for high frequency sound board: sales@bestpcbs.com.